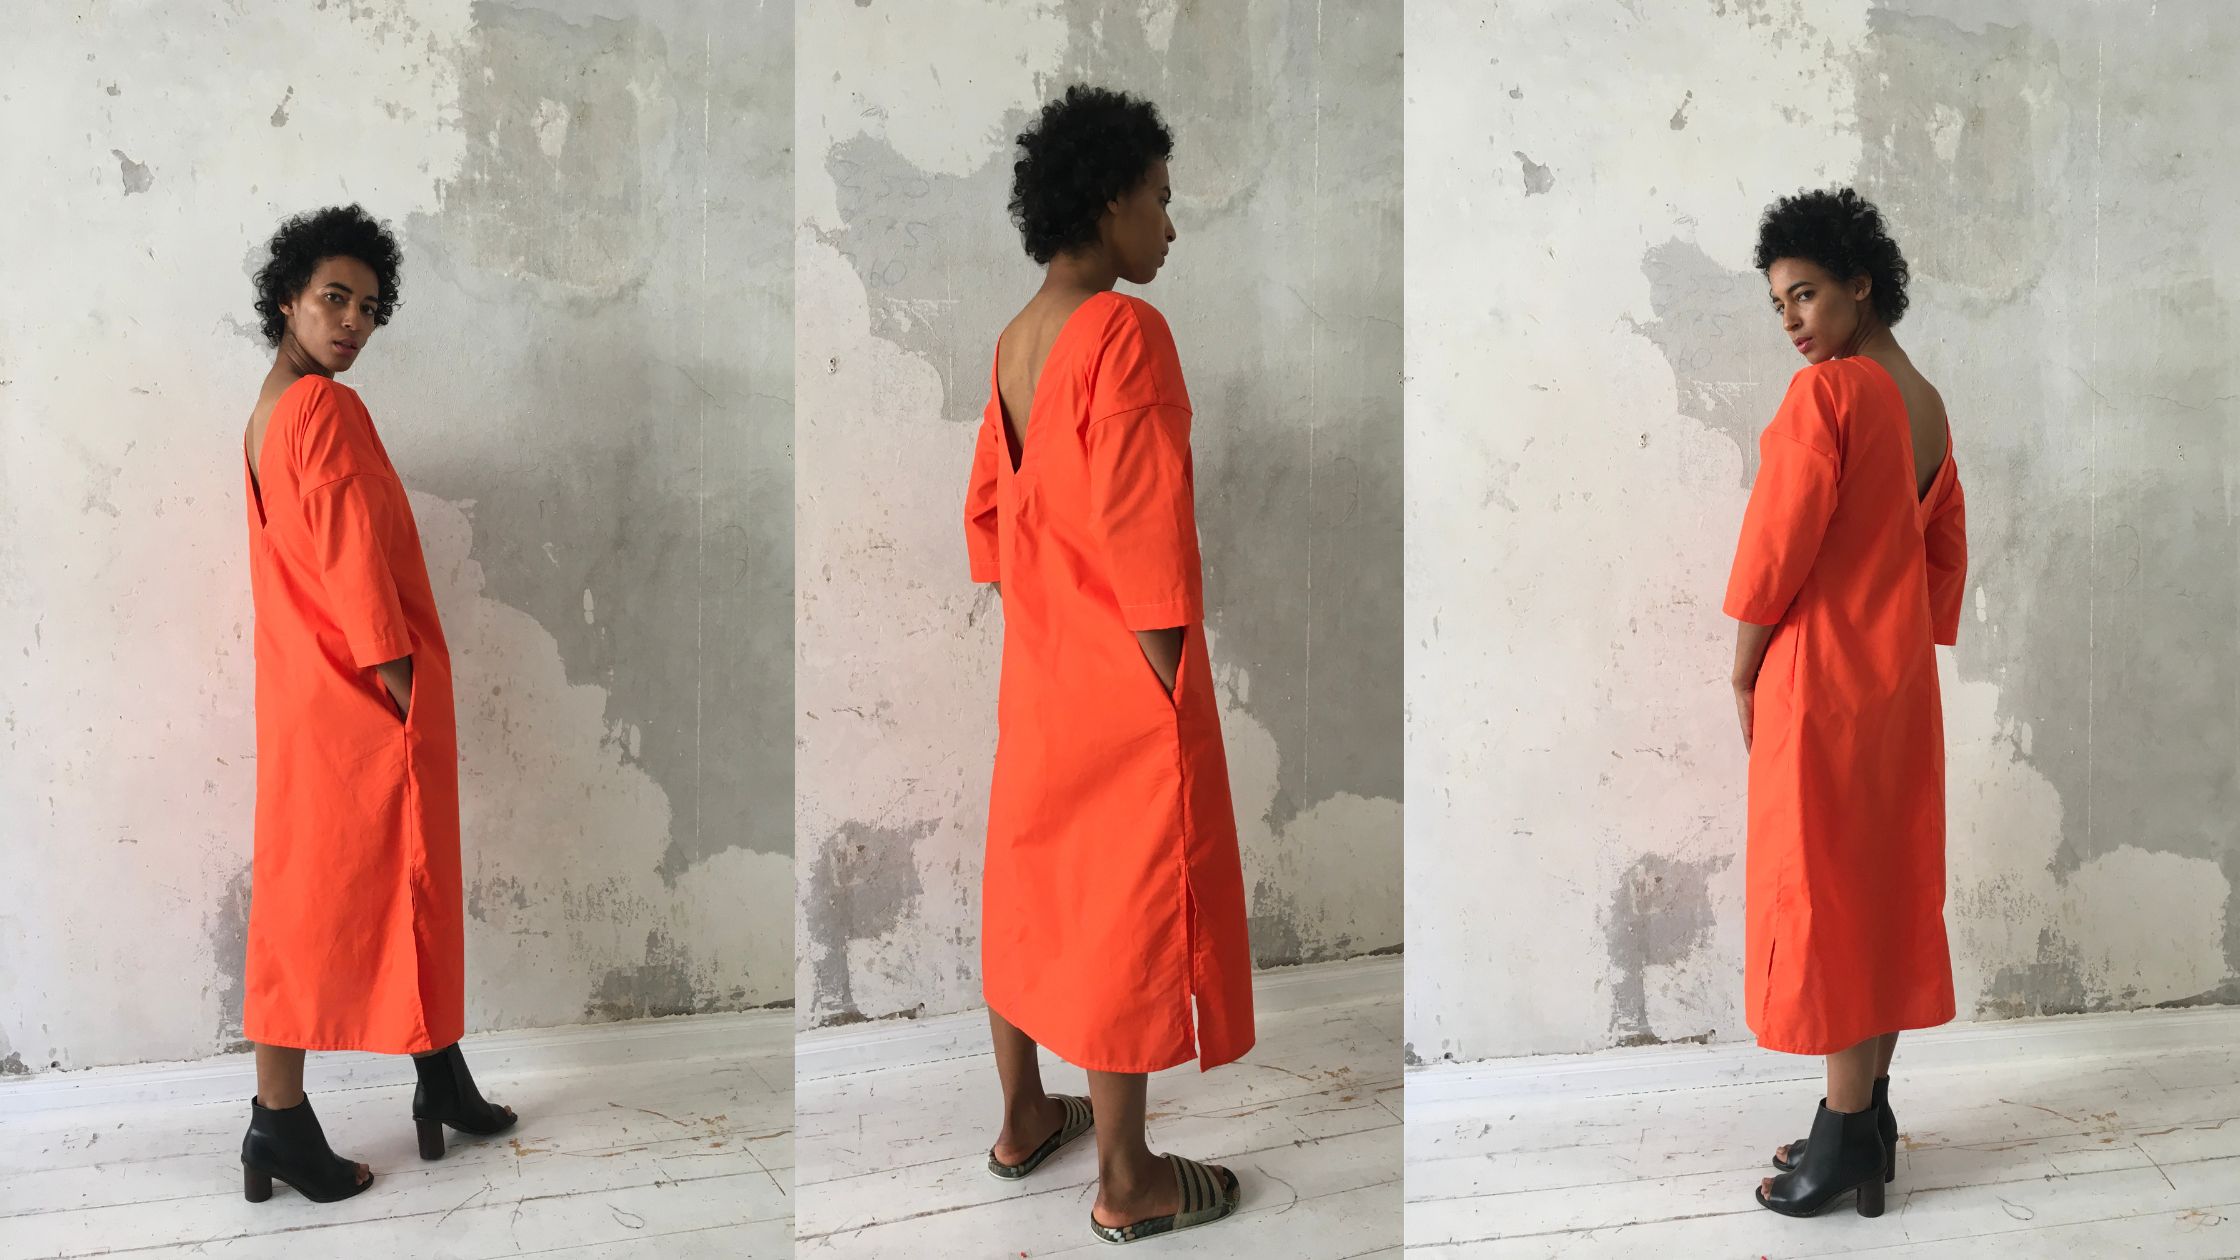
This dress is something very special. Elegant and comfortable at the same time. Depending on the material you choose, you can wear it as a house dress or for very special occasions. Wear it as you like, with or without a belt, like in the picture. When sewing, also play with the length of the dress to create new looks again and again.
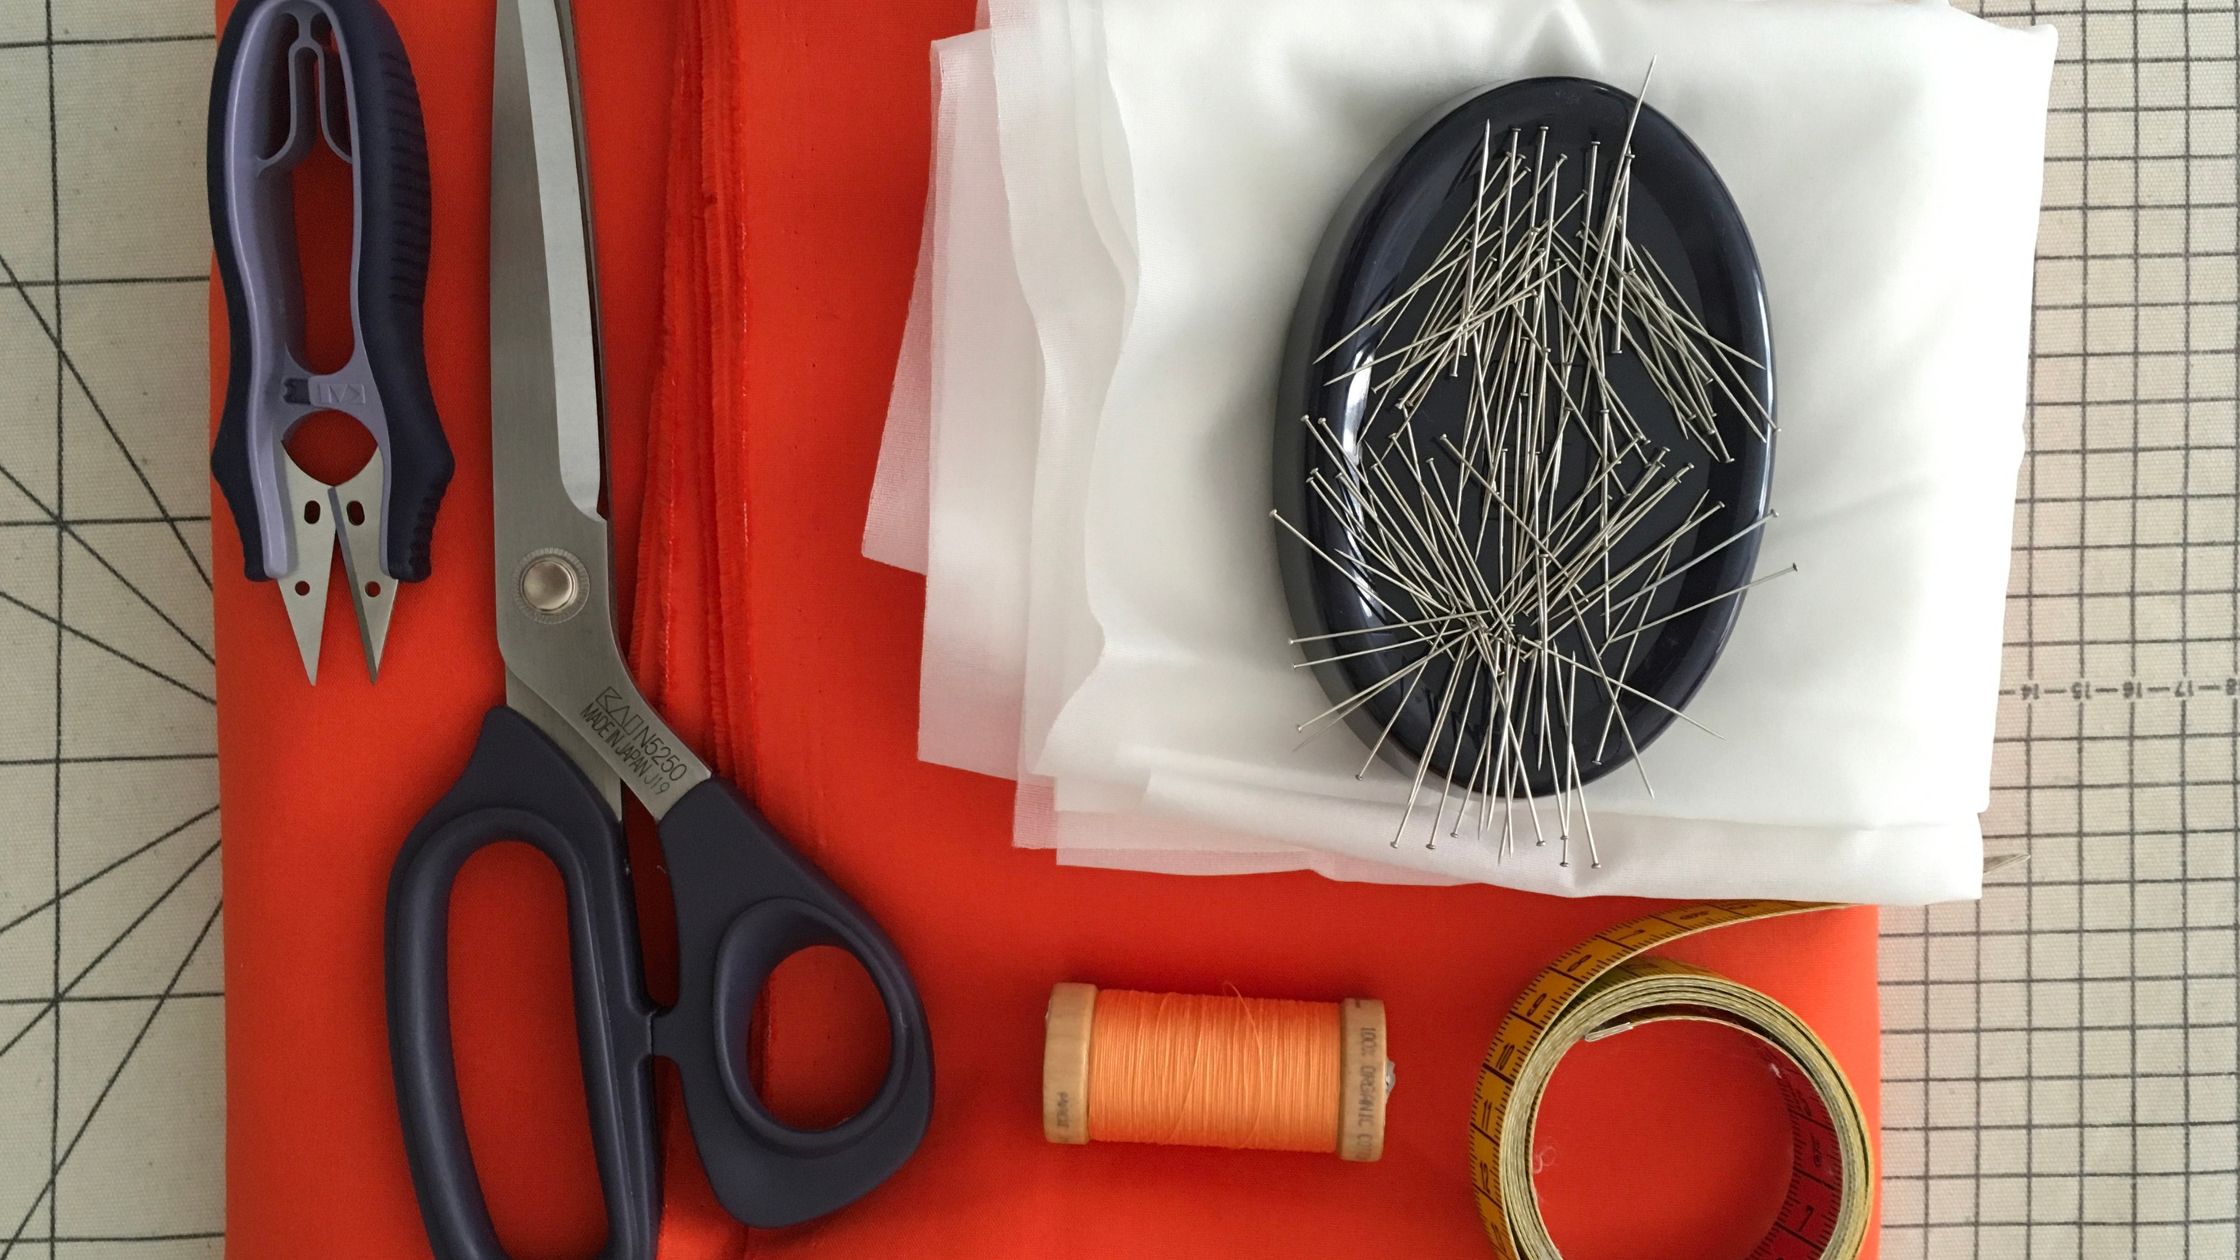
List of materials
• 1.5 - 2.0 m fine cotton (organic) 140 -160 cm fabric width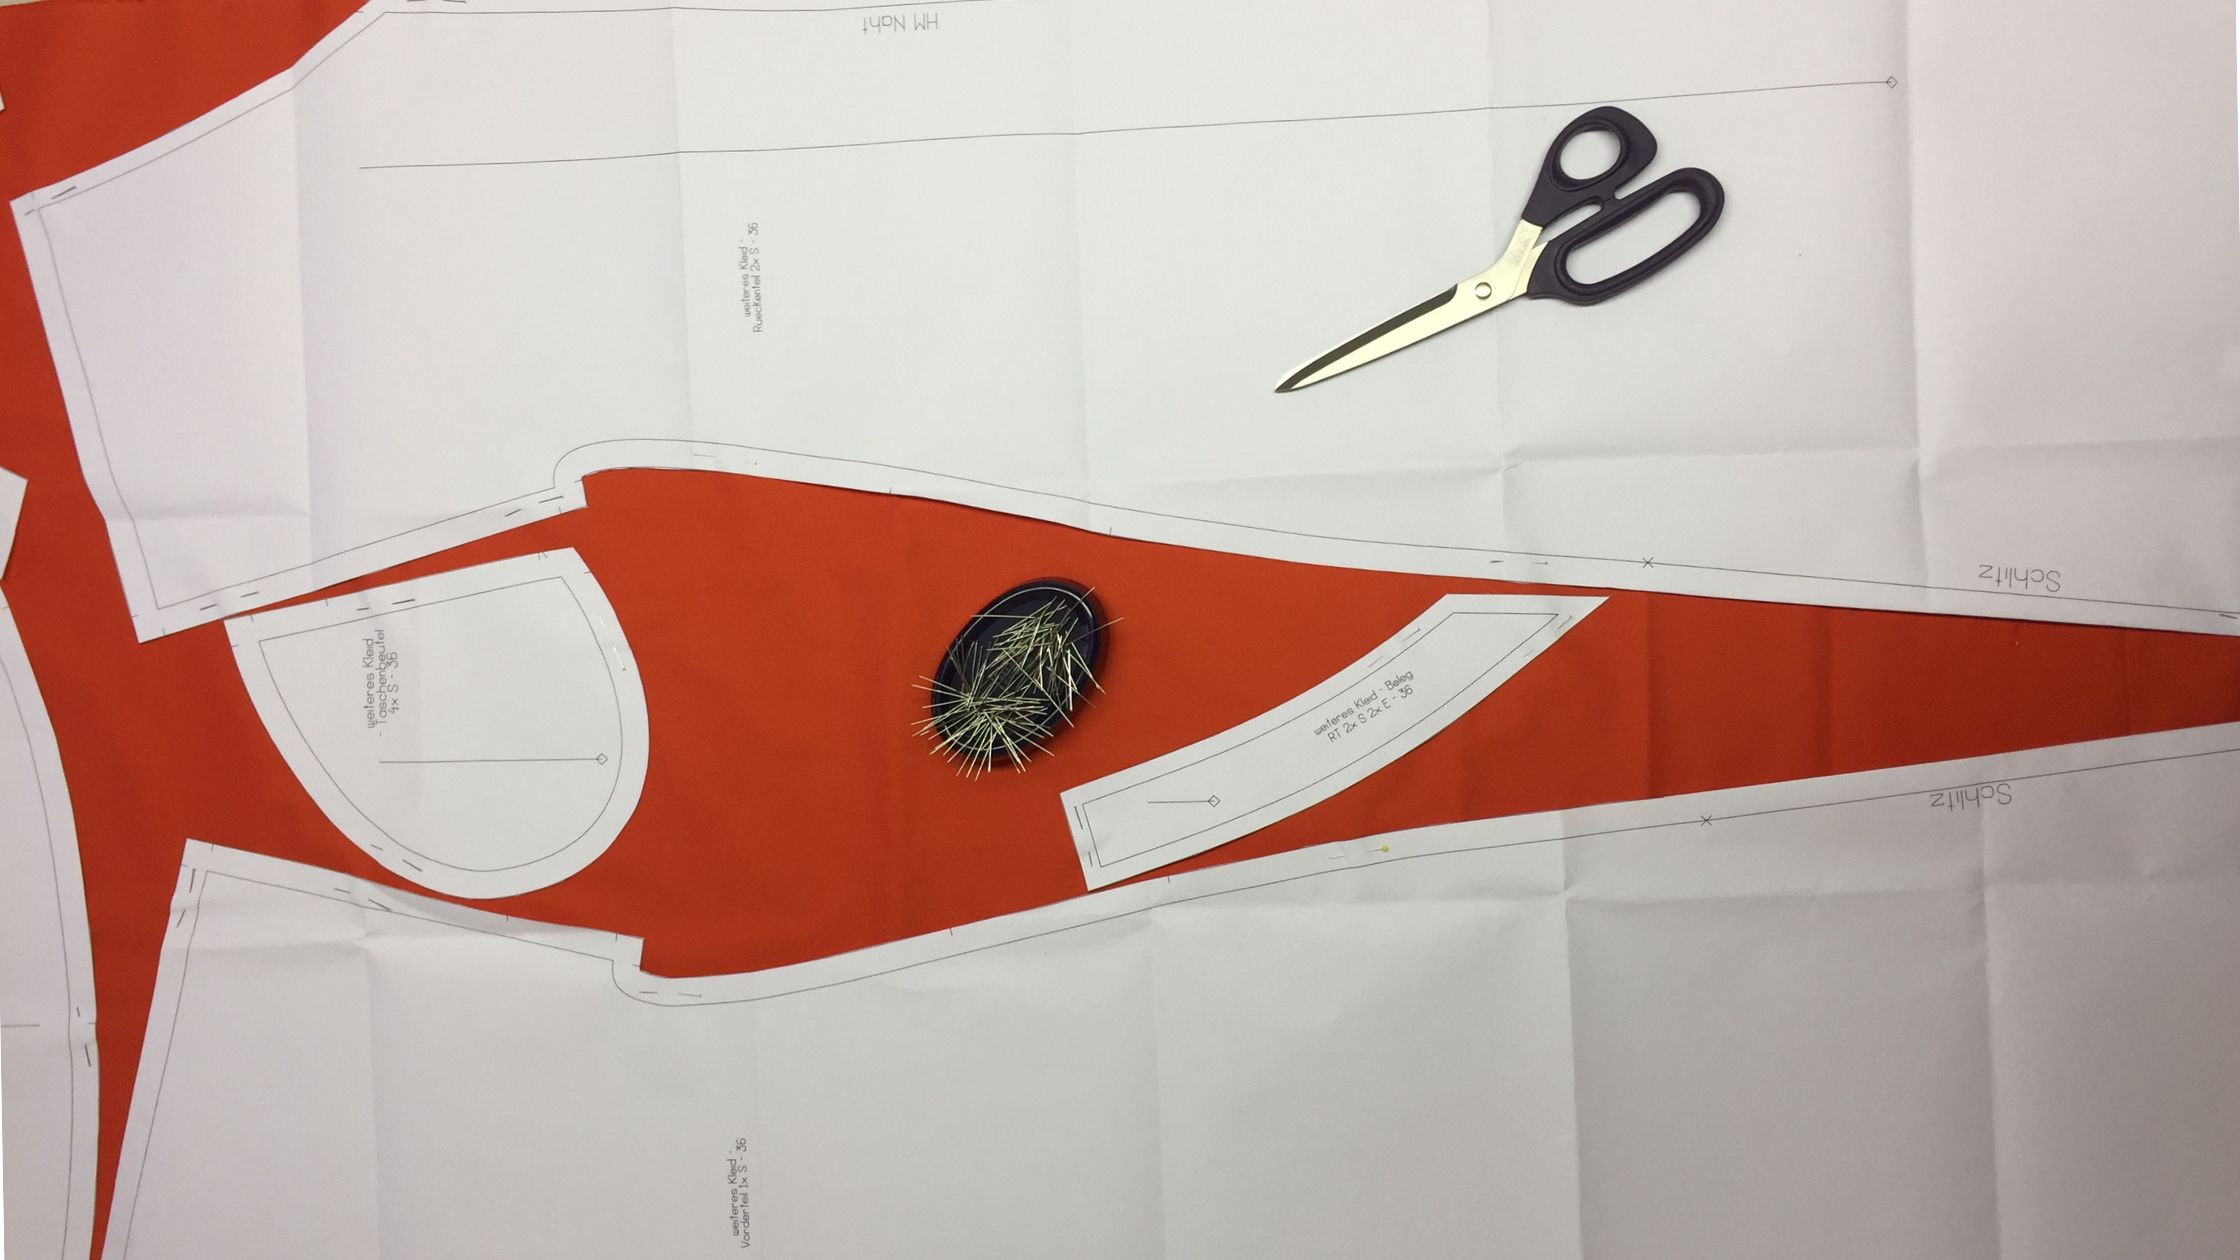
Step 1 - Prepare cut, cut out fabric pieces
Download the pattern. Print it out and cut out all the pattern pieces in your size. The seam allowances are included in the pattern at 1.5 cm.
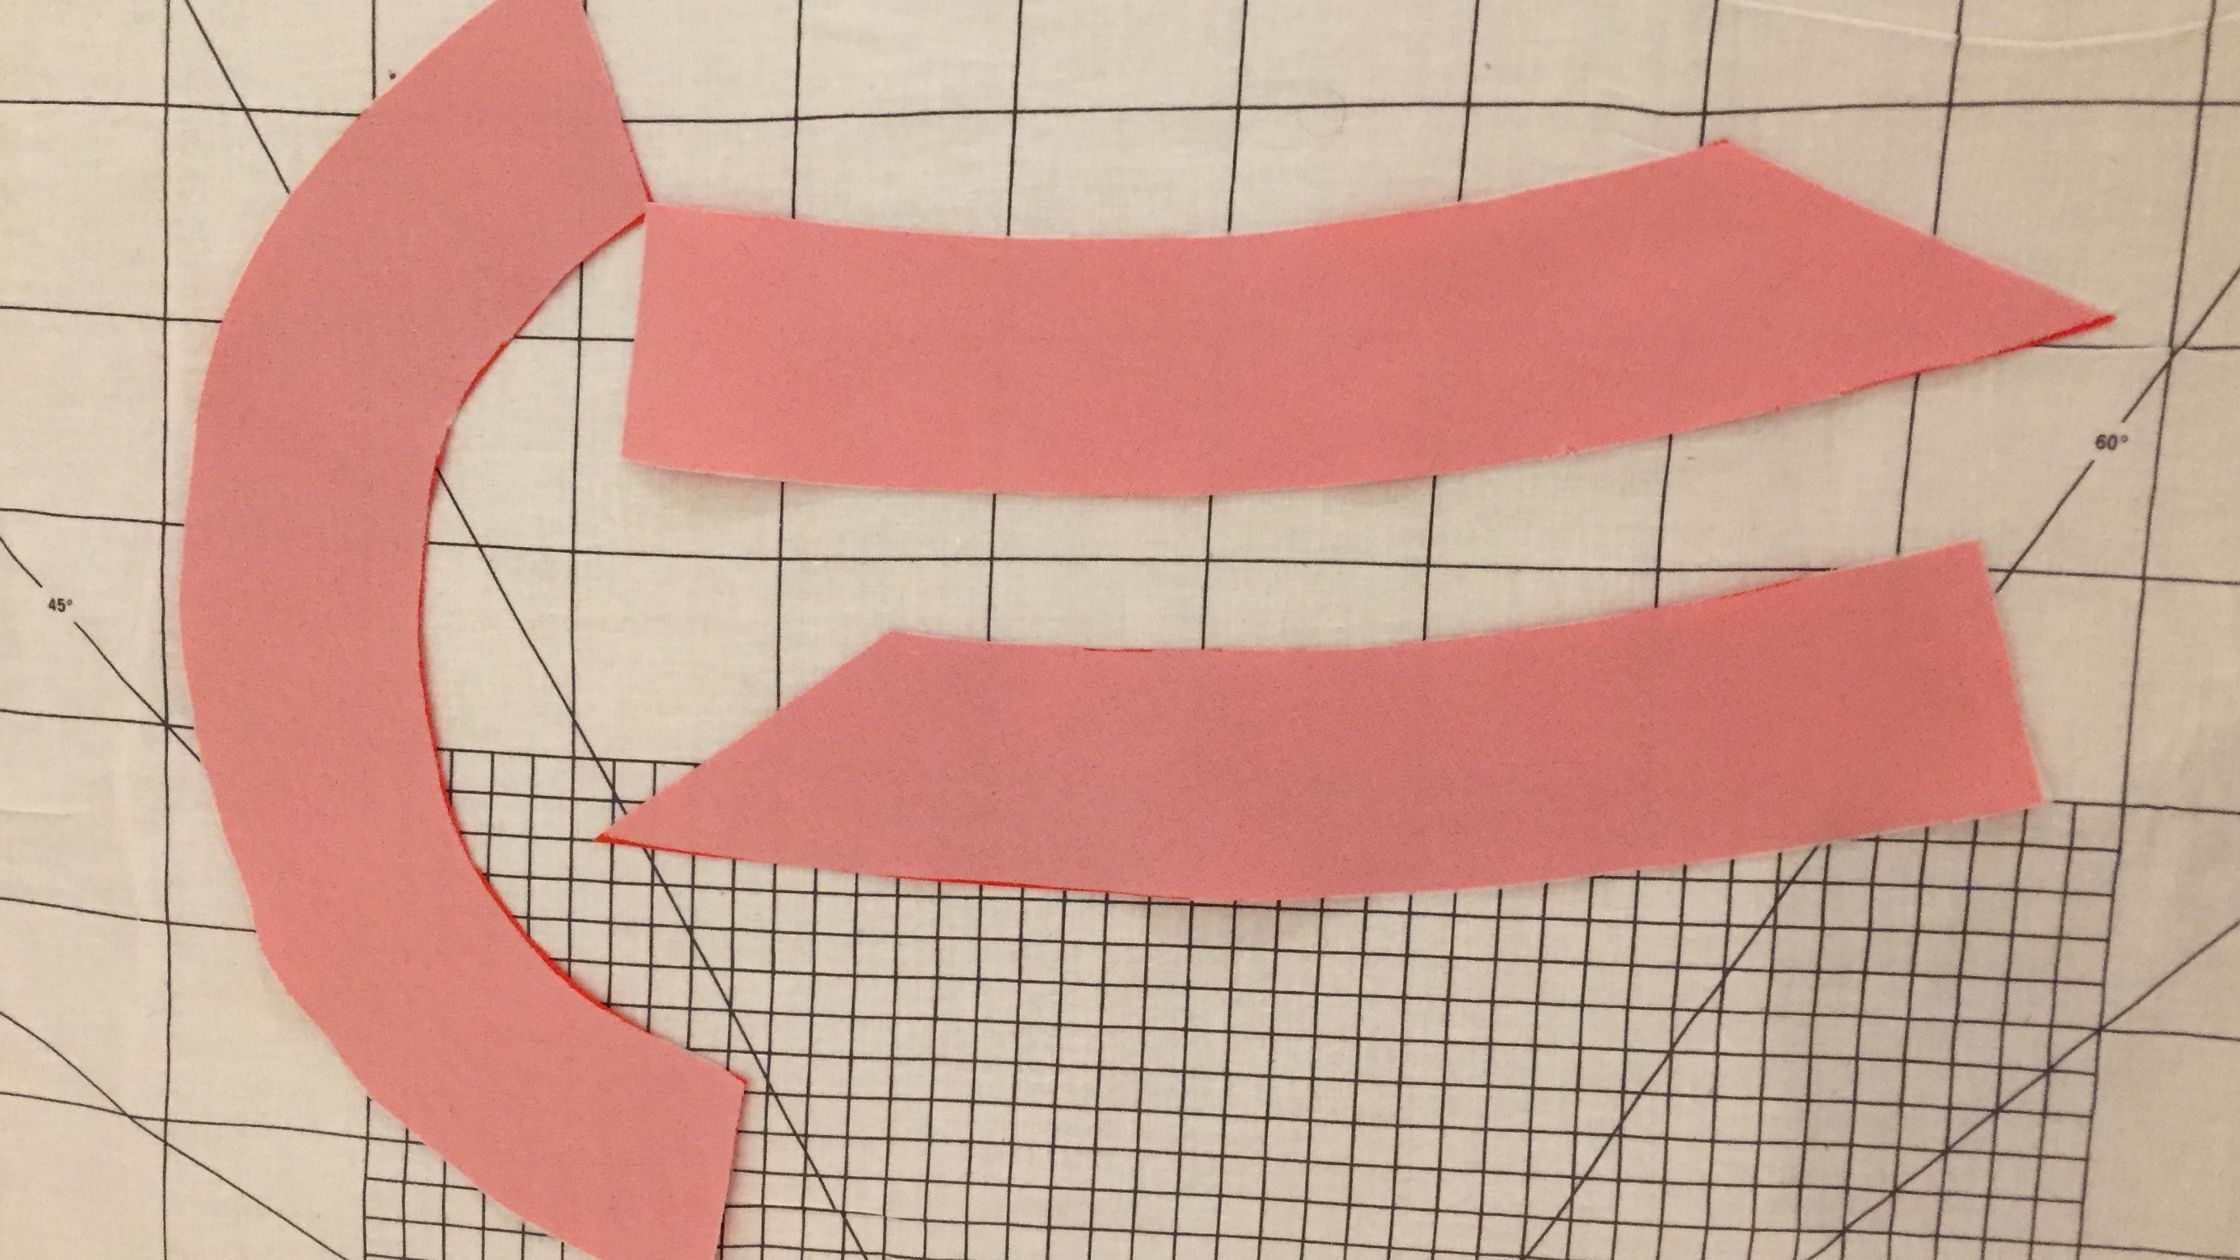
Fold your fabric in half along the grain (= parallel to the selvedge) to create a break in the fabric.
On the cutting plan you can see how the pattern pieces can be arranged most sparingly on the fabric. (Please always pay attention to the grain, otherwise your dress could be pulled in the wrong direction!
Tip: When cutting in the fabric fold, the fabric is always double. The cut parts are mirror-inverted. In this way you cut a right and a left sleeve at the same time, for example.
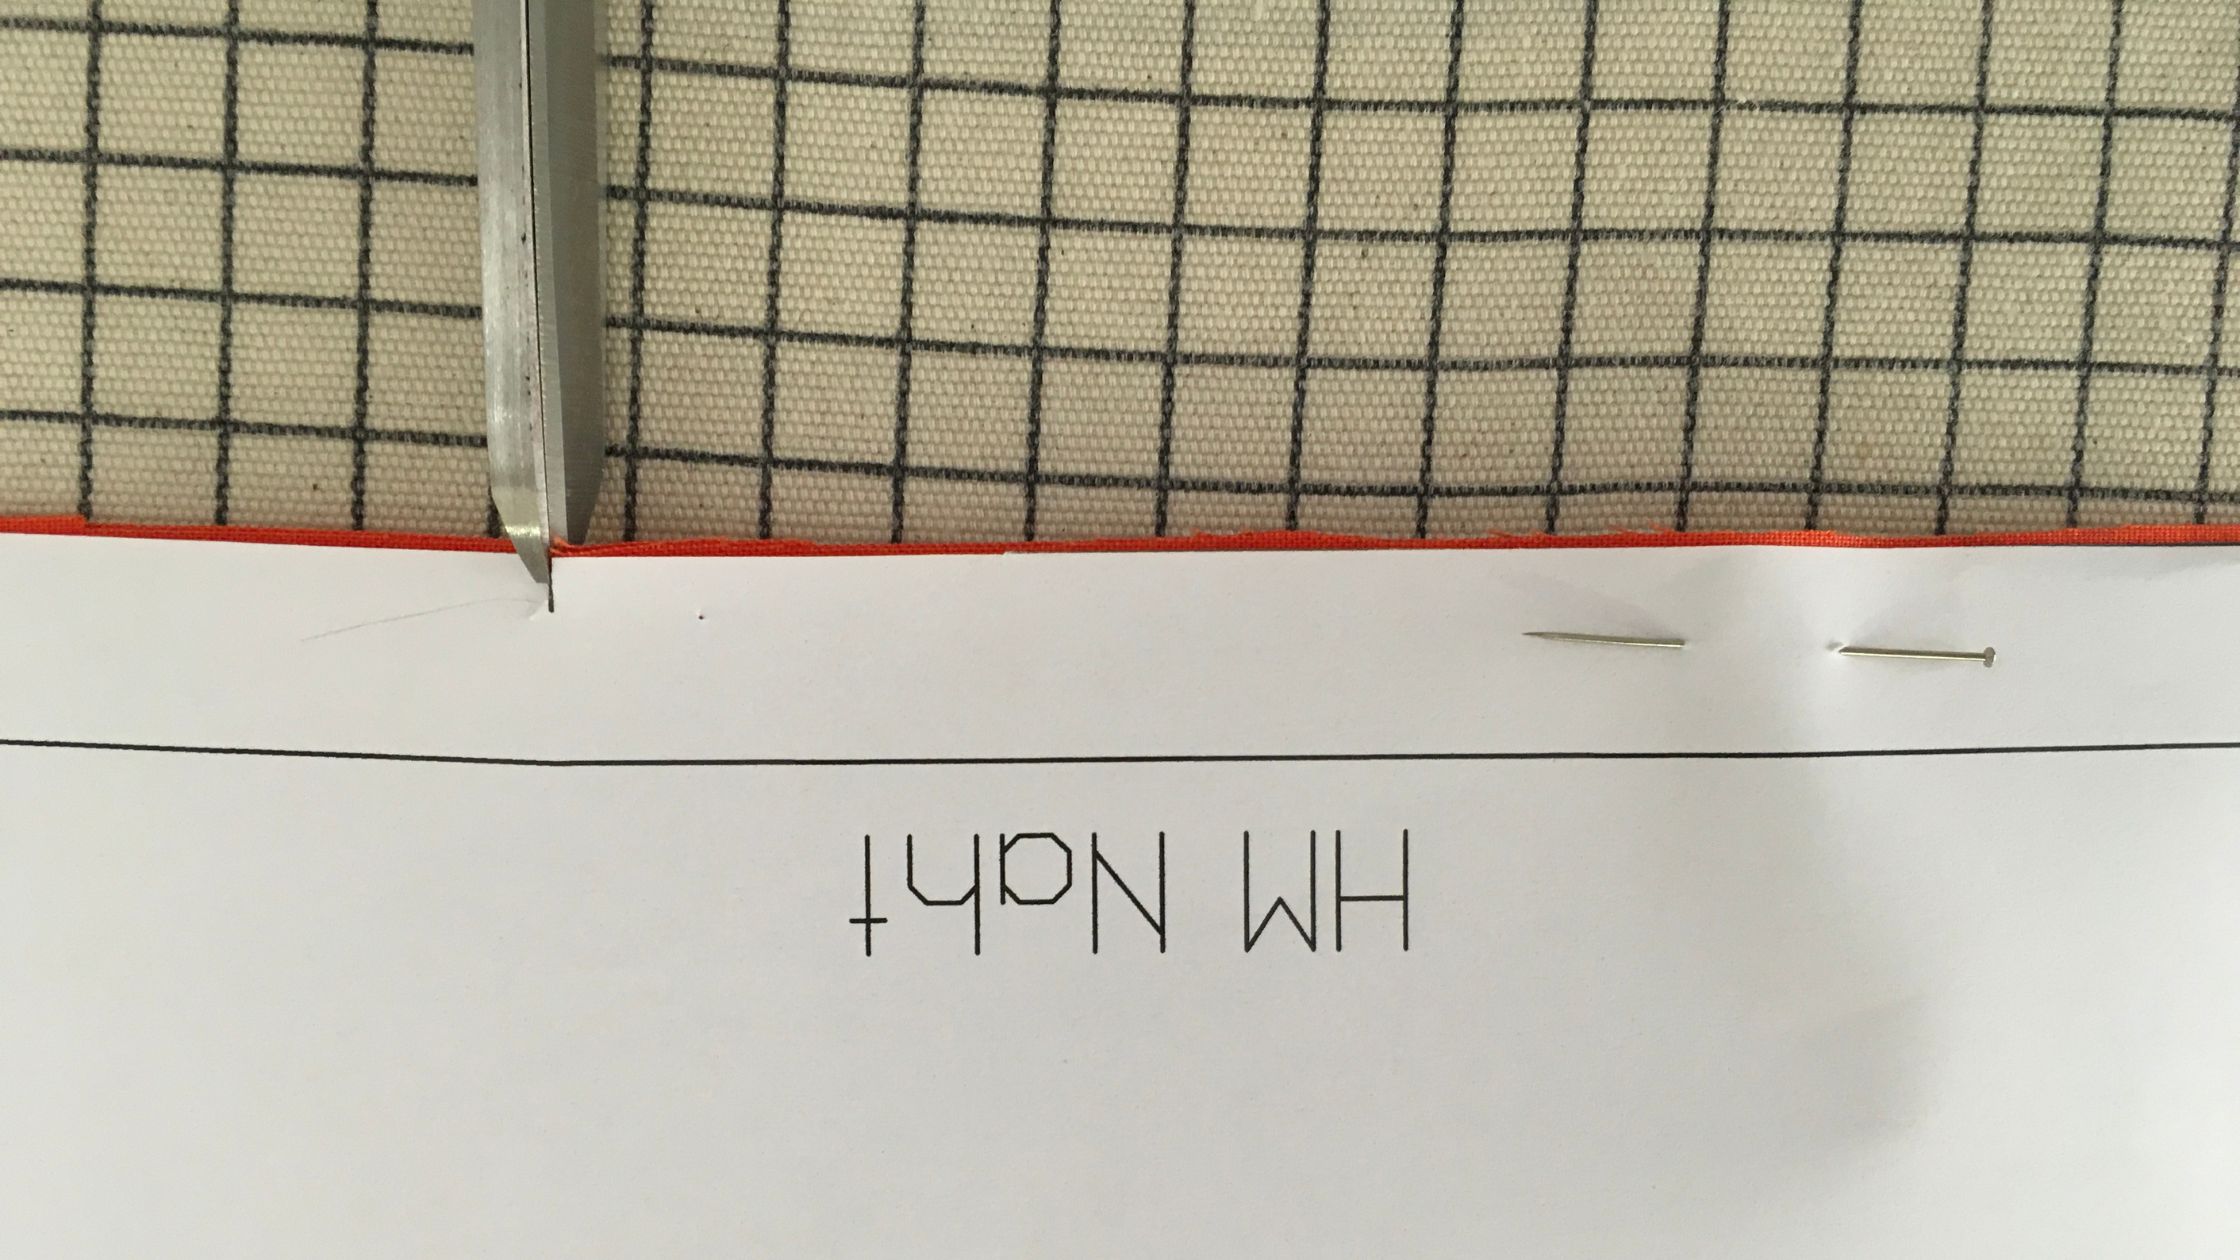
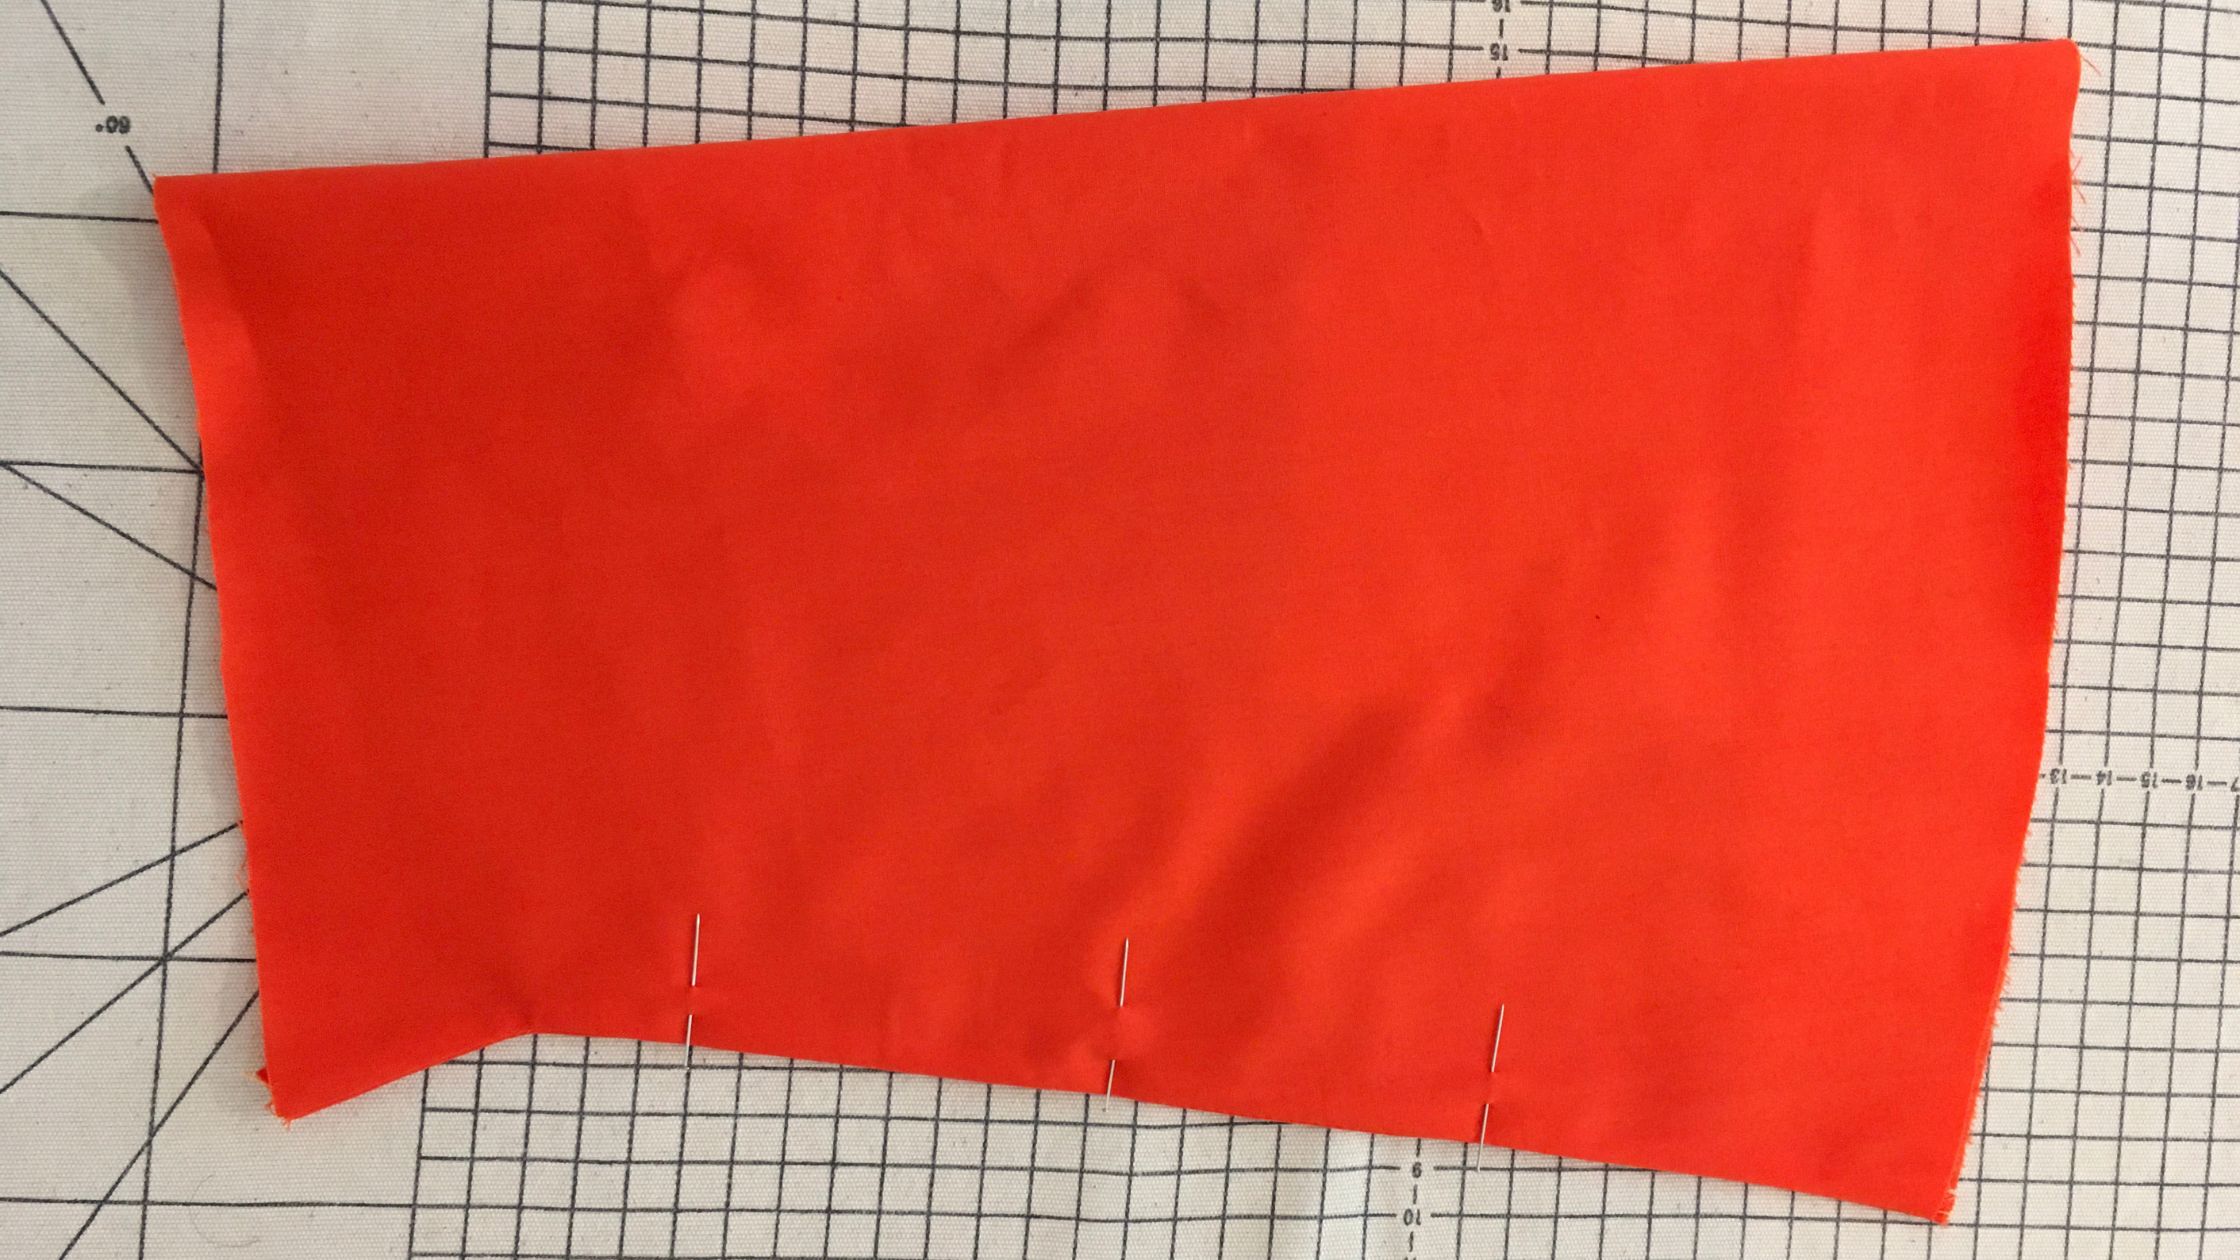
Step 2 - Transfer markings
Using the thread scissors, lightly cut all the marks marked on the pattern pieces about 0.4 cm deep in the fabric.
Step 3 - Ironing the fabric interfacing
Cut the neckline trims from the fabric interfacing as well. Place them with the adhesive side on the wrong side of the fabric pieces already cut out and carefully iron everything in place.
Tip: Place a piece of fabric between the iron and the fabric insert so that nothing can stick to the iron.
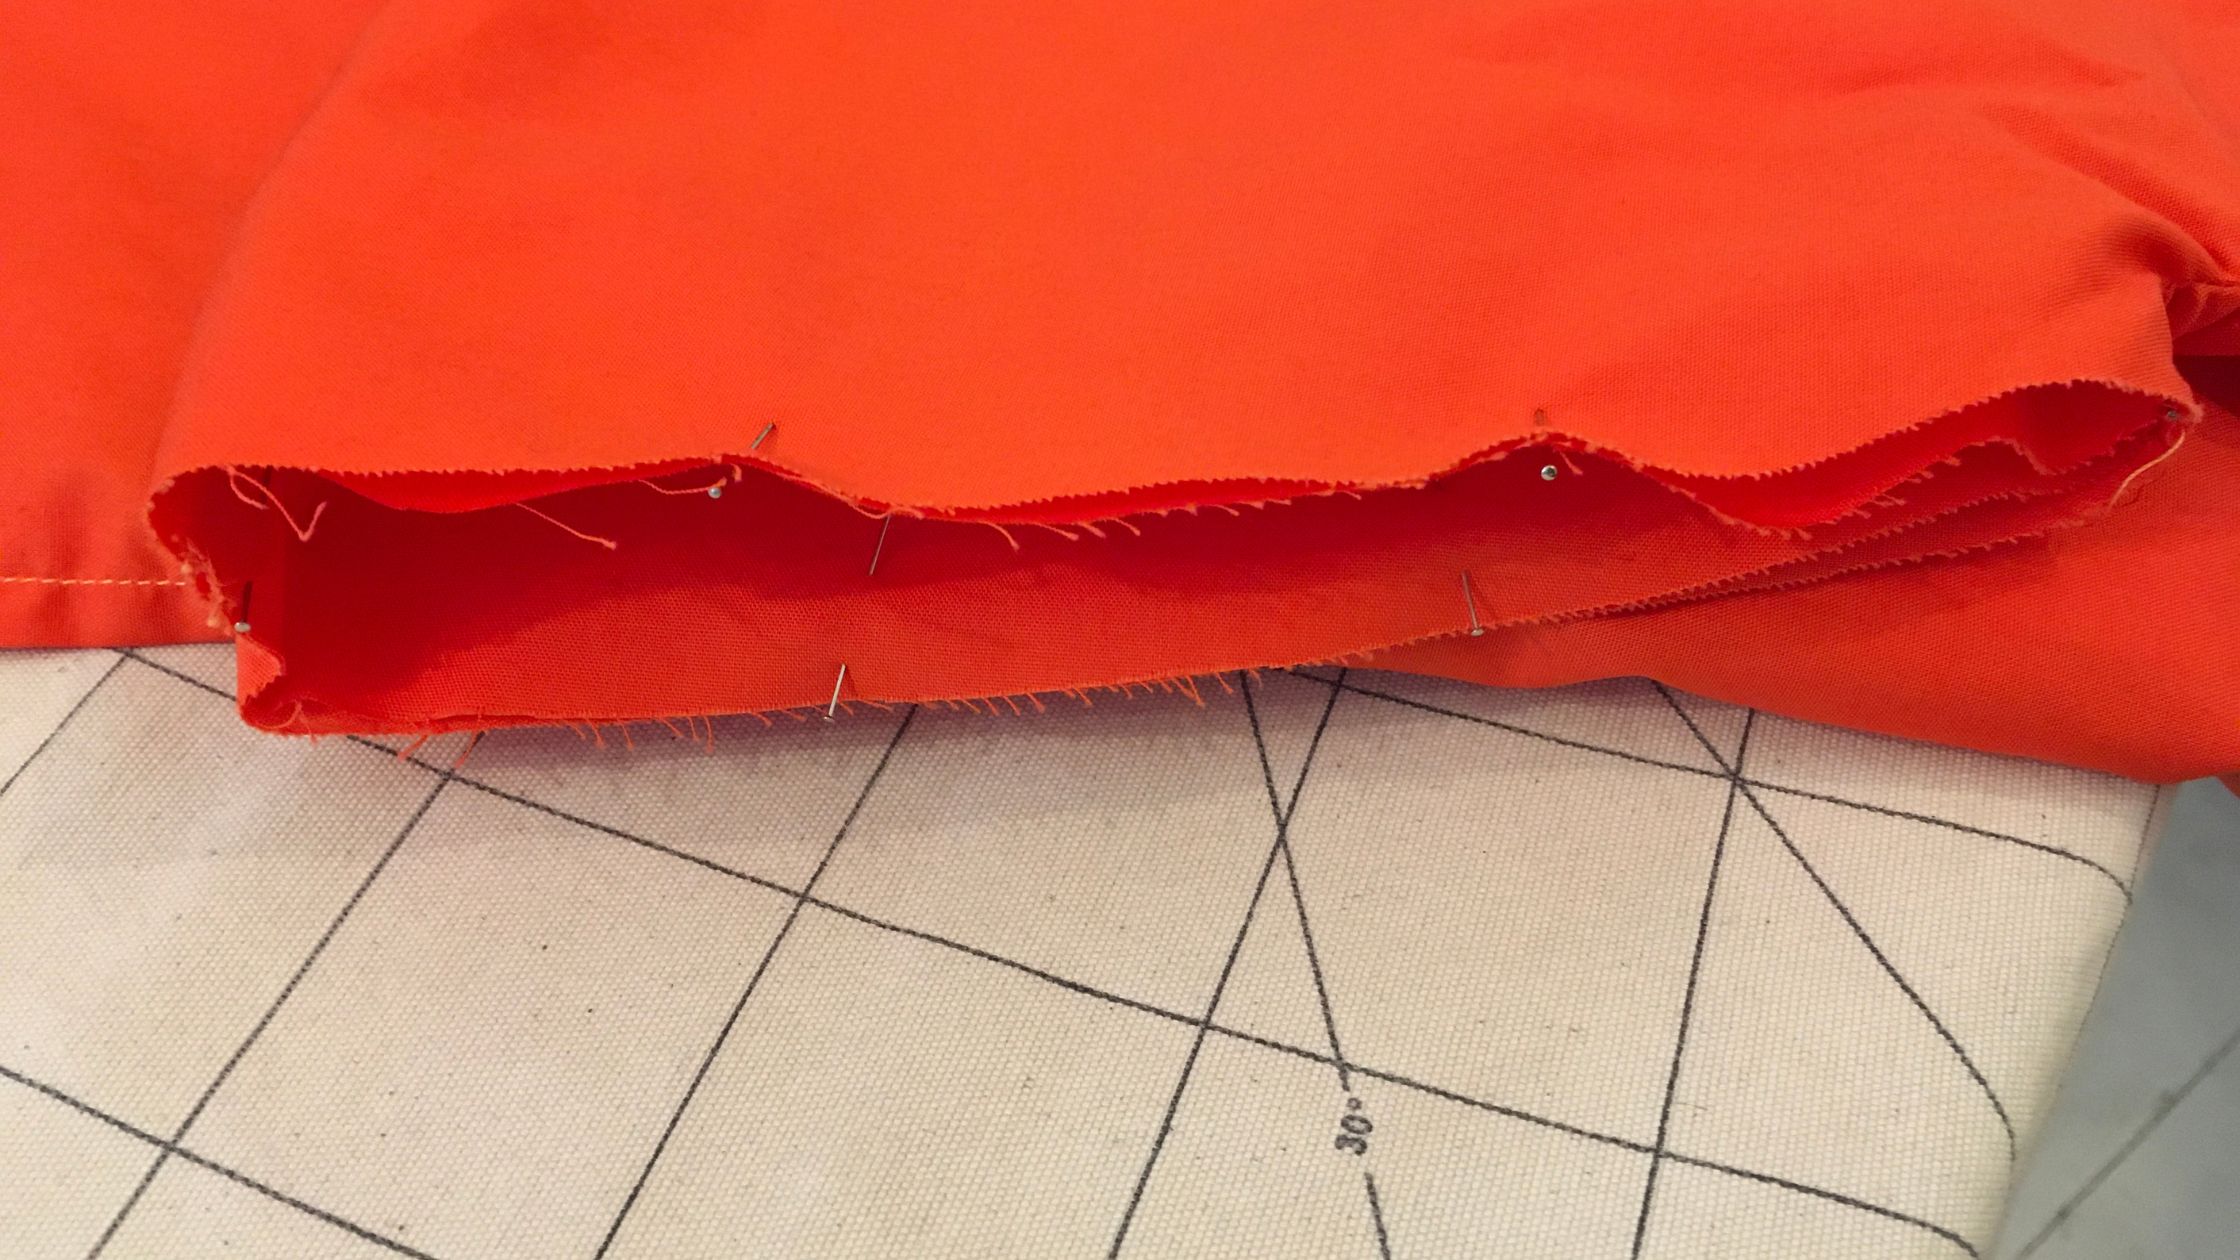
Step 4 - Topstitch sleeves and back seam
Fold the sleeve in half with the wrong side of the fabric on the inside. Pin the side seam. Topstitch the side seam at 0.5 cm from the edge. Repeat for the second sleeve.
Place the back pieces - fabric pieces wrong sides together. Pin the back seam from the right side and topstitch at 0.5 cm from the edge.
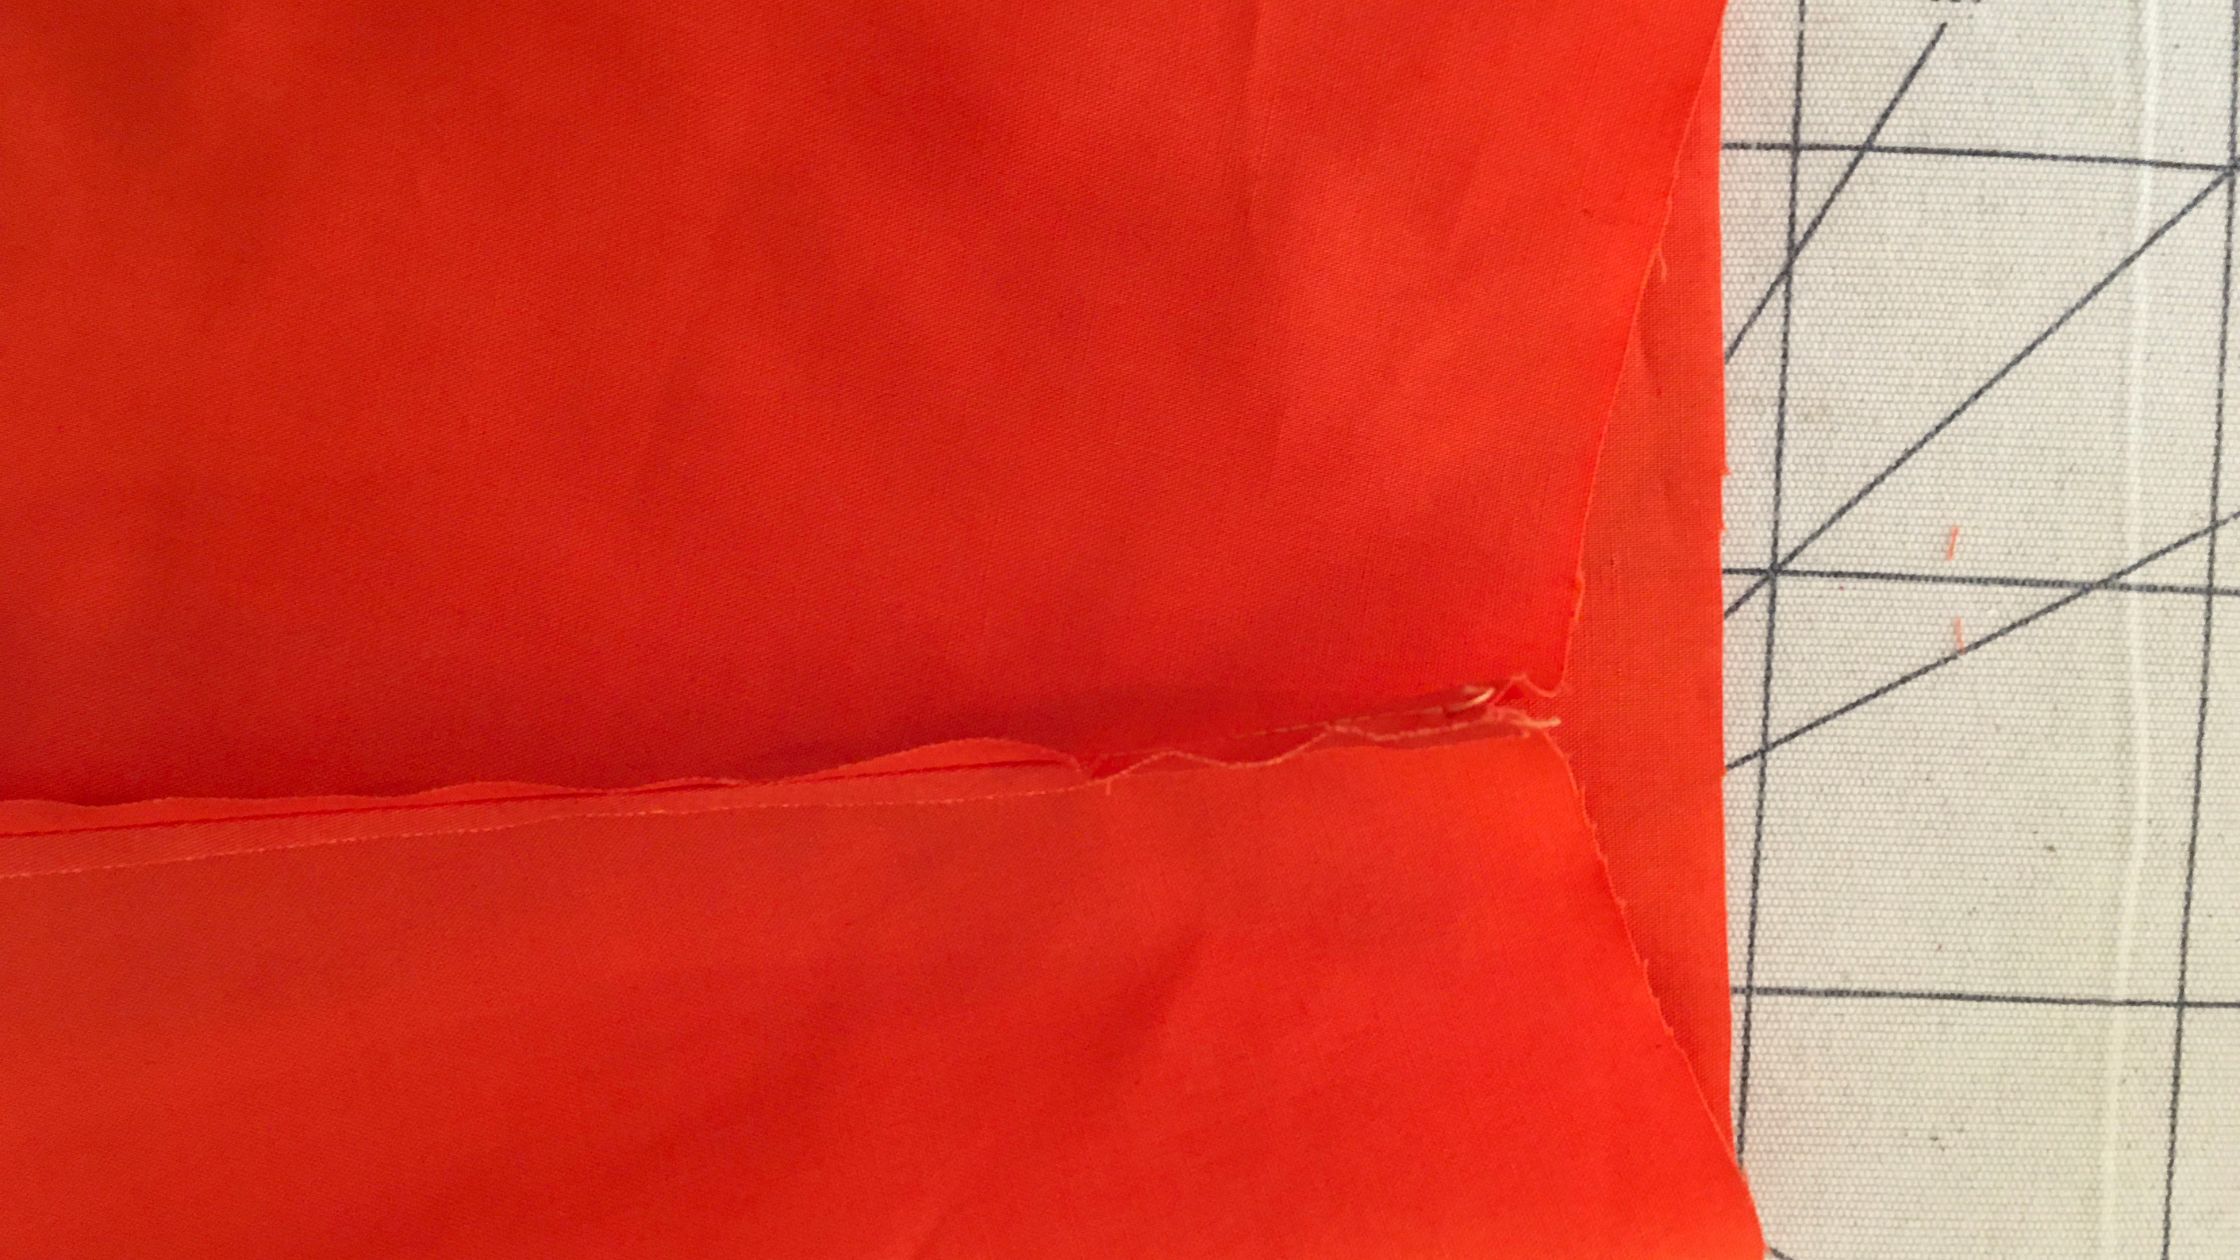
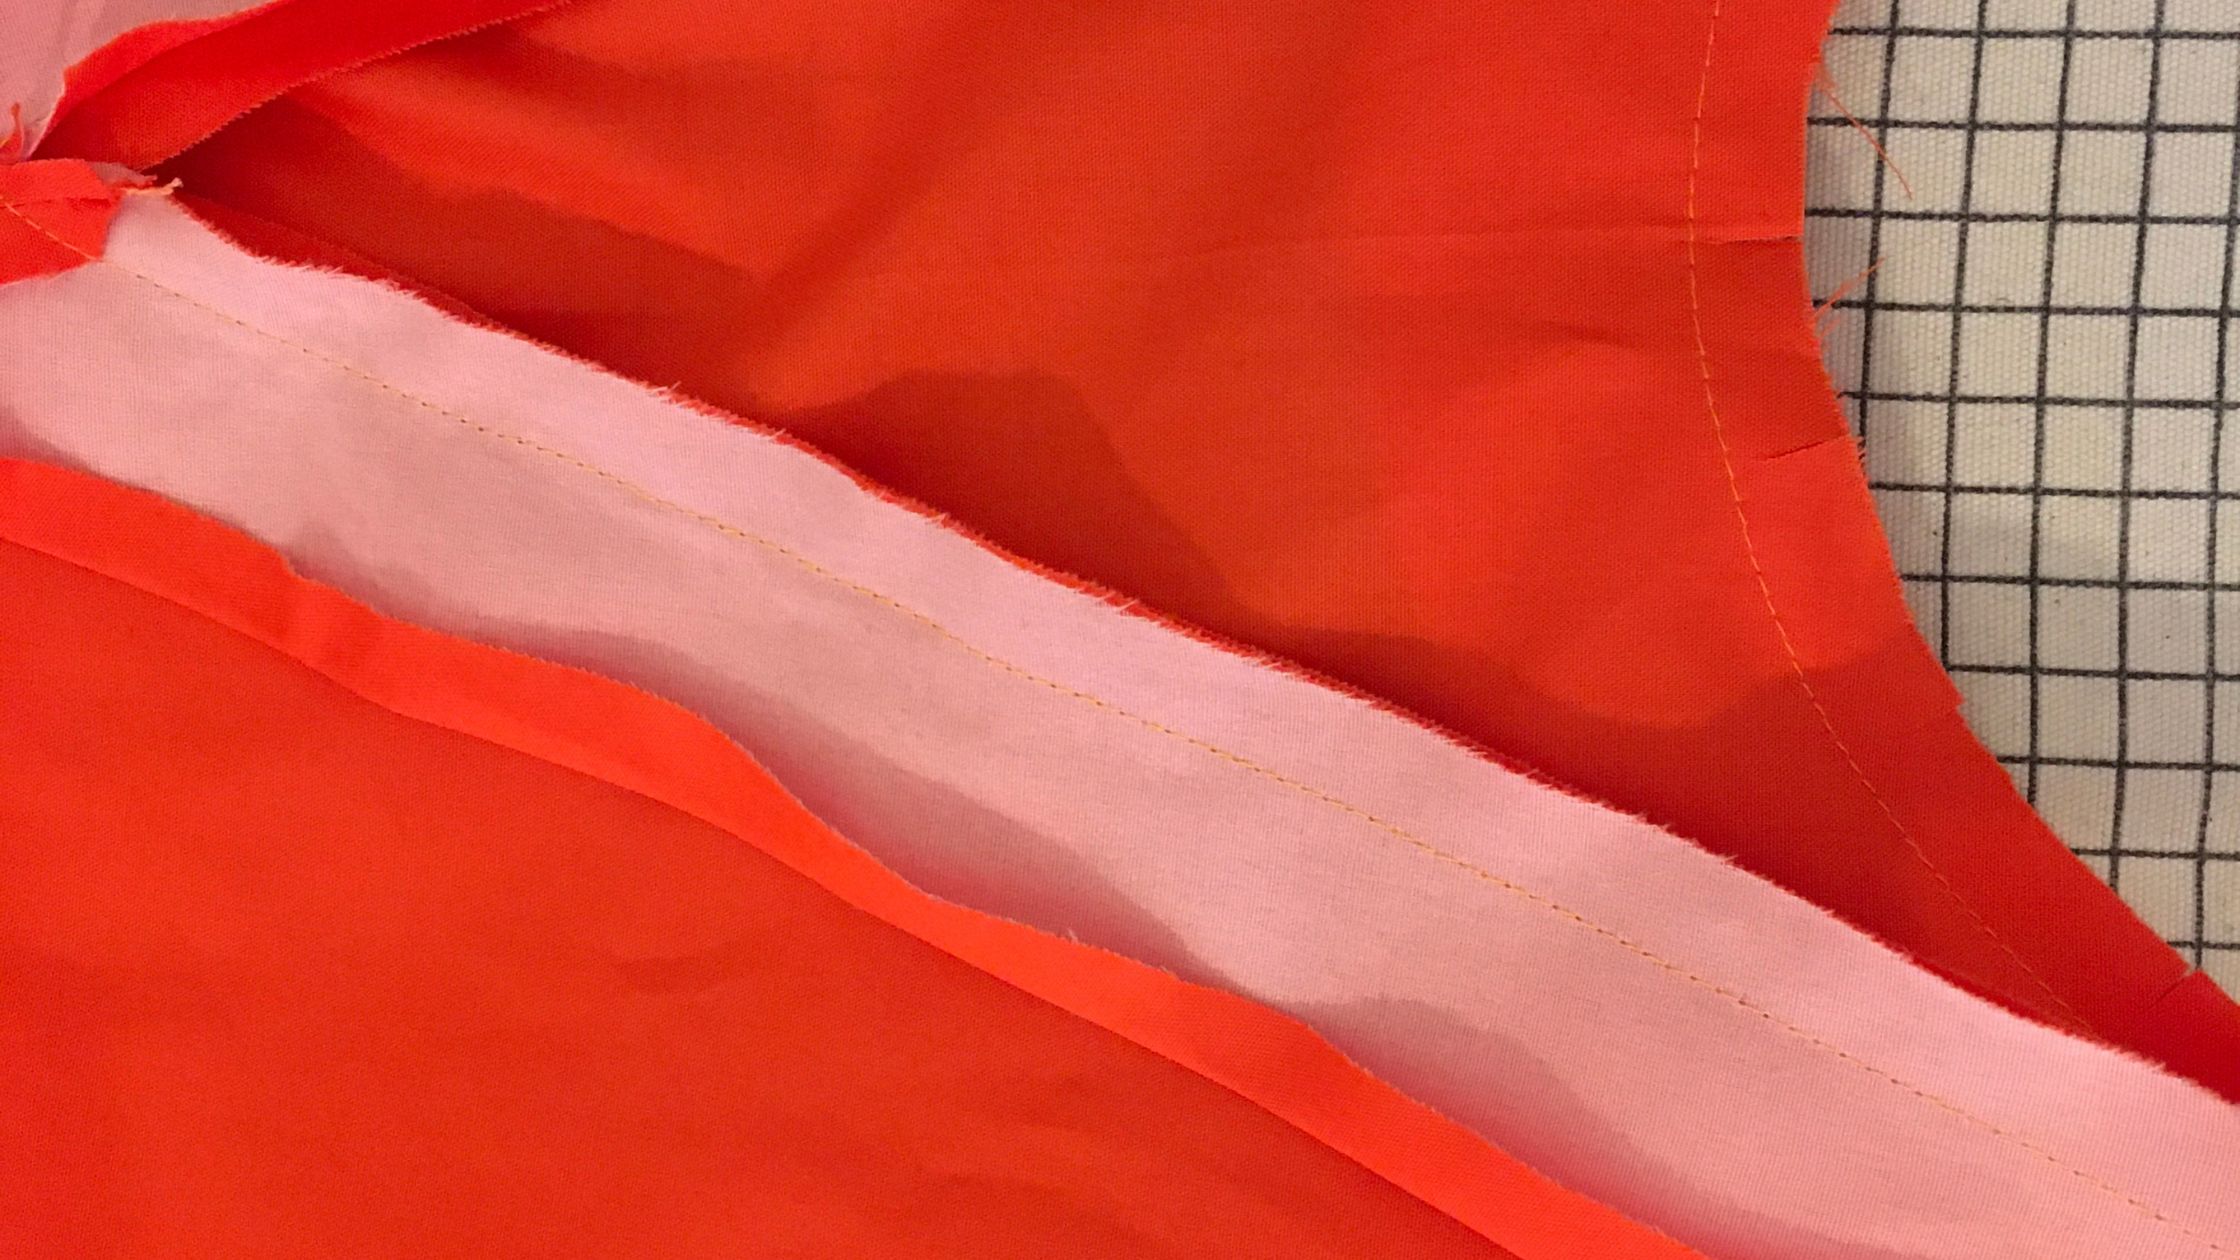
Step 5 - Press seam allowances, turn pieces over
Press the seam allowances on the sleeves and back piece in one direction.
Turn the sleeves and the back inside out.
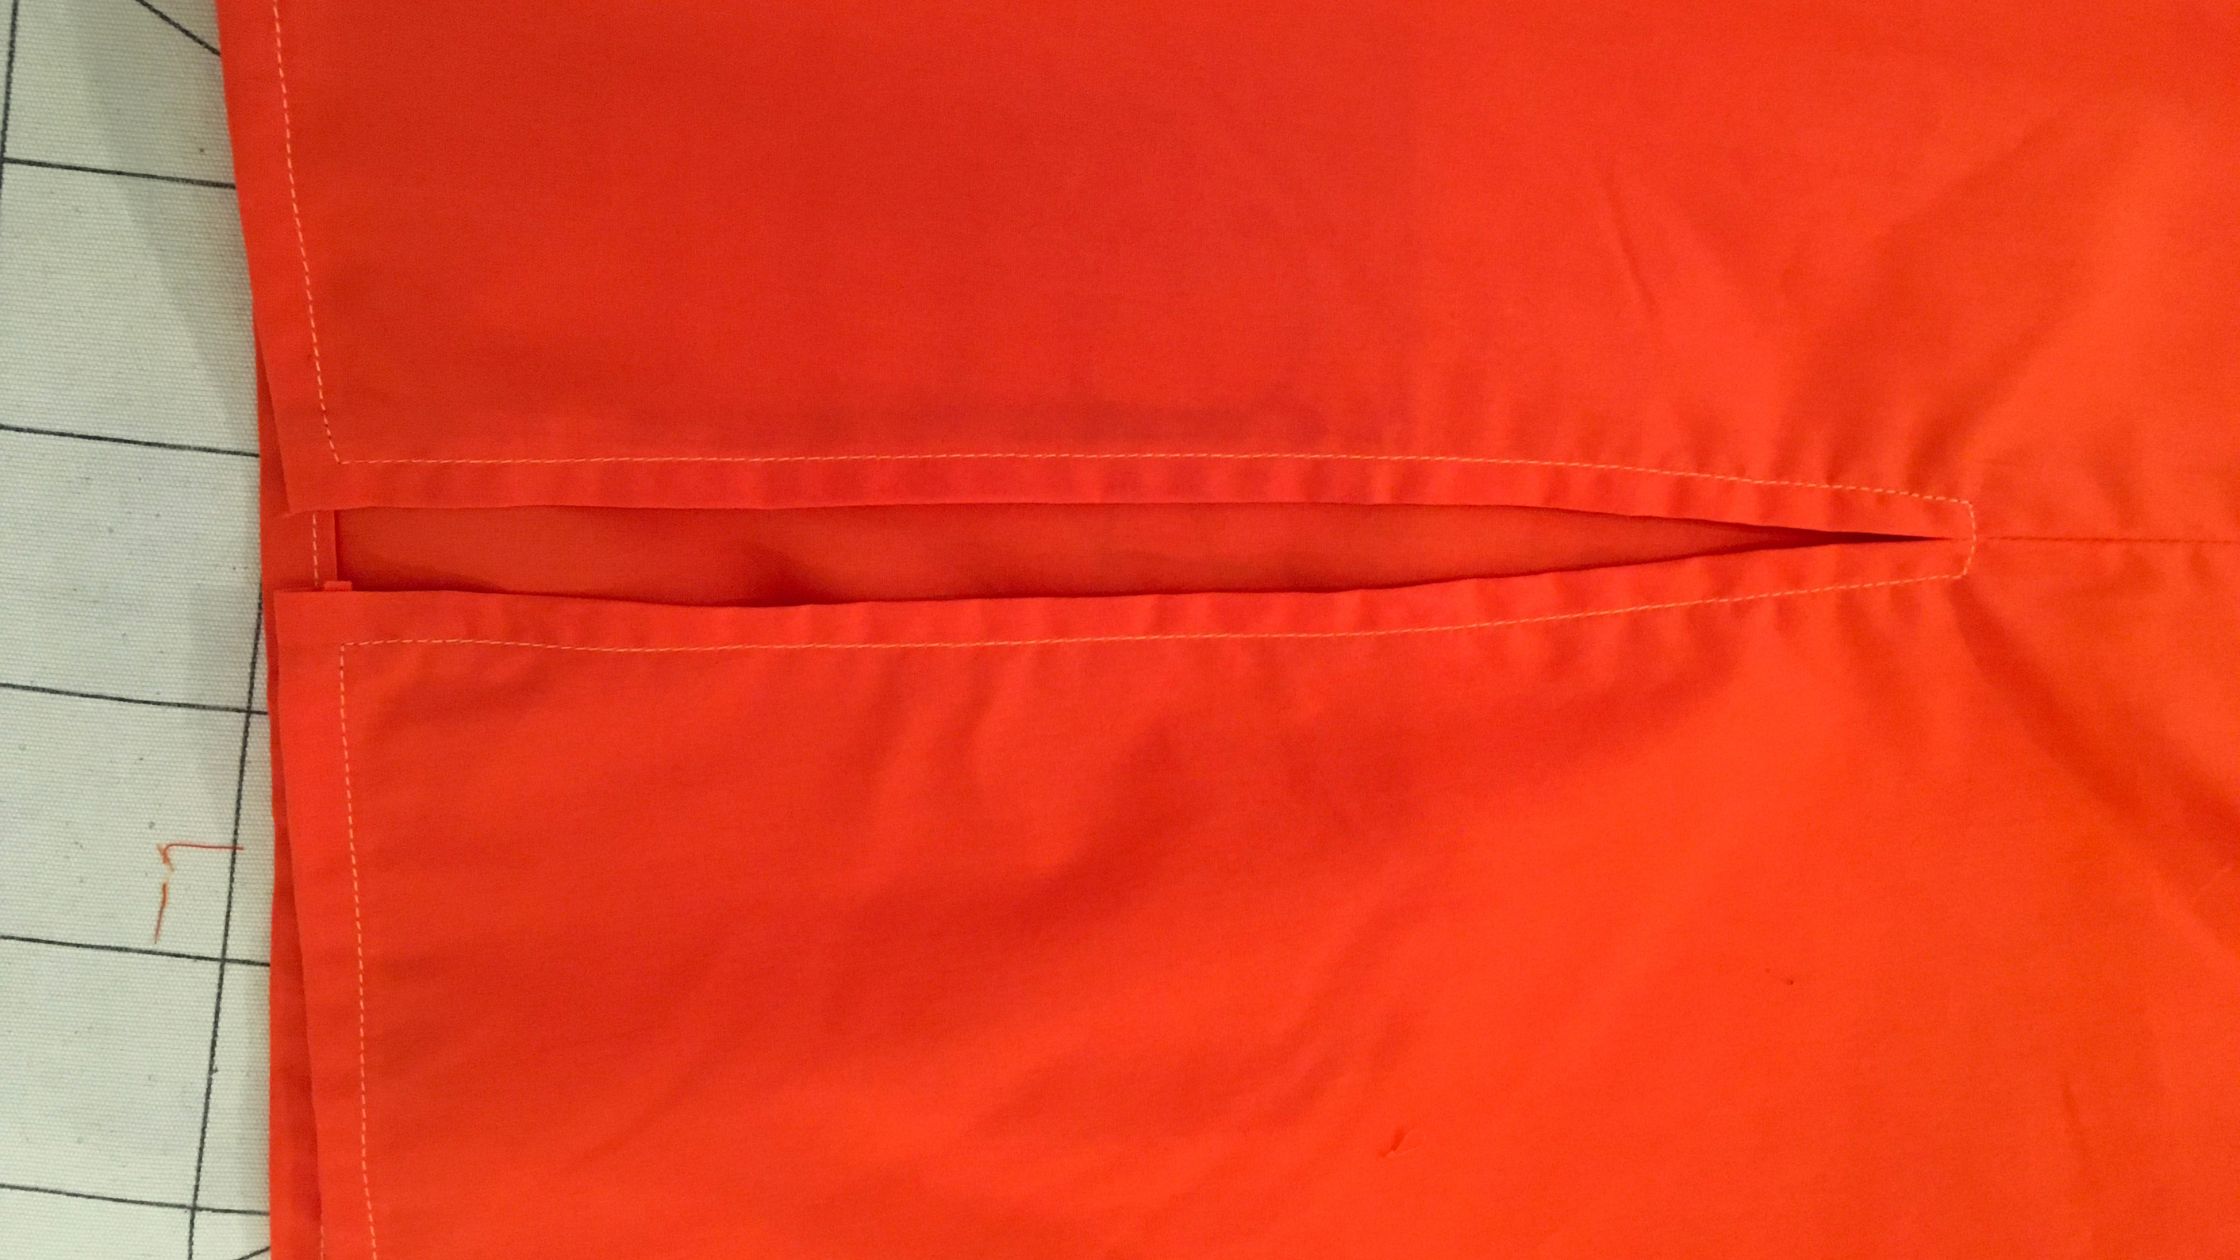
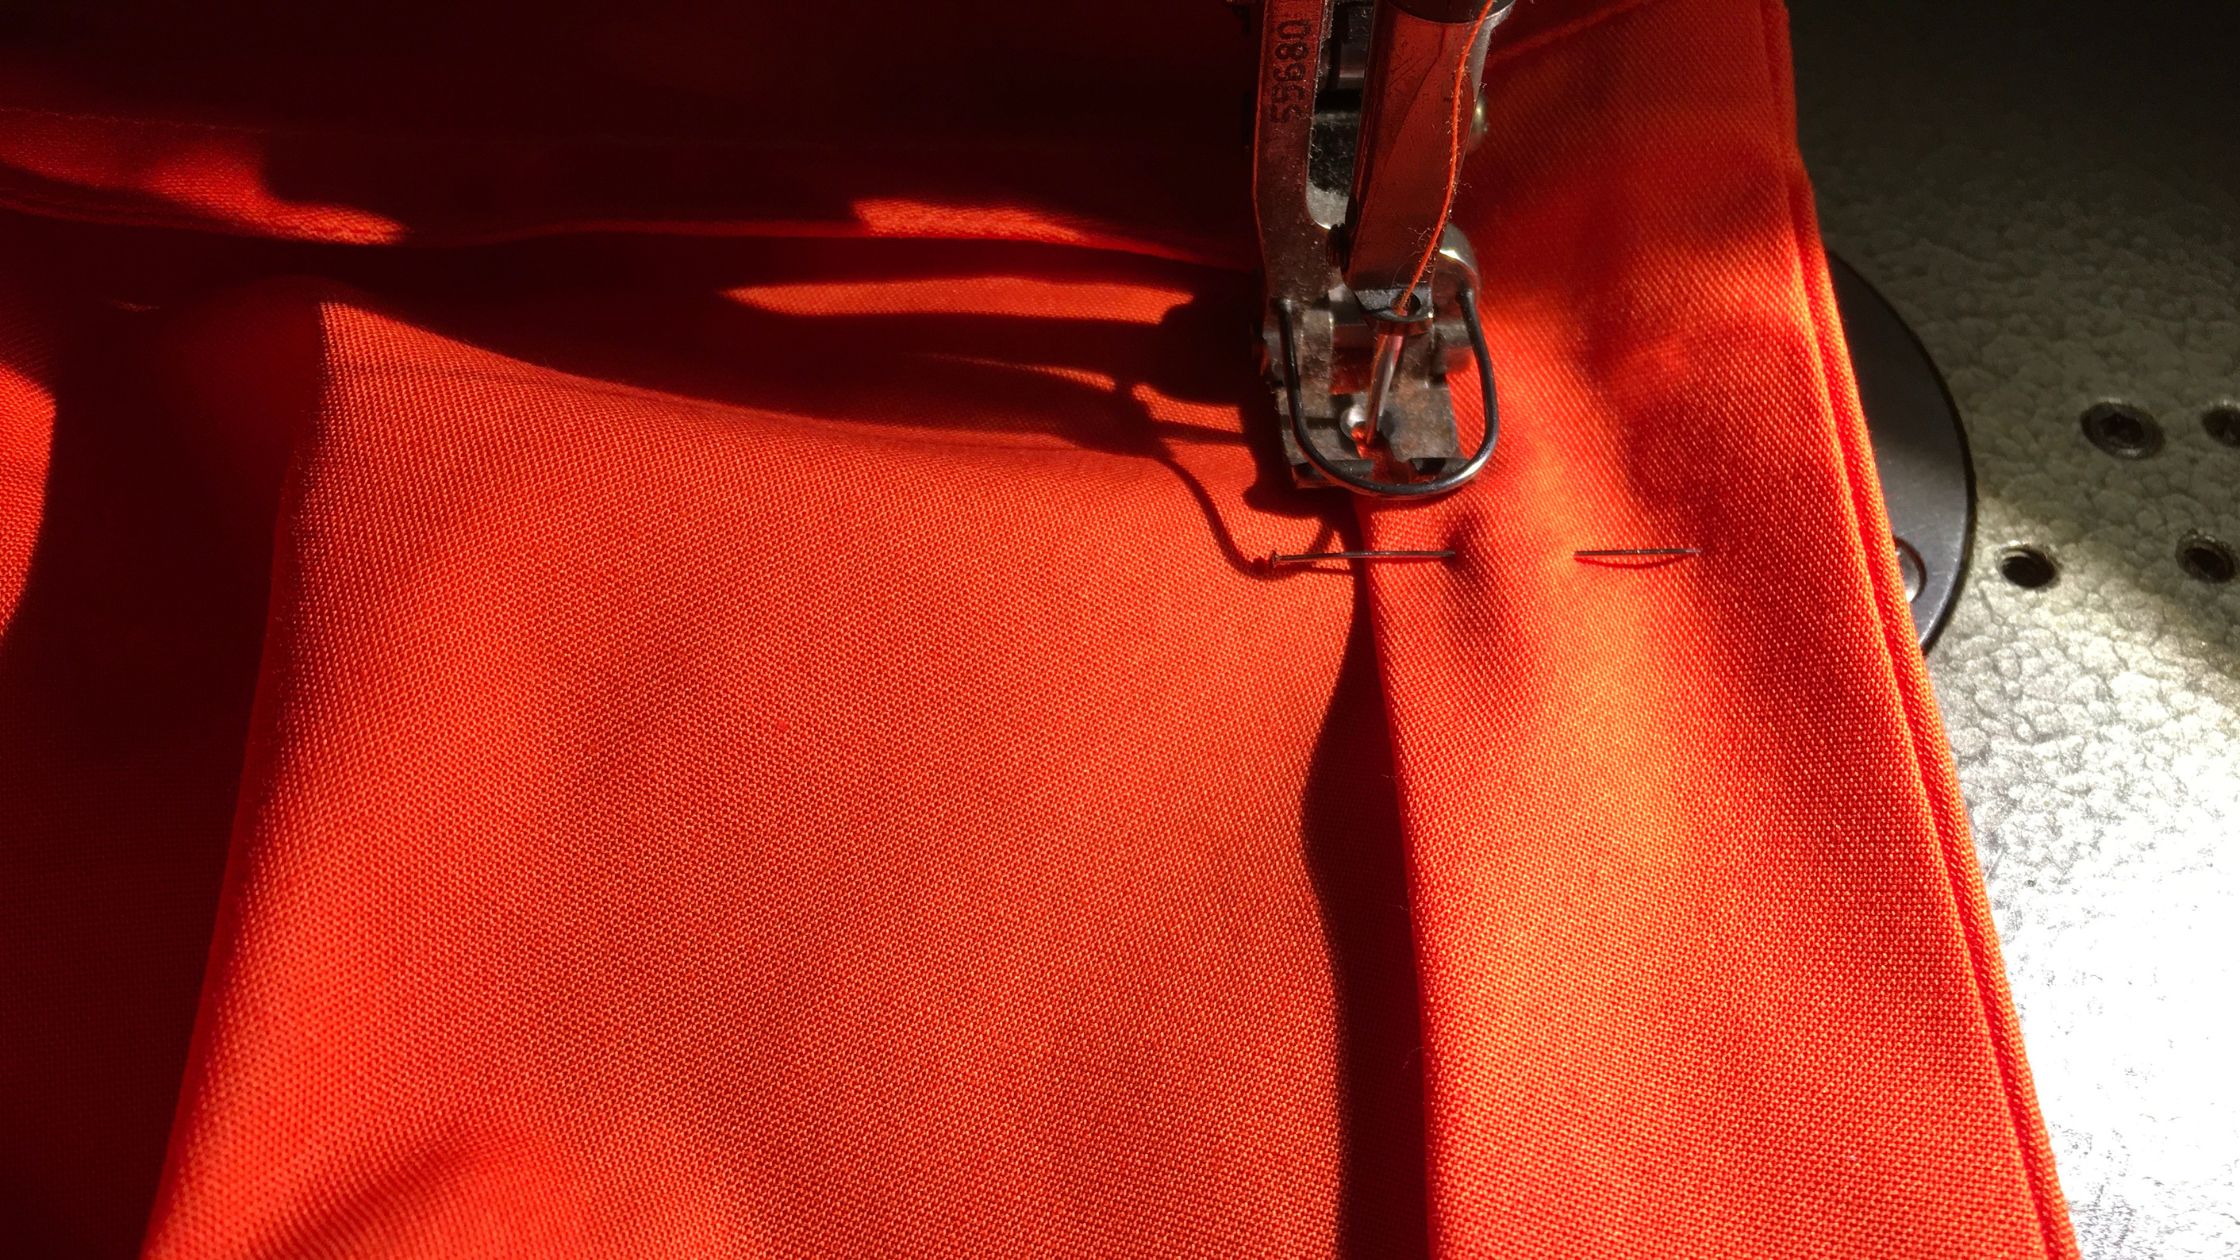
Step 6 - Sew from the left
Press the seam edges flat again, pin them in place and sew them in place at 1 cm from the edge.
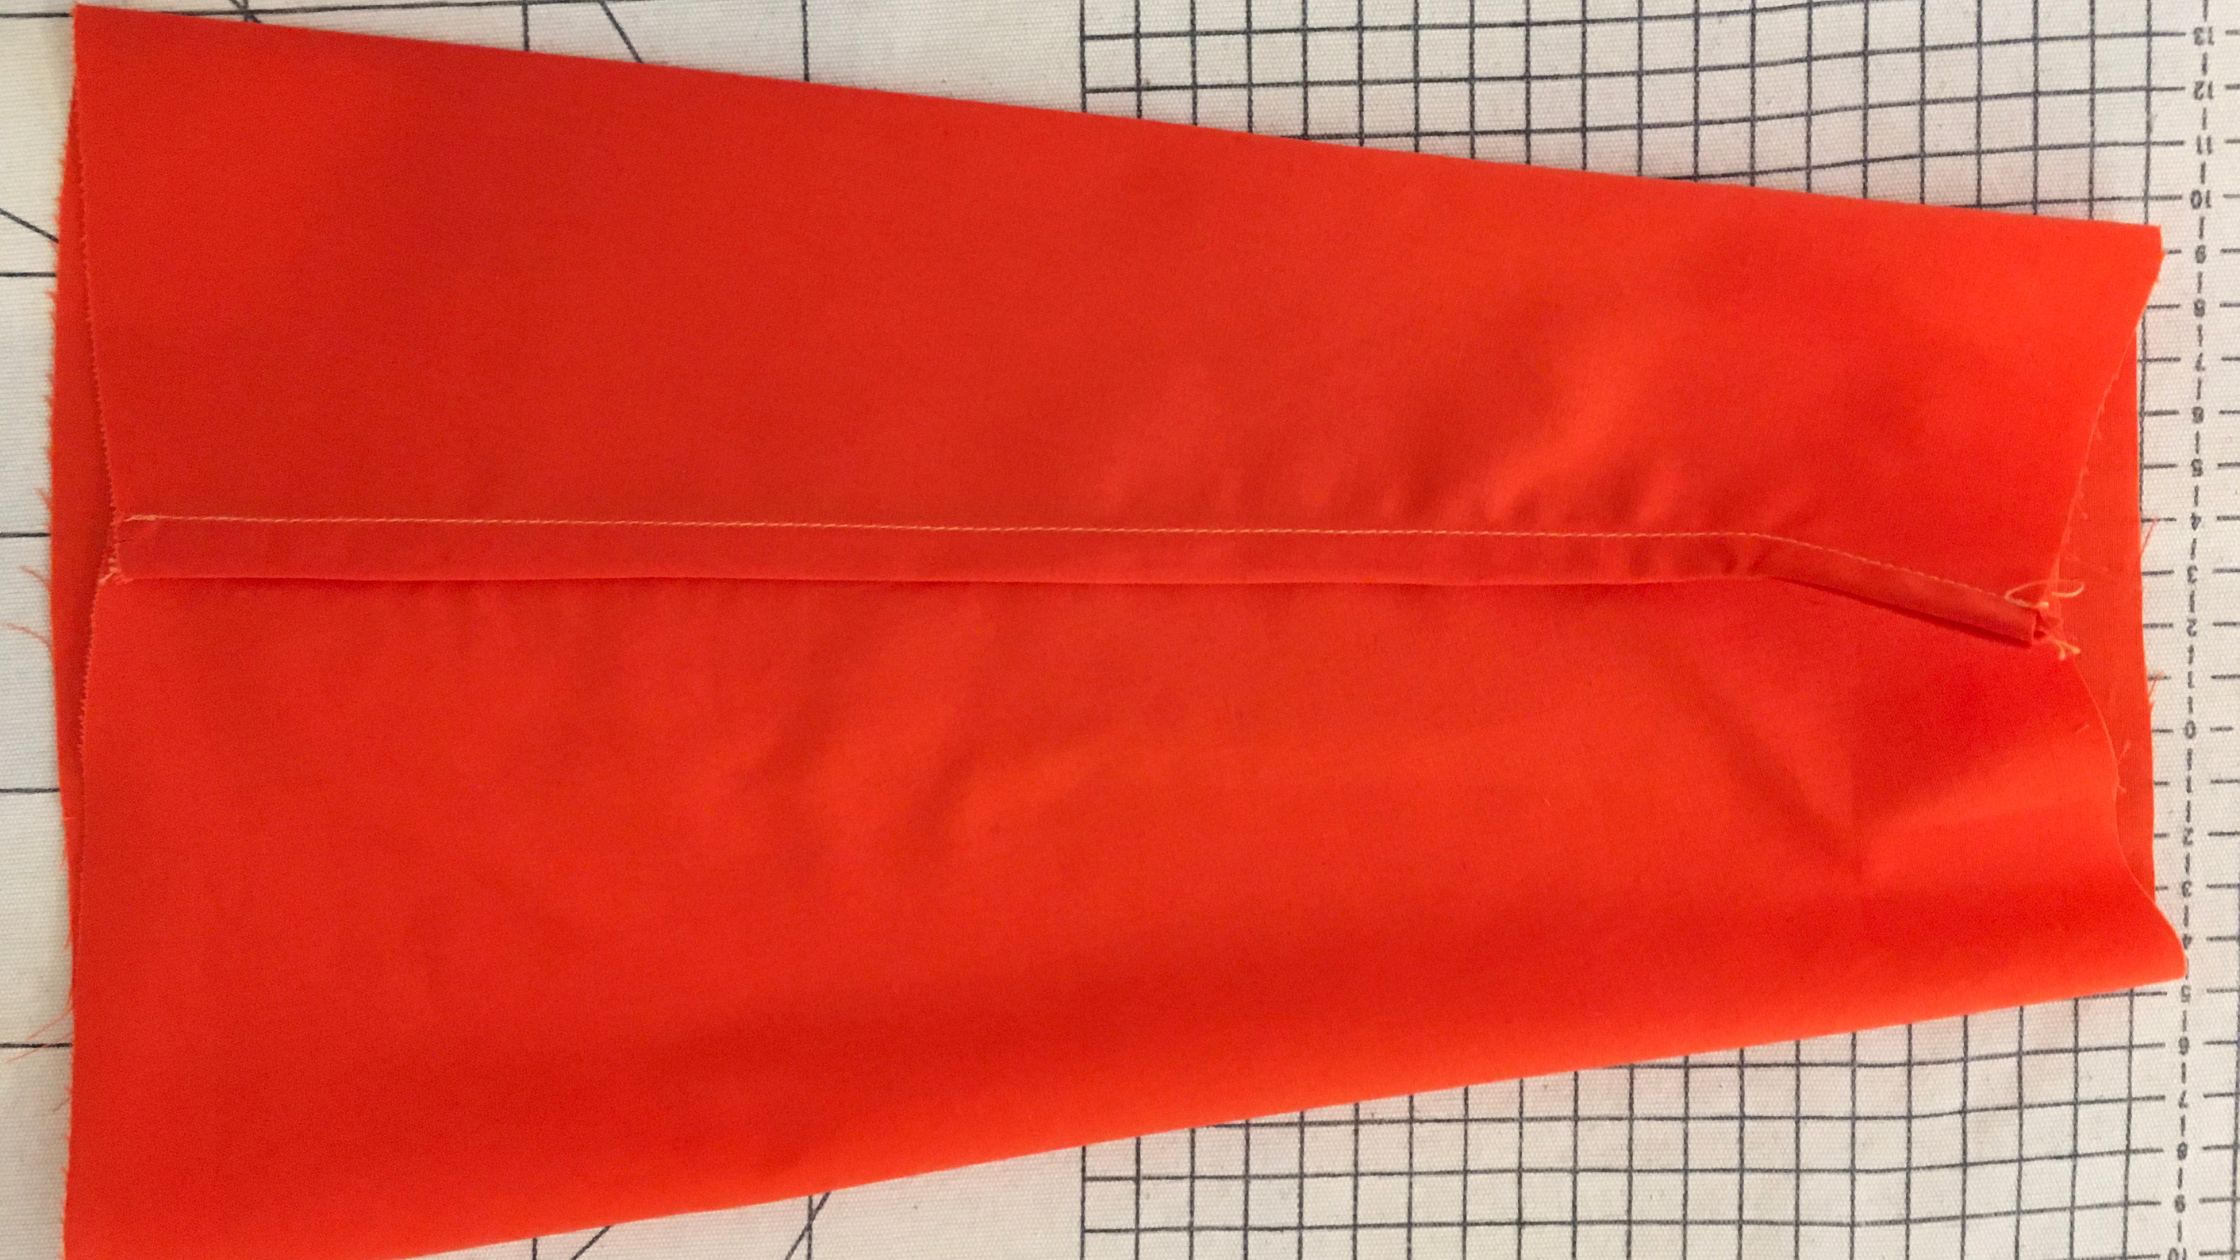
Step 7 - French seam
The result is a French seam. It is very clean and resilient. The French seam was often used for pyjama trousers in the past. It is also perfect for fine sheer fabrics.

Step 8 - Iron the sleeve hem
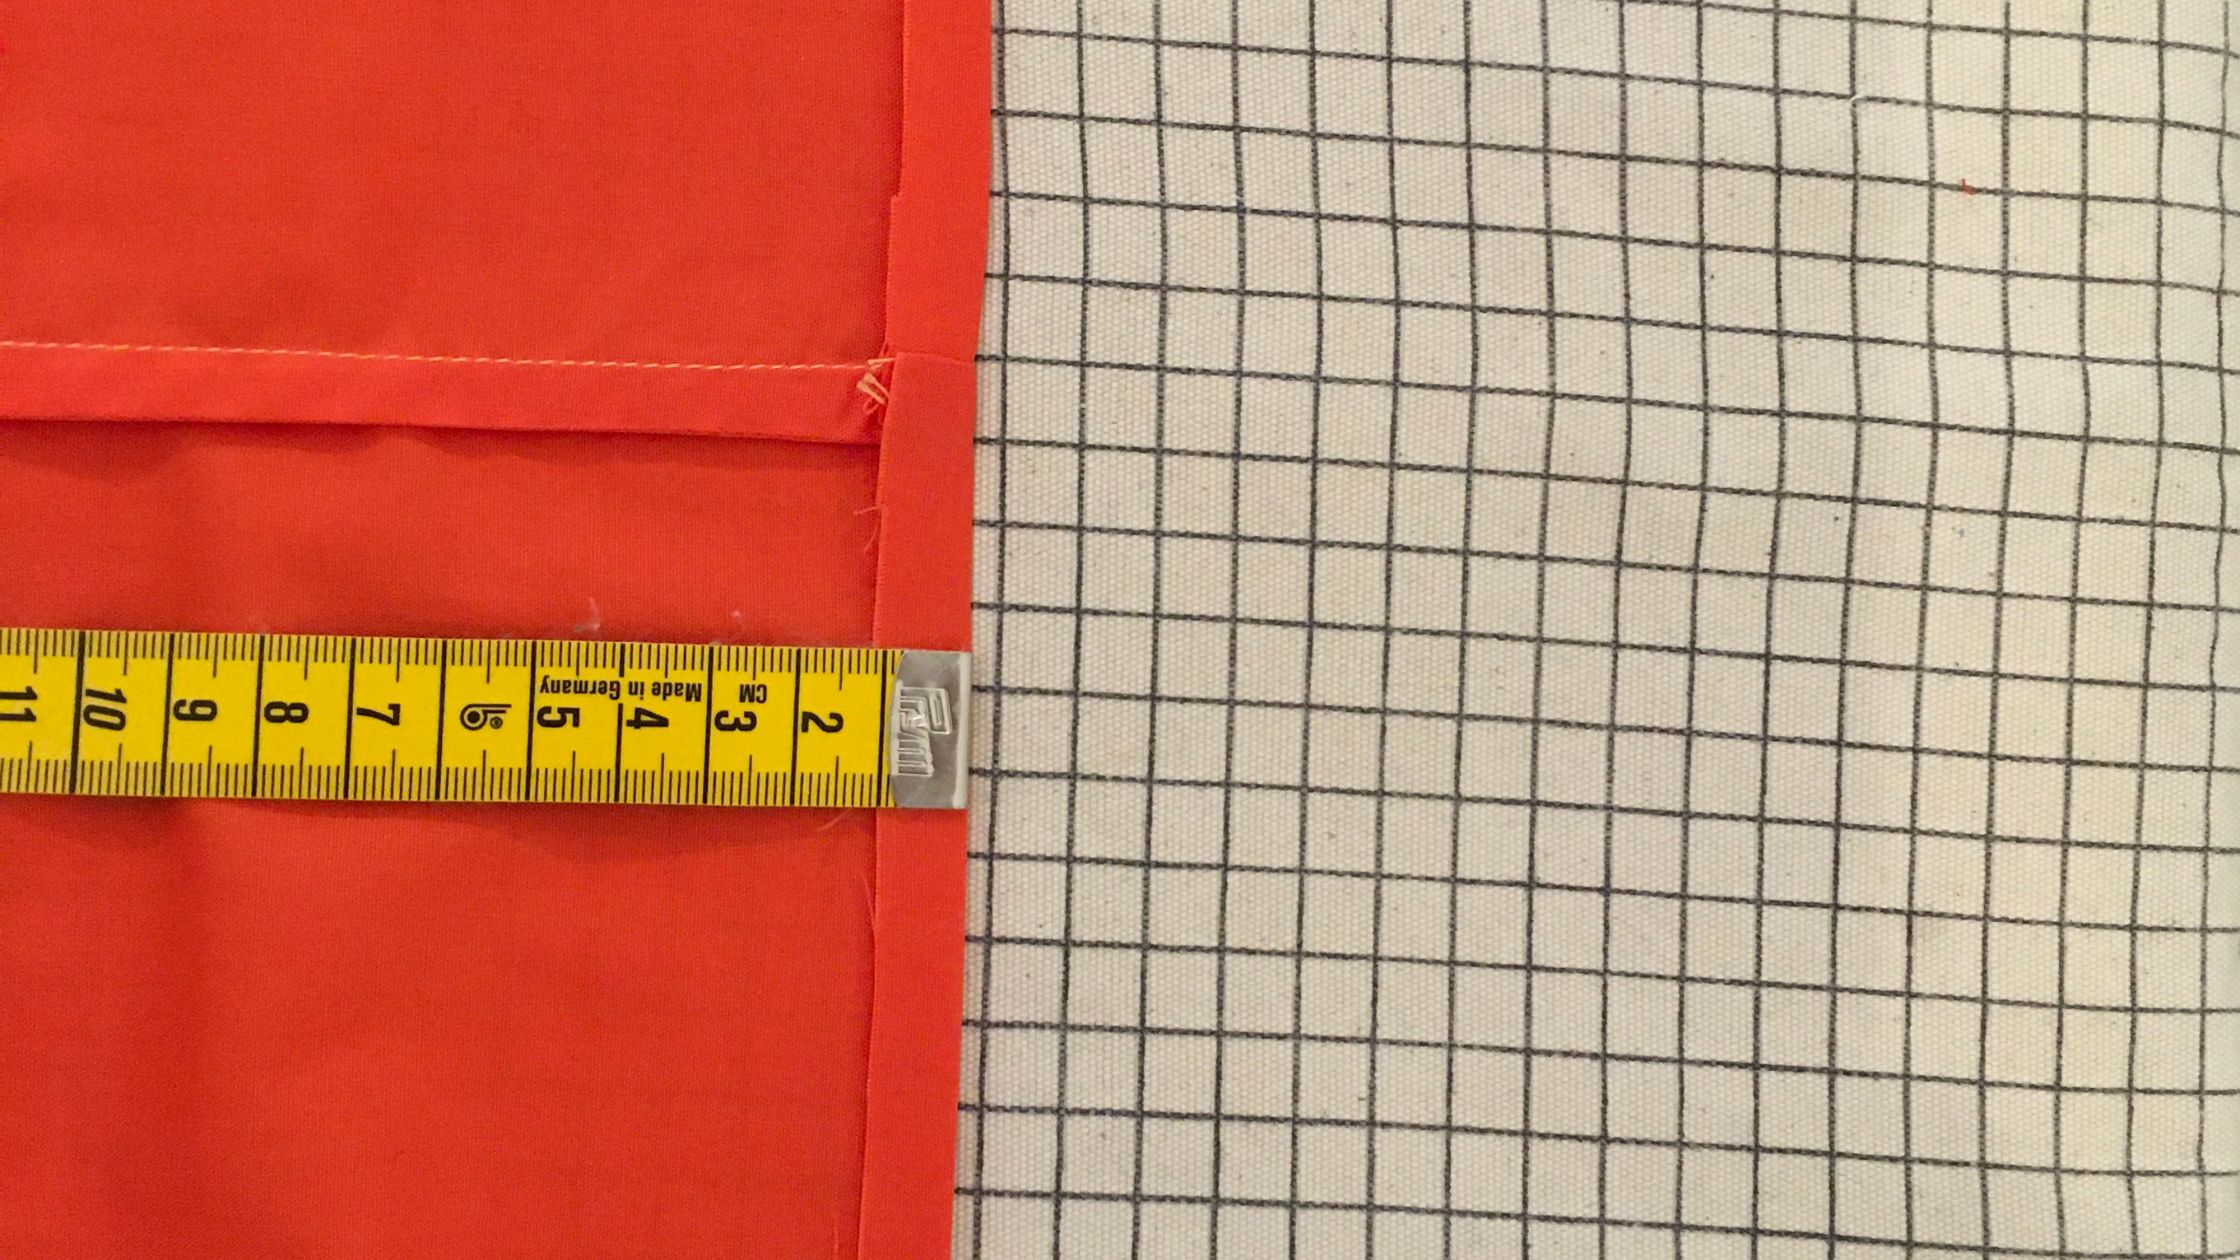
Measure a 1 cm seam allowance at the hem of the sleeve and press it inwards.
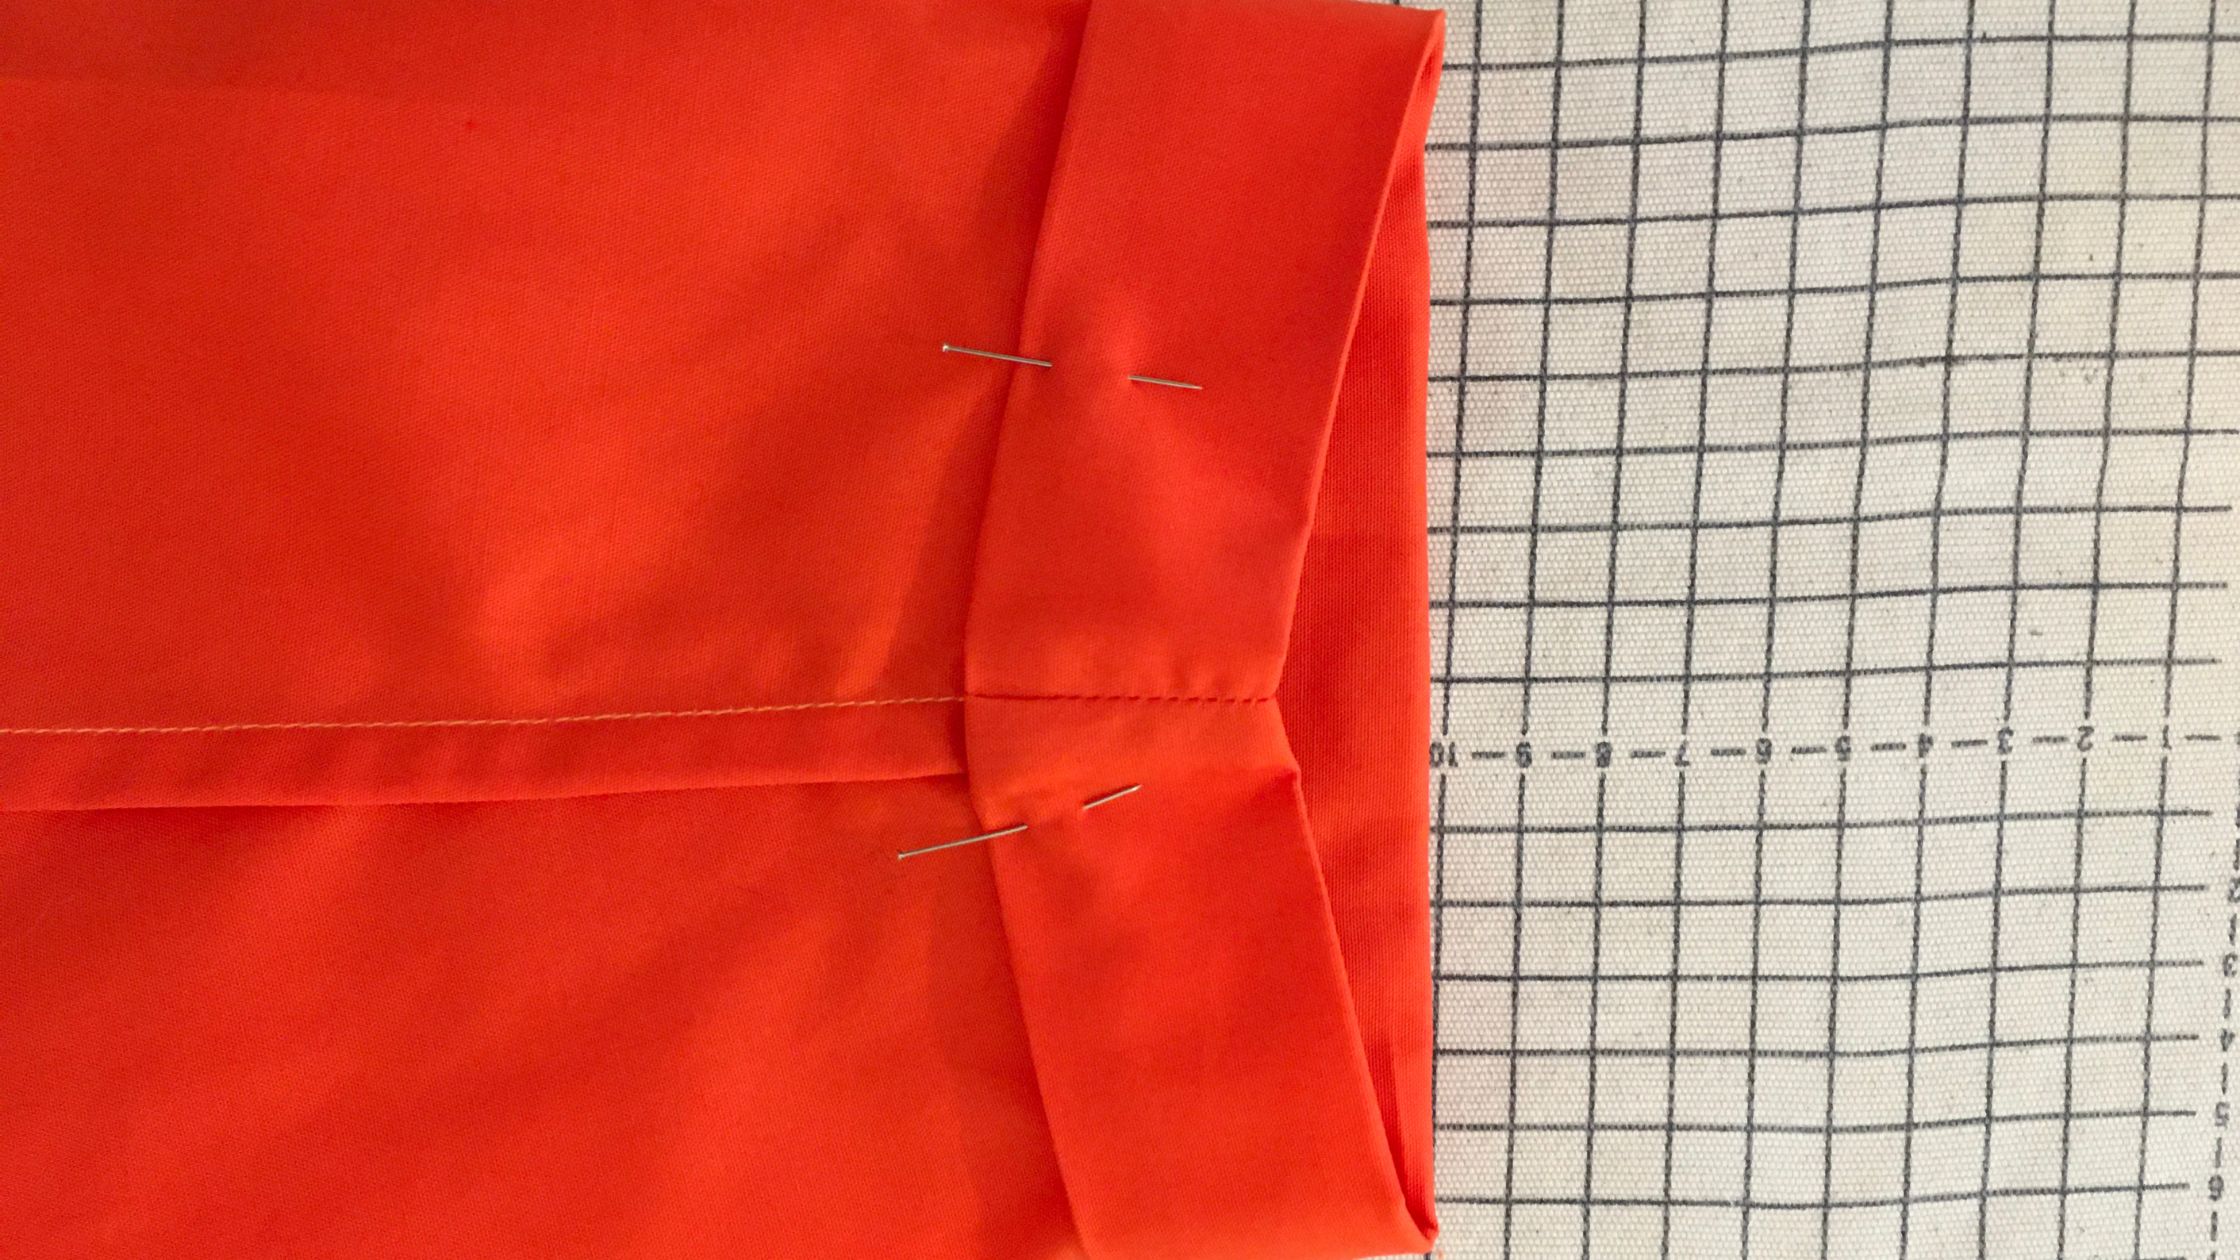
Step 9 - Pin the sleeve hem
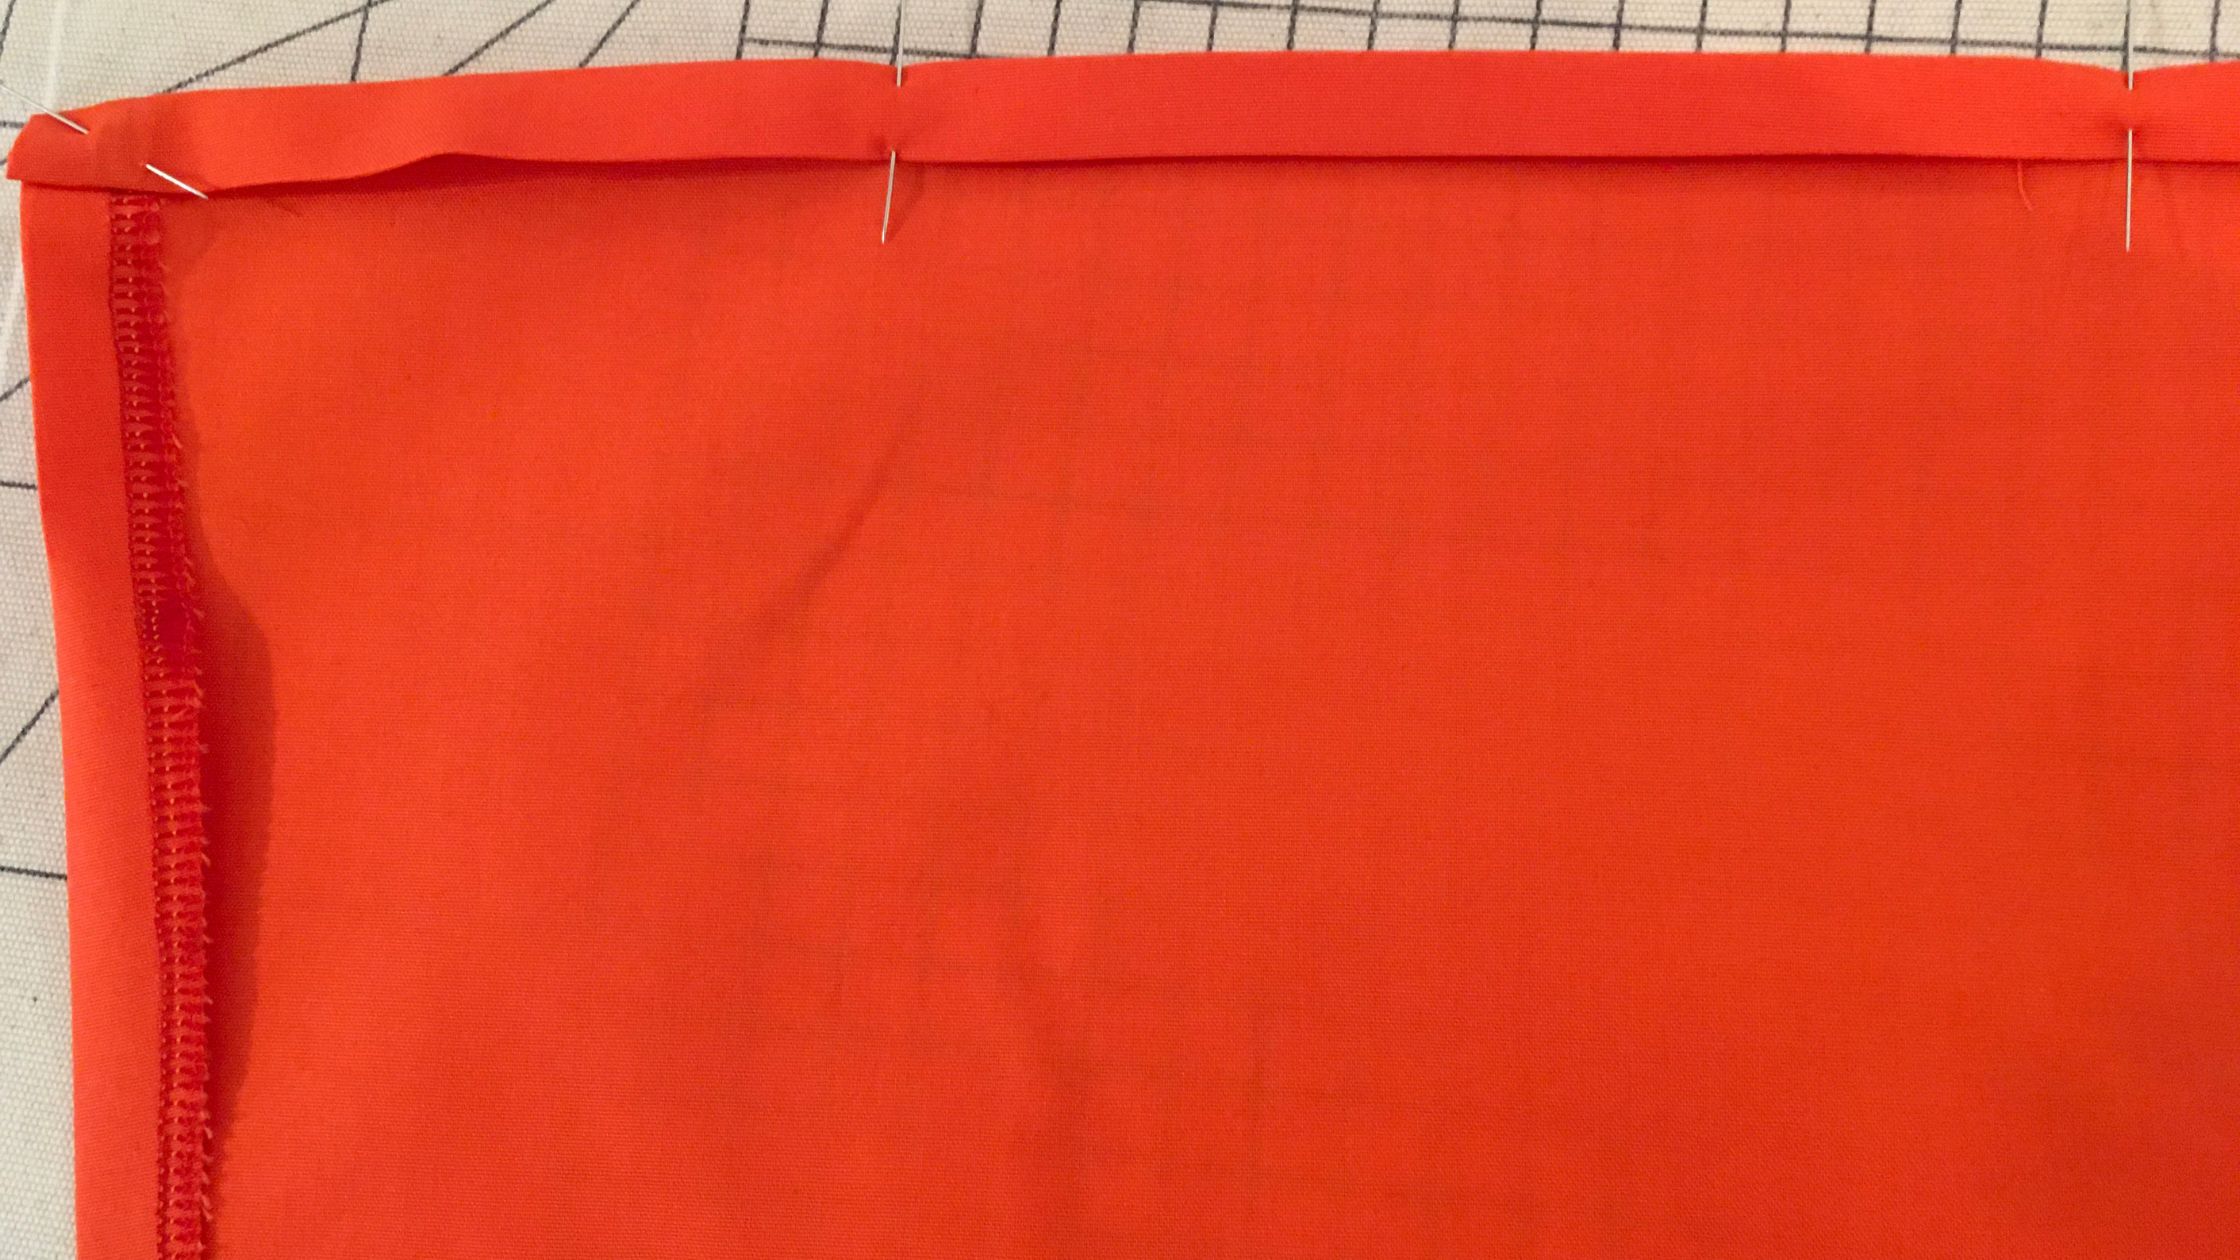
Now measure a seam allowance of 3.5 cm at the hem of the sleeve and press it inwards. Pin it in place with pins.
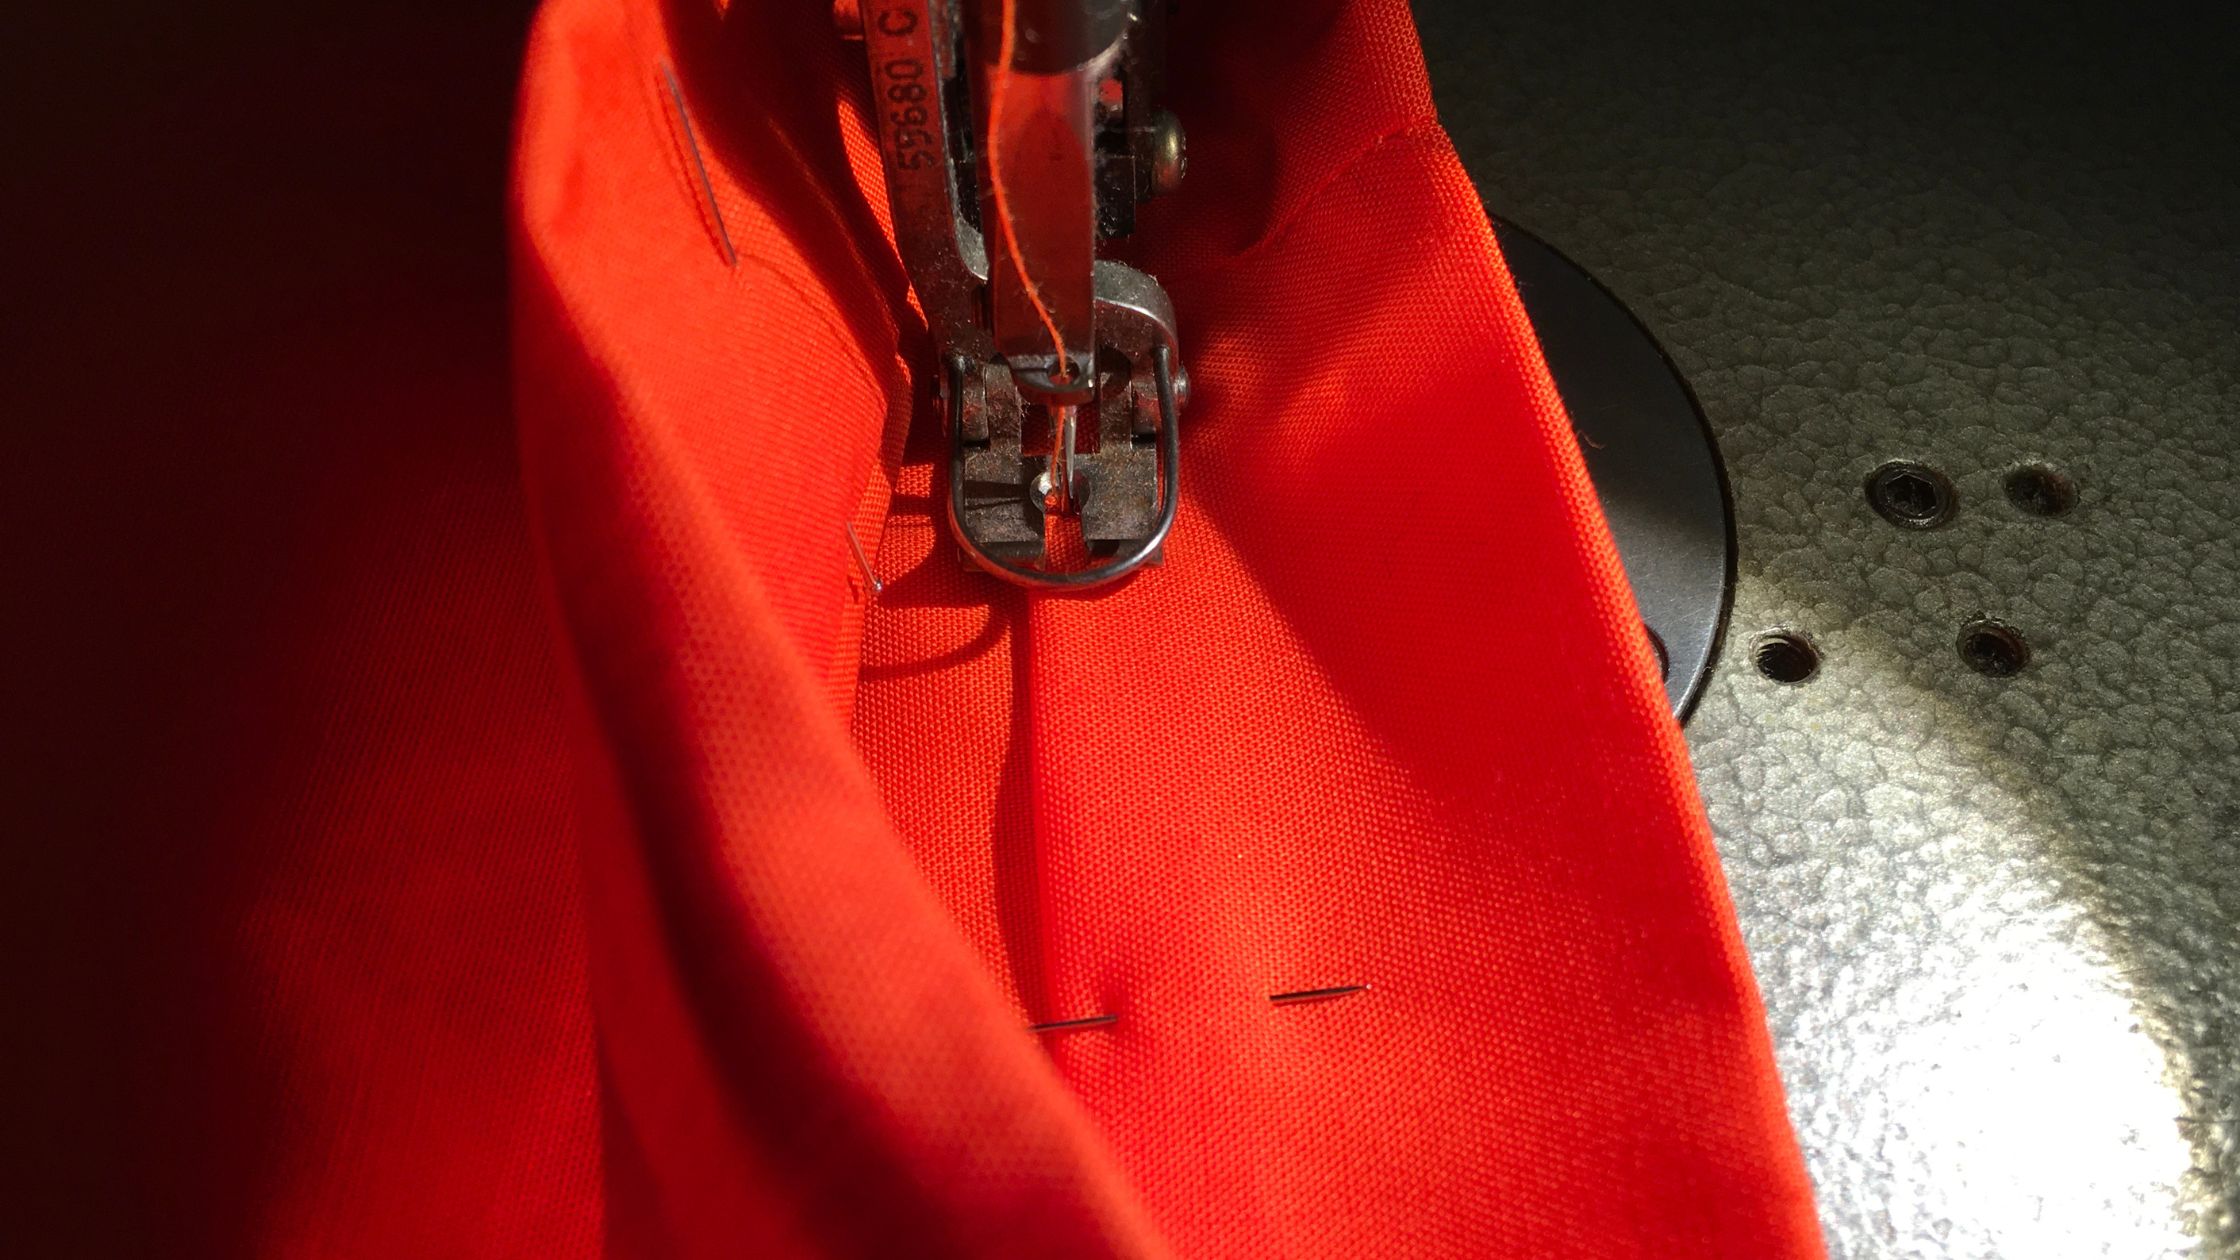
Step 10 - Topstitch sleeve hem
Topstitch the sleeve hem just inside the edge.
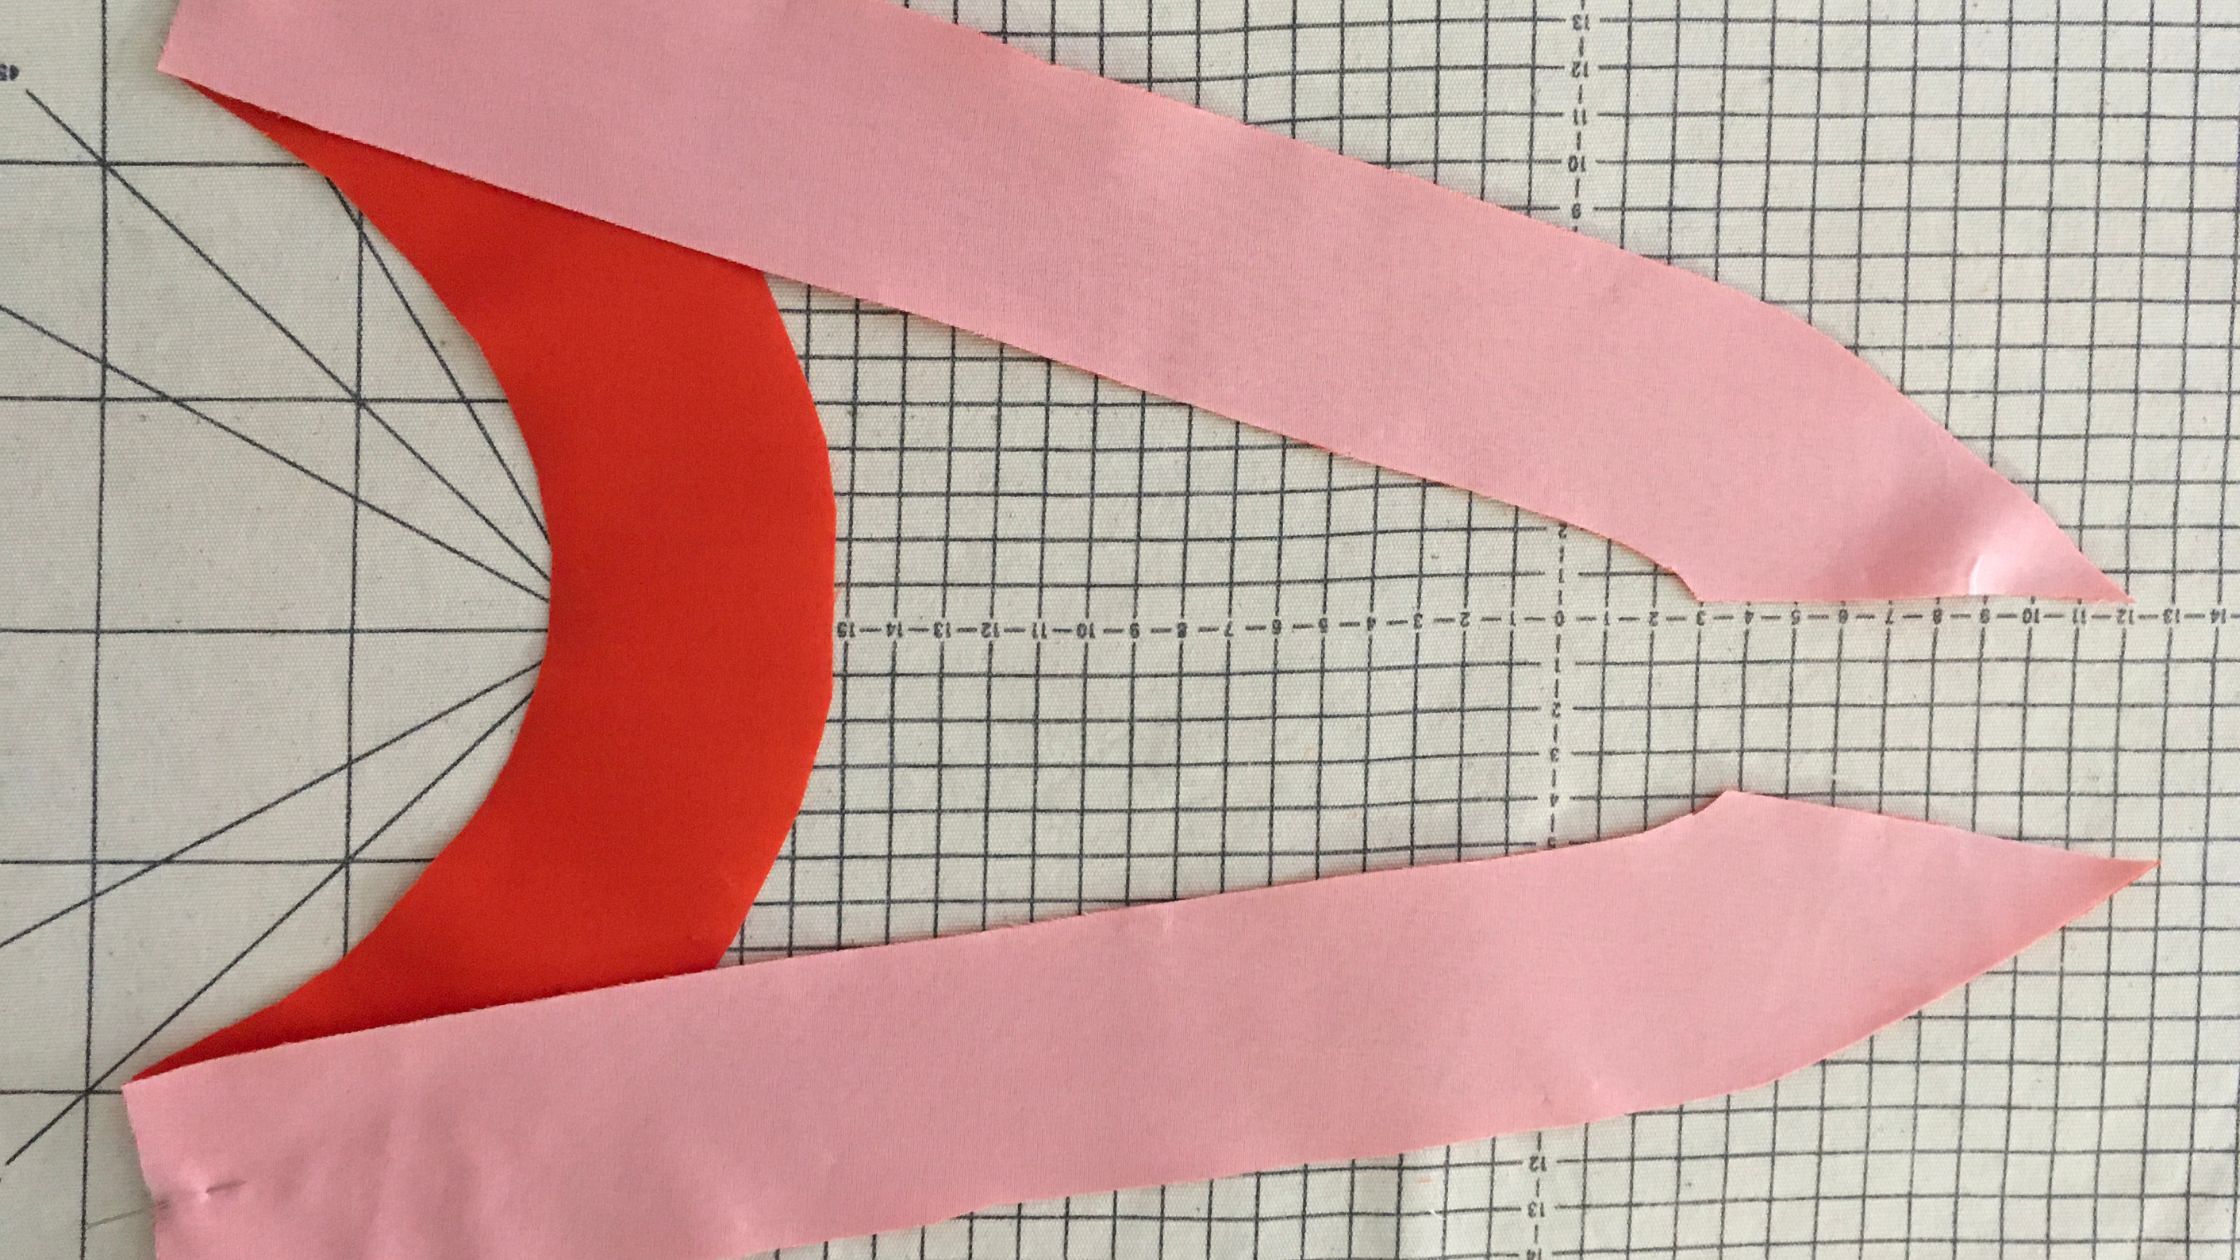
Step 11 - Stitching the trims
Pin the facing from the back to the facing from the front, right sides together. Topstitch them at 1 cm from the edge.

Step 12 - Press shoulder seam
Press the shoulder seams apart.
Step 13 - Pressing over the covers
Press the outer edges of the slips 1 cm inwards.
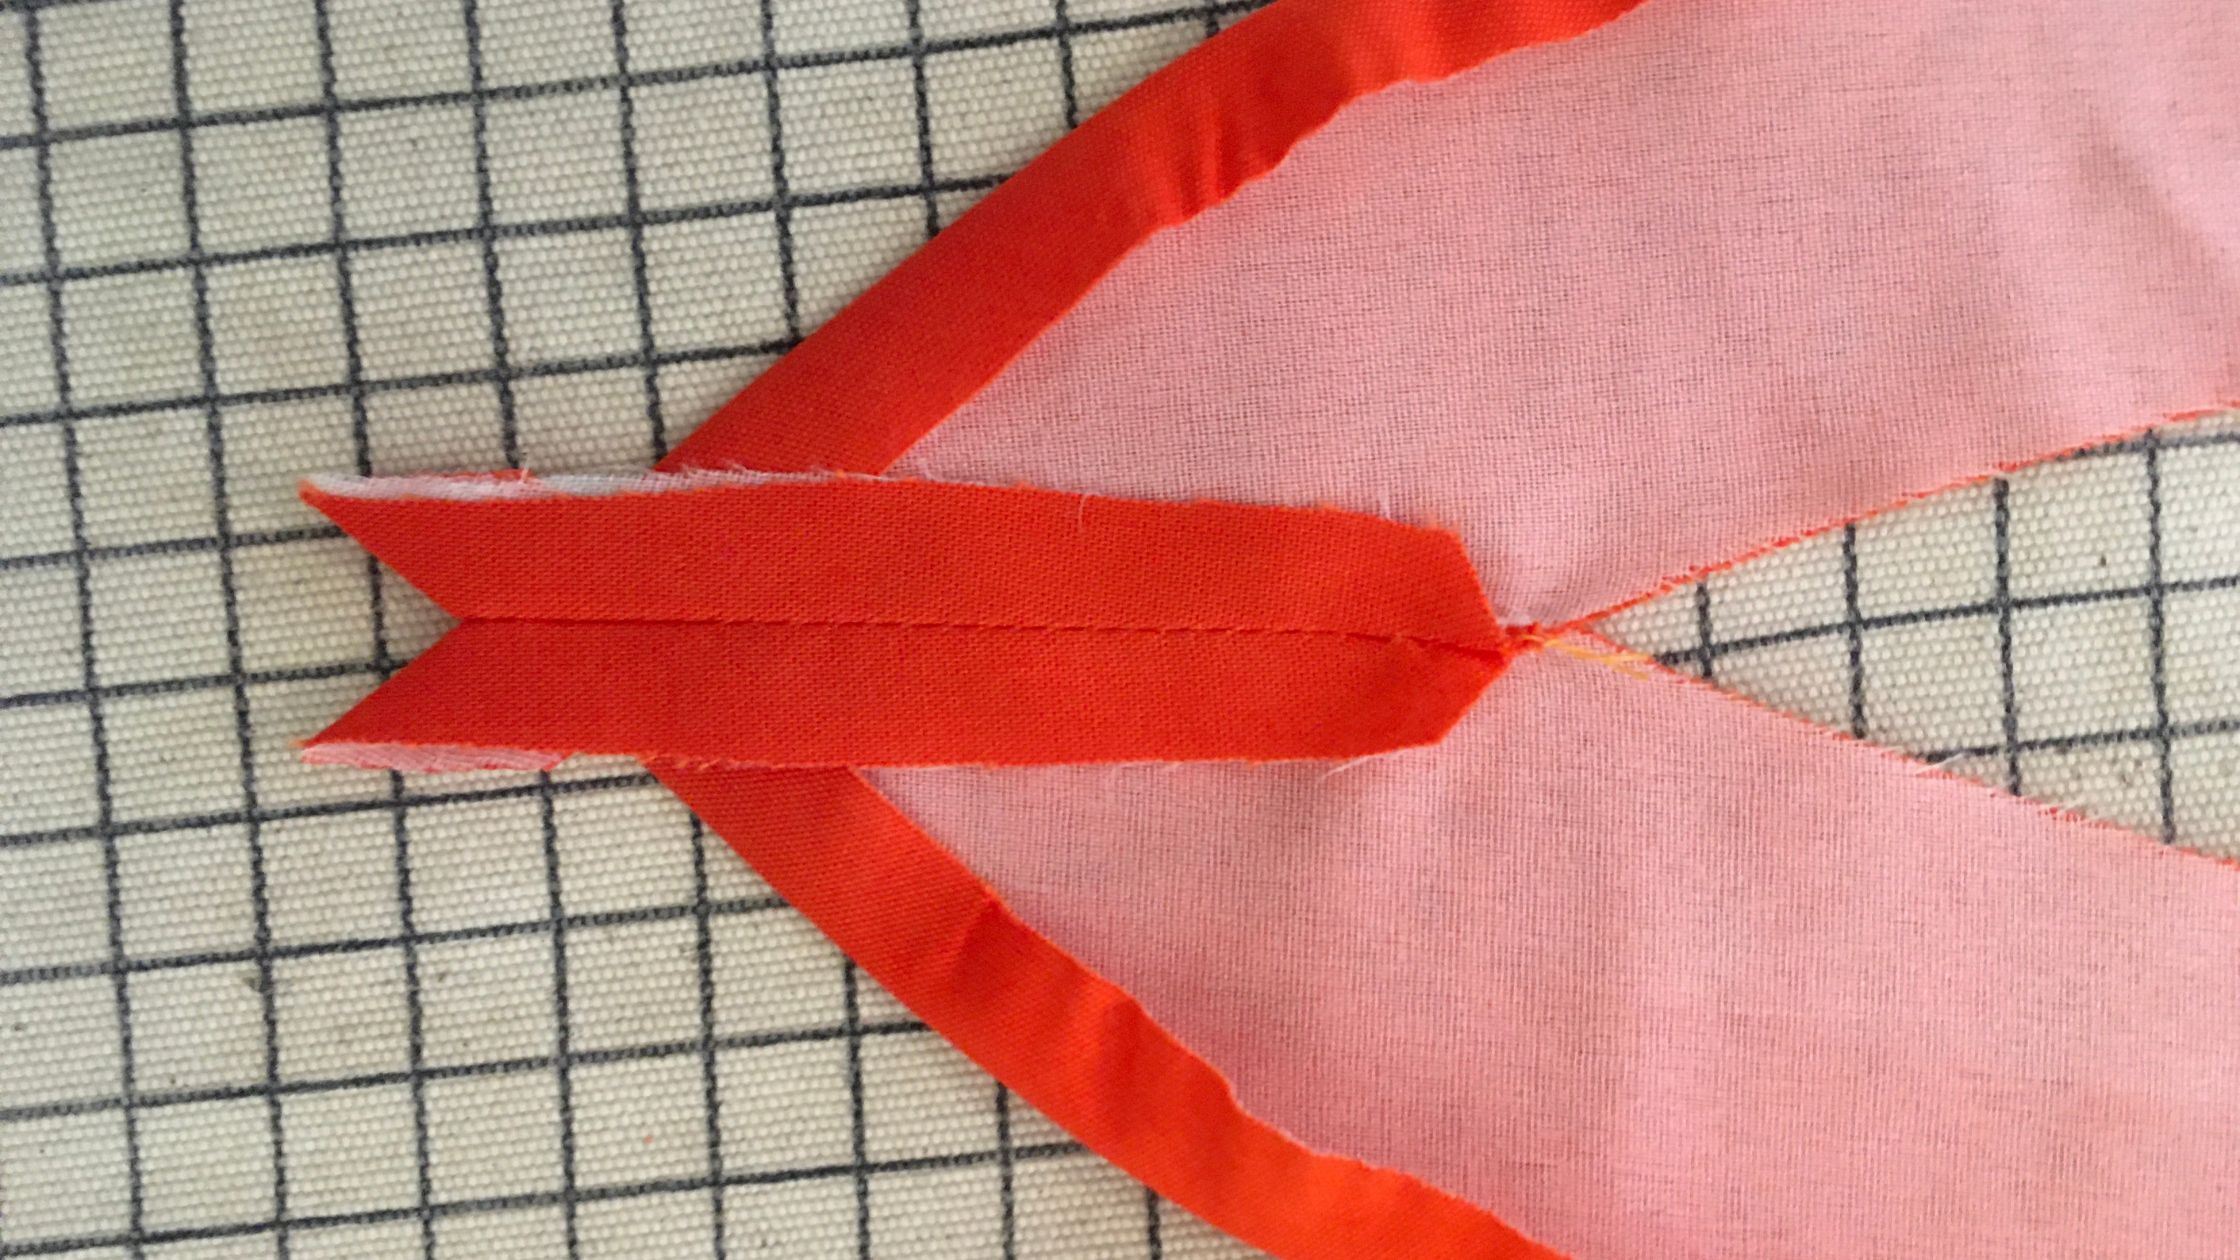
Step 14 - Sew the tip
Pin the back seam (tip) right sides together and topstitch at 1 cm from the edge.
Press the seam allowances apart.
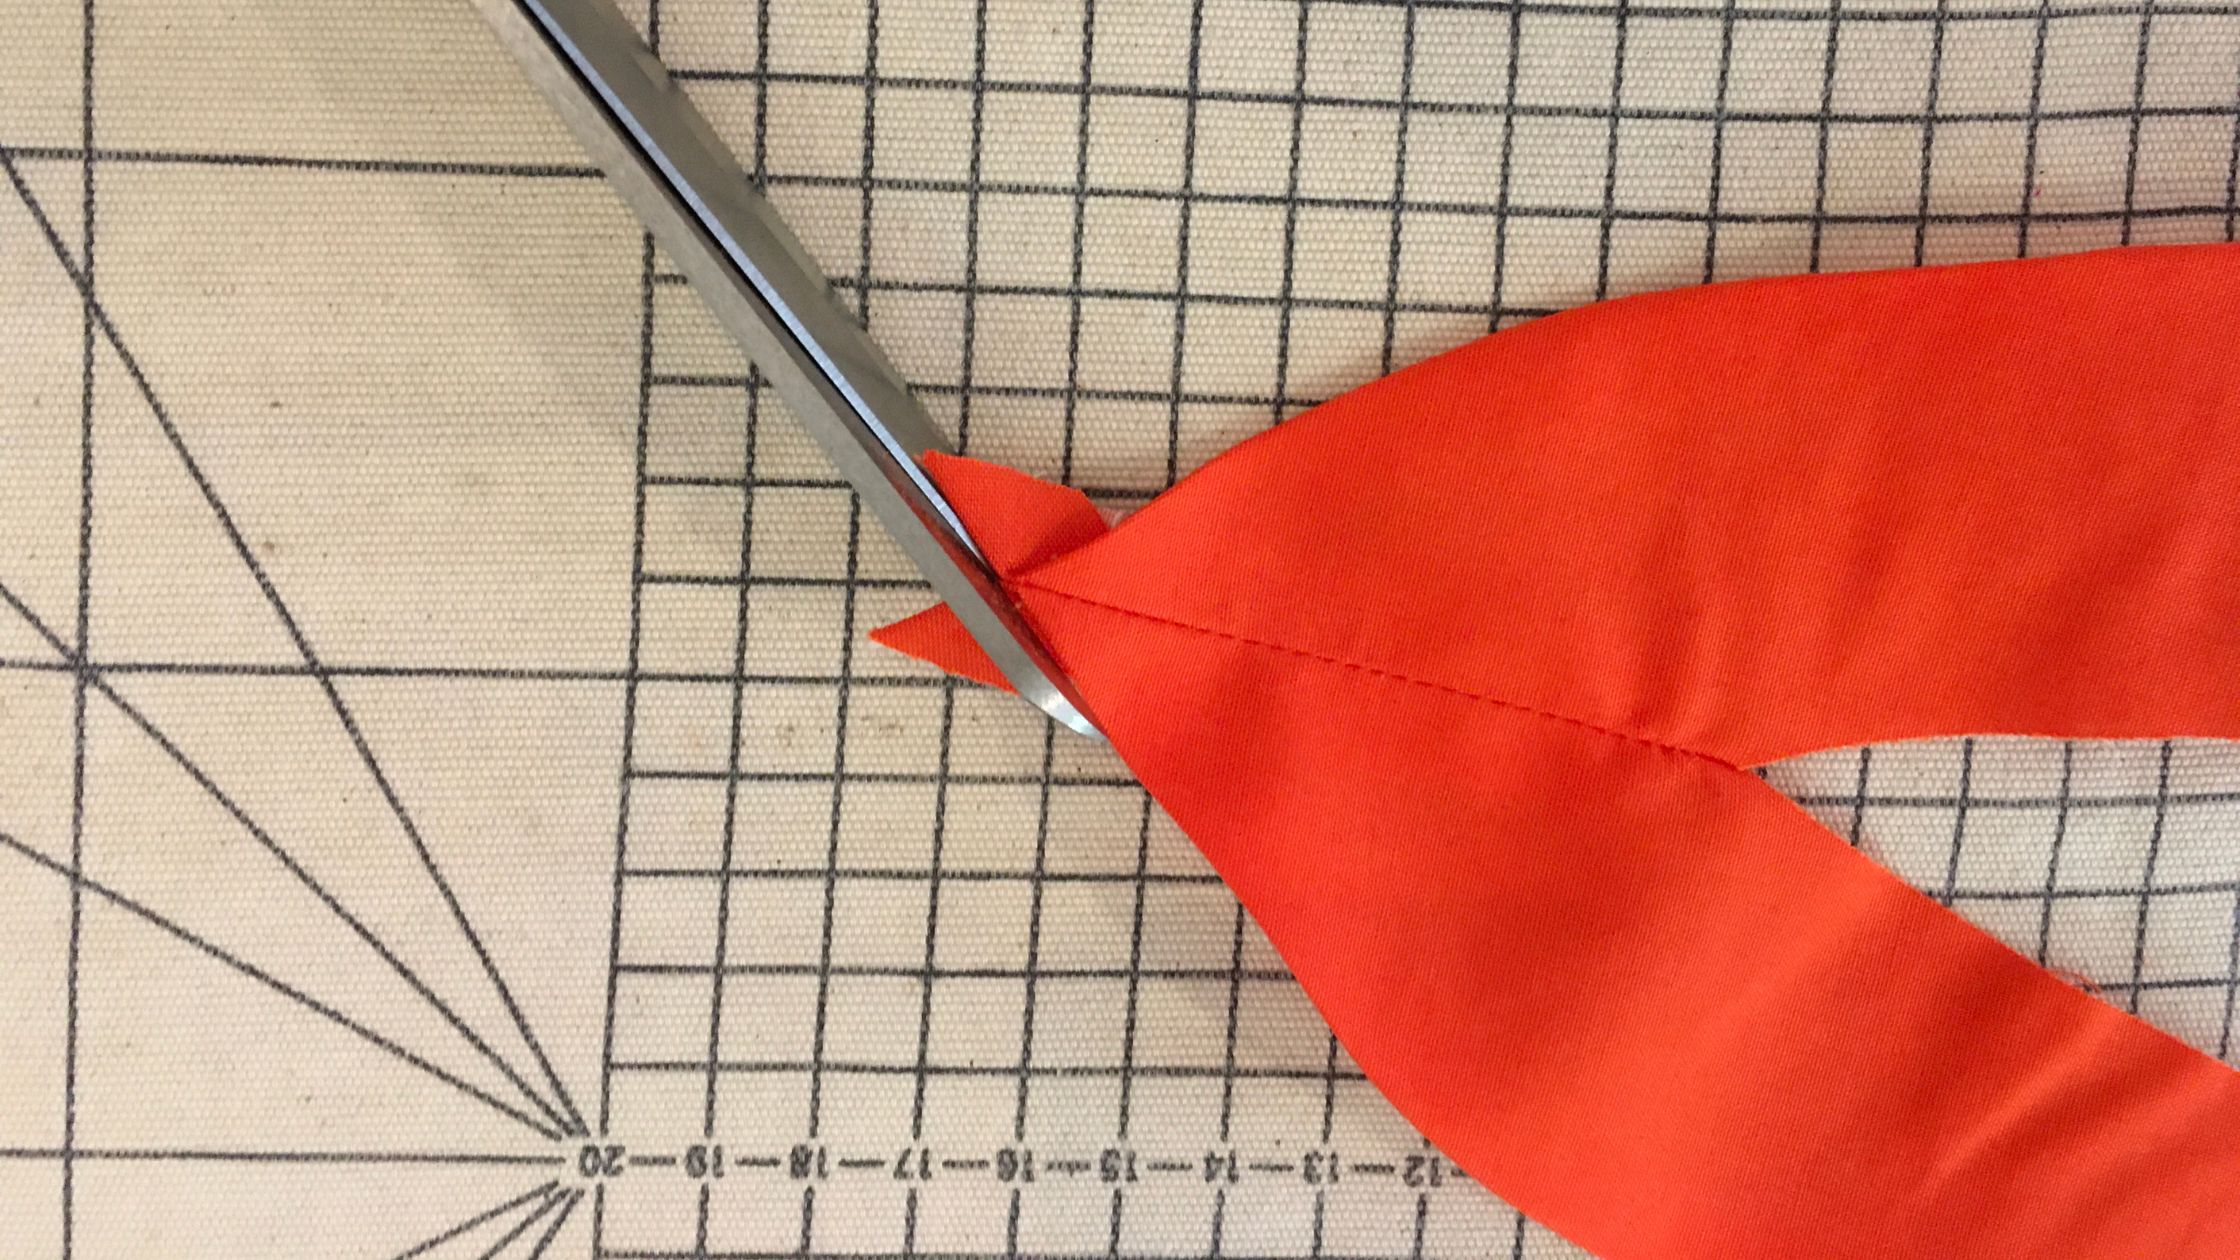
Step 15 - Sew tip
Trim the protruding seam.
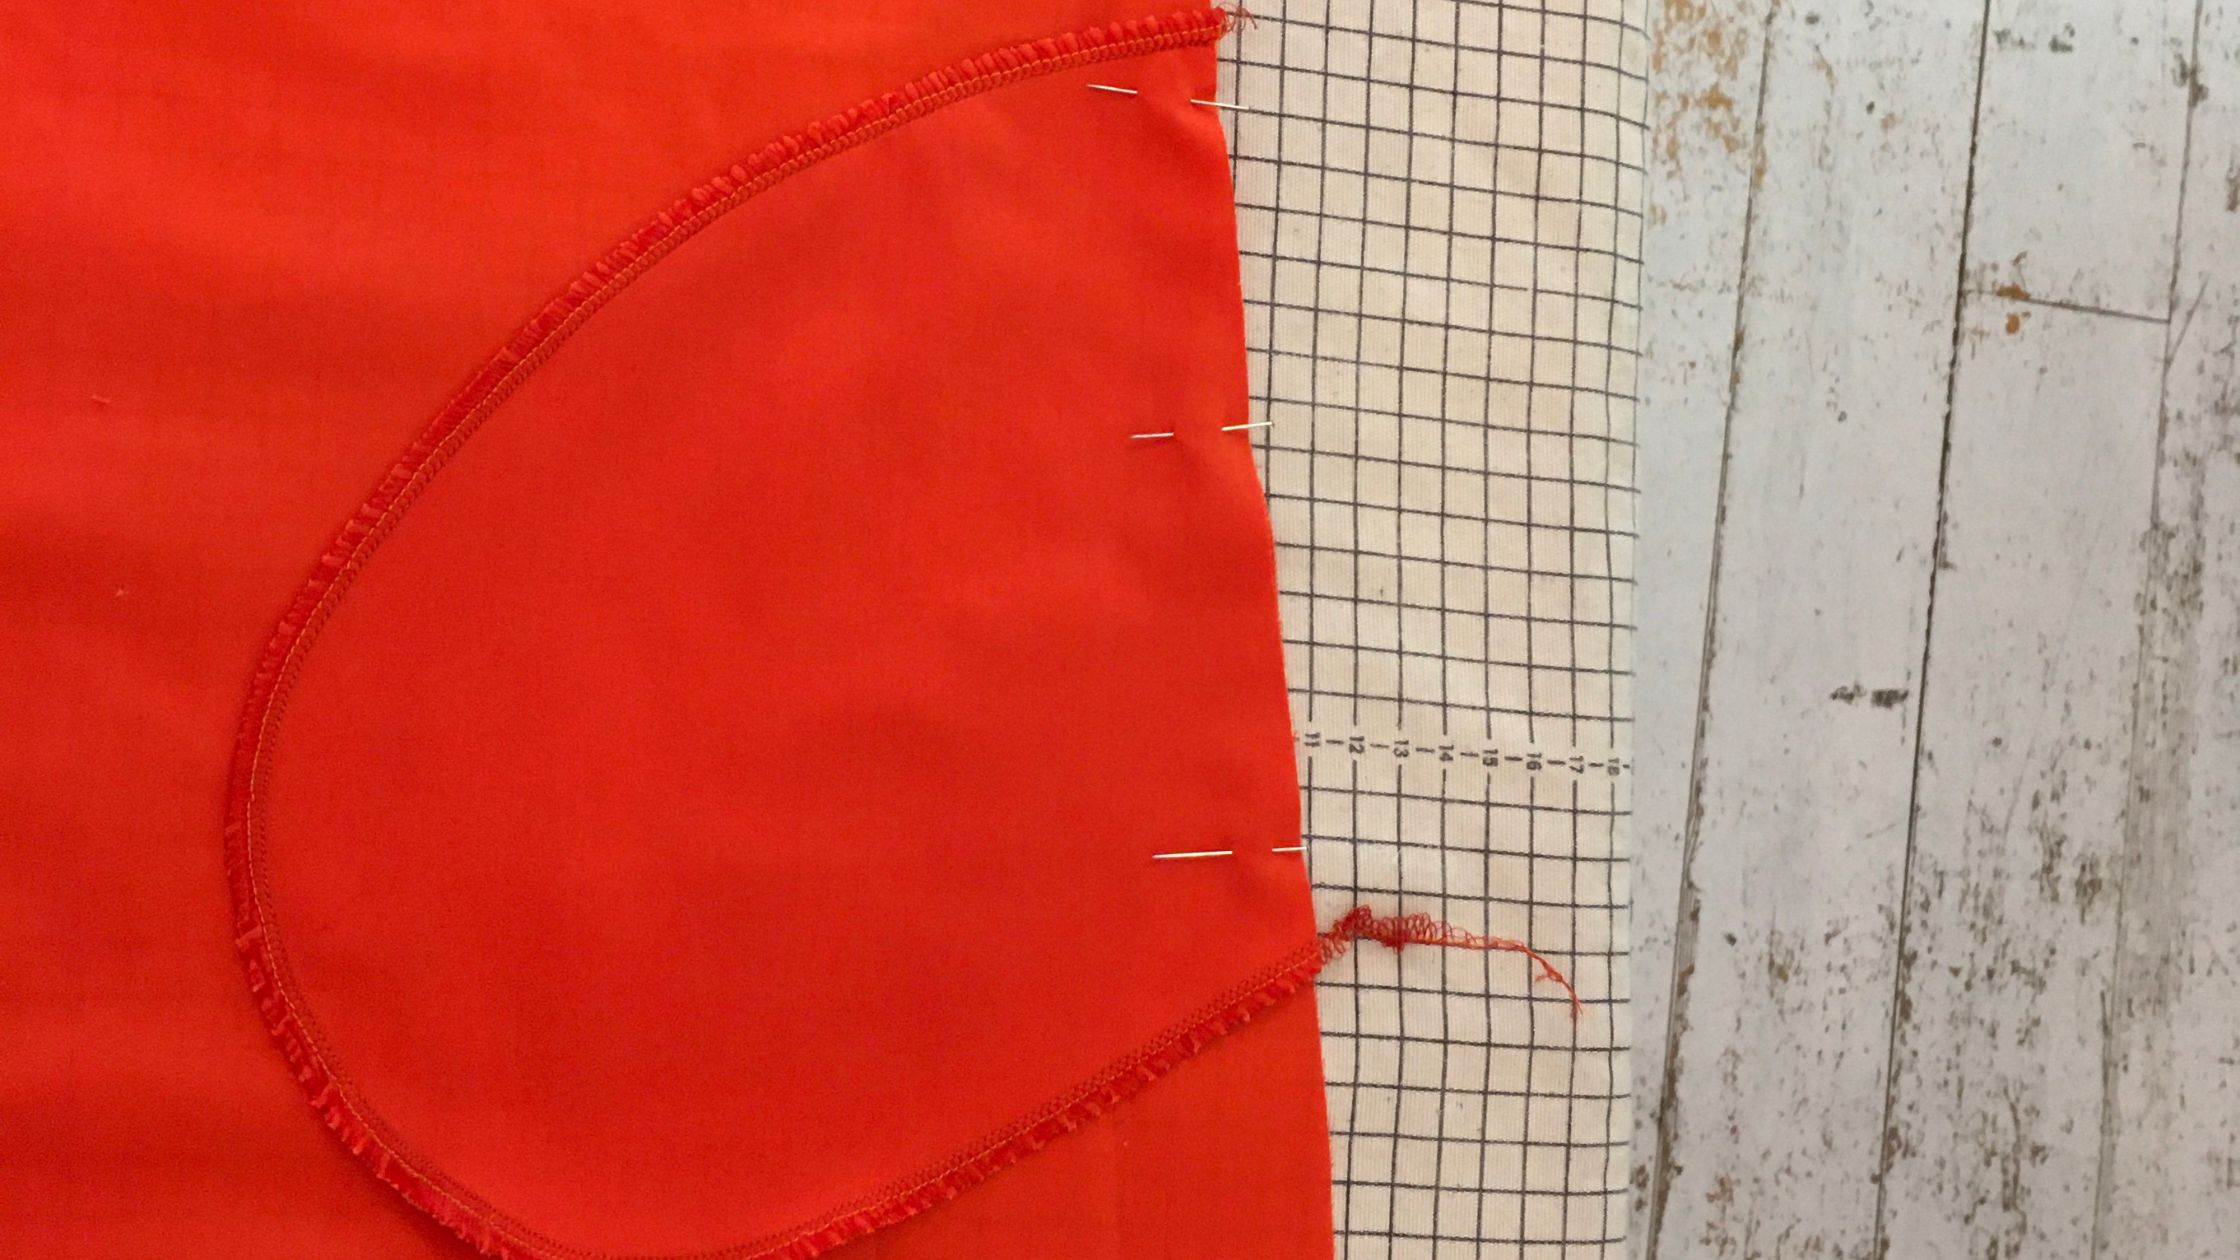
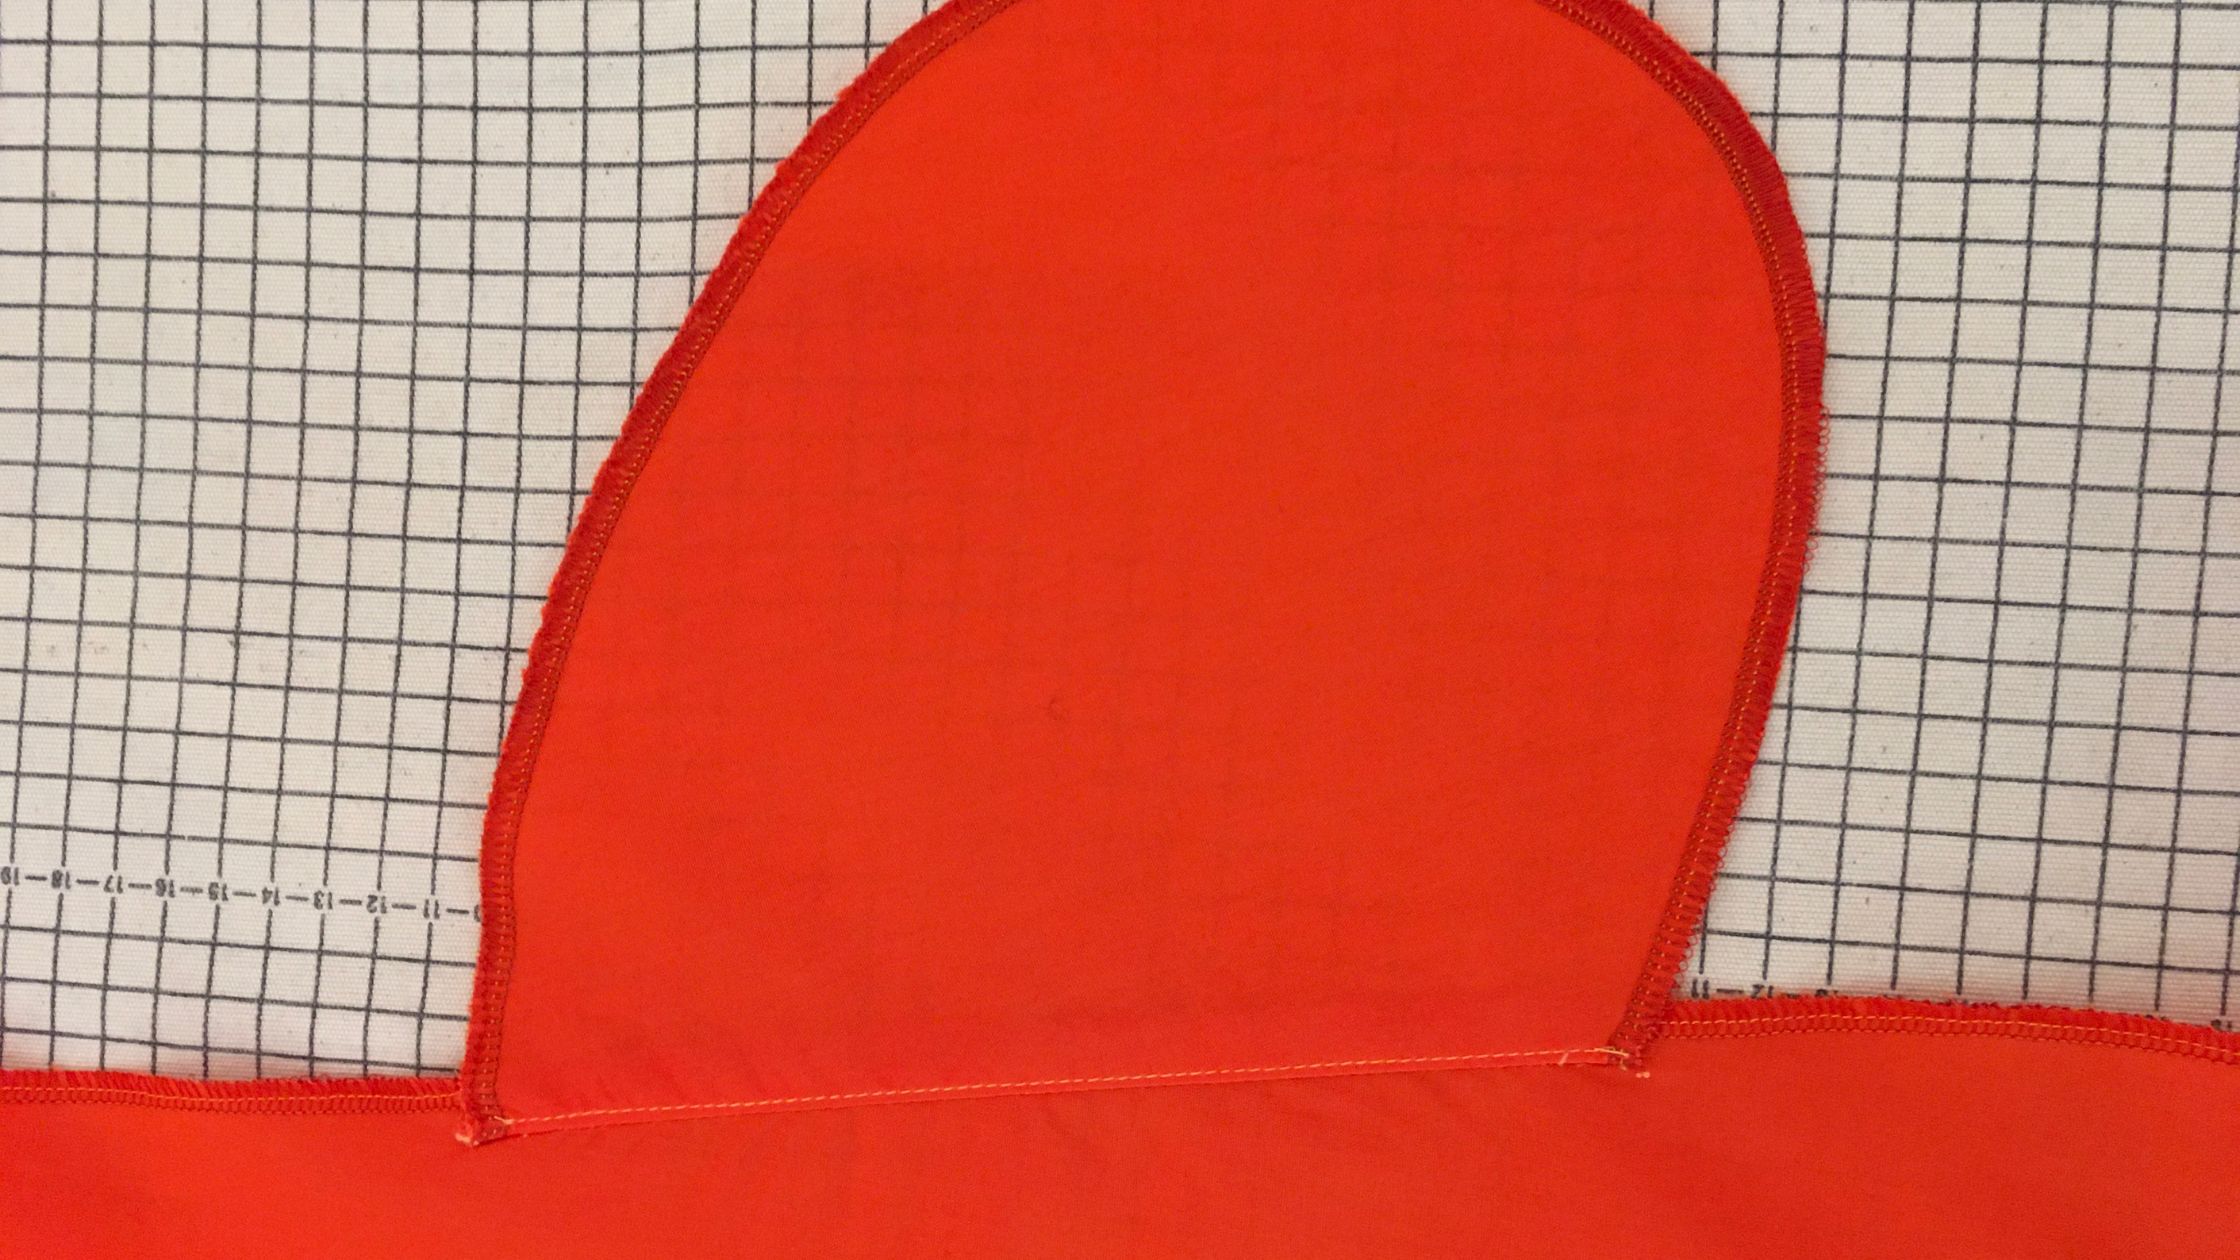
Step 16 - Prepare pocket bags
Overlock or zigzag stitch the rounded edges of the pocket pouches. Place the pocket bags right sides together at the side seams of your front and back pieces. Orientate the pocket bag on the top mark. Pin the pocket bags in place.
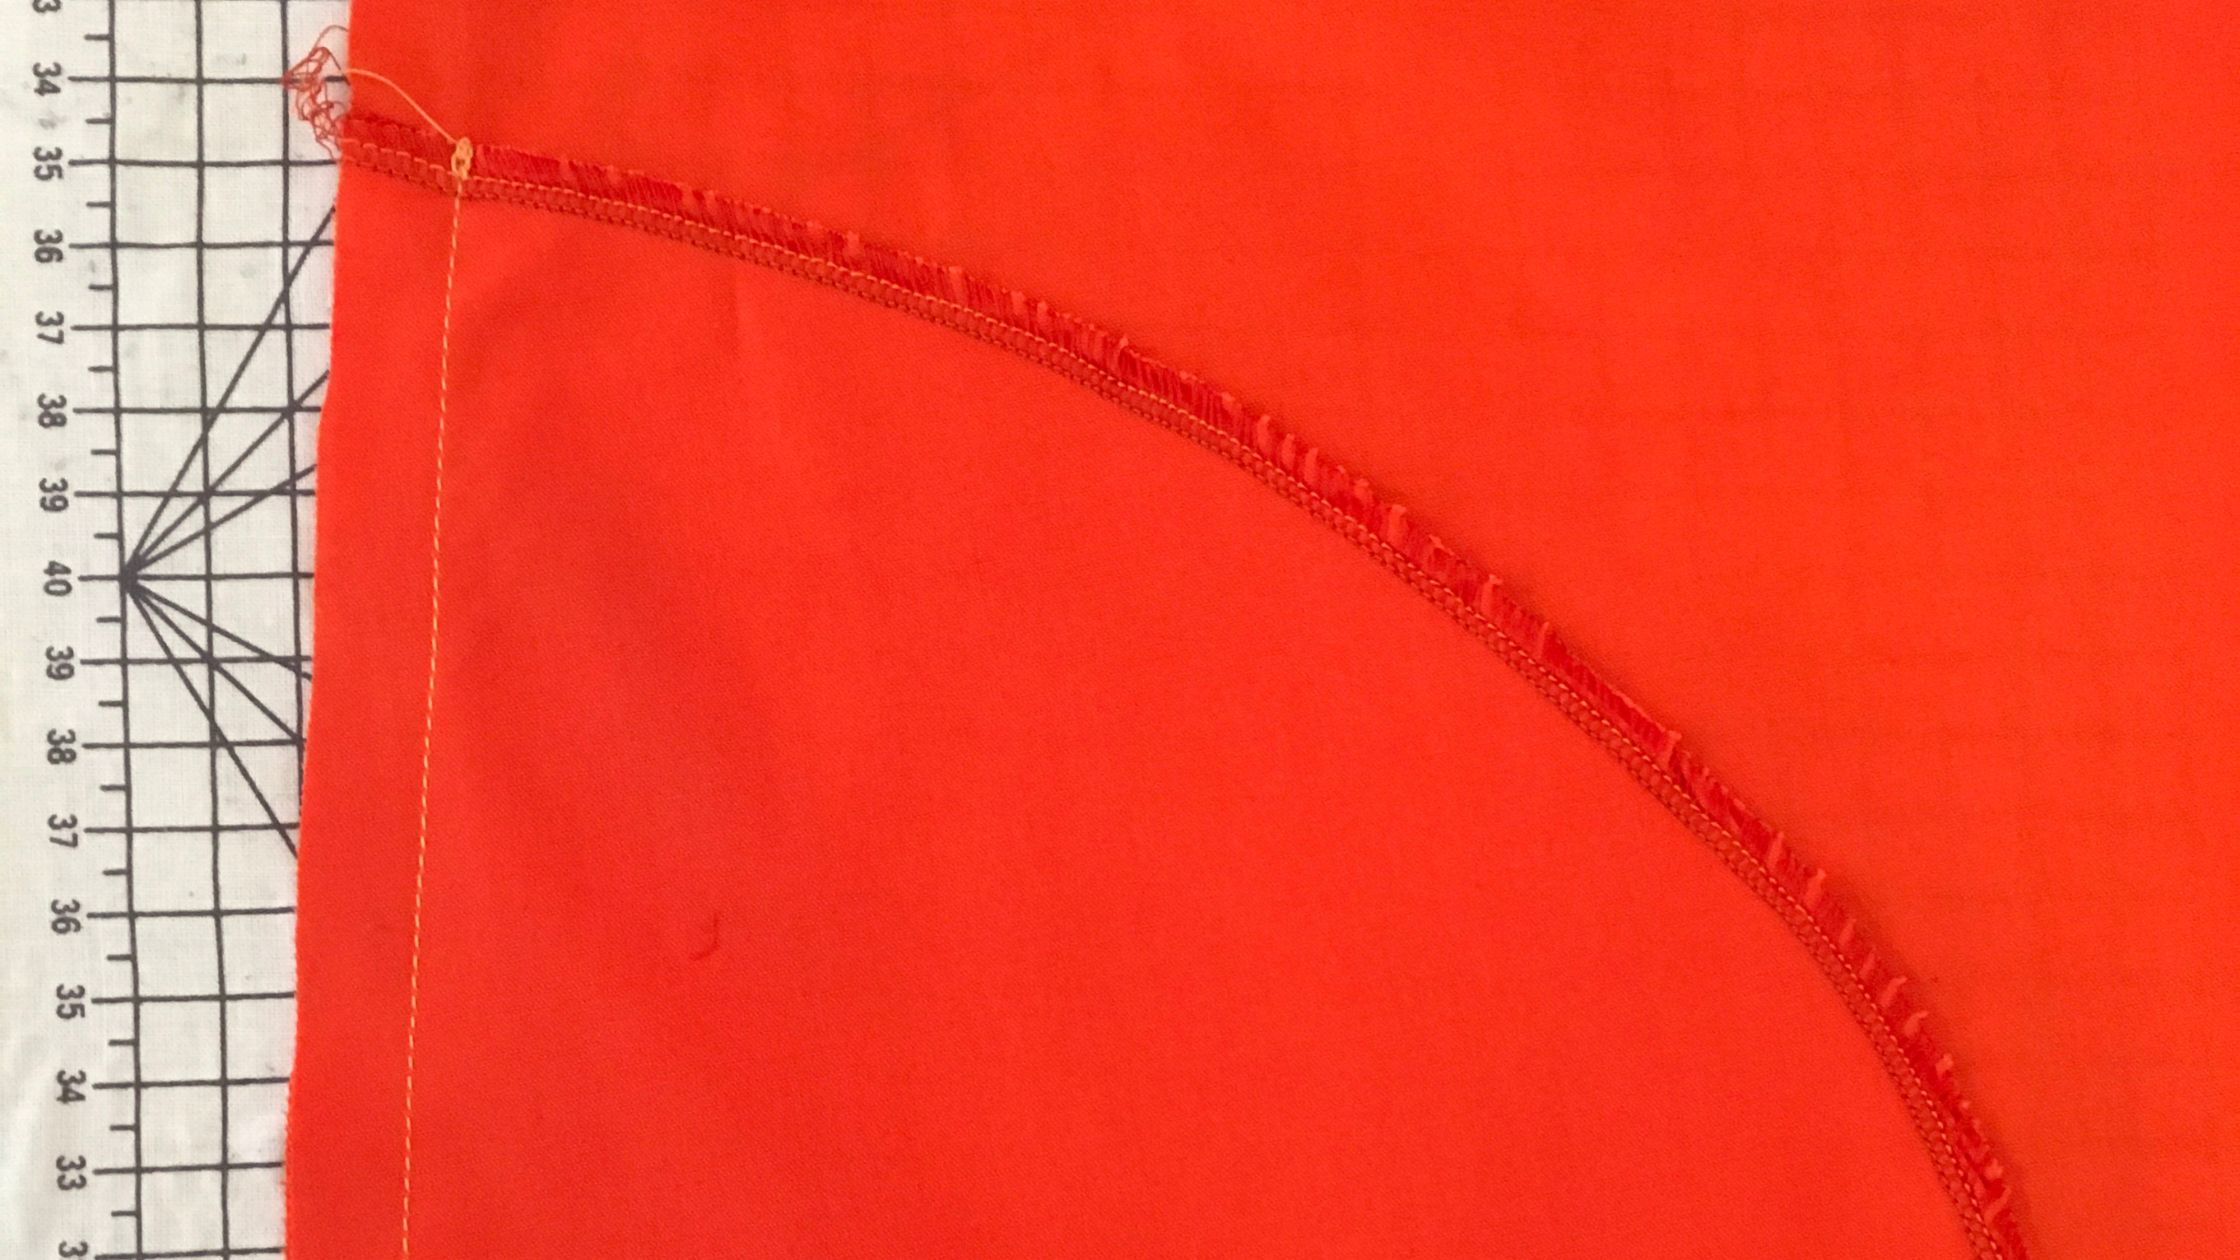
Step 17 - Sew on pocket bag
Sew the pocket bags in place with 1.5 cm from the edge. Lock the seam at the beginning and at the end.
Step 18 - Topstitch fold over edge
Turn the pocket bag so that the right side of the fabric is on top. Press the folded edge and topstitch close to the edge.
Step 19 - Close shoulder seams
Pin the front and back pieces wrong sides together and topstitch them at 0.5 cm from the edge. Press the seam allowances in one direction. Turn the dress inside out. Press the seam flat at the seam edge, pin and topstitch 1 cm from the edge. Now you have closed the shoulder seams with the French seam.

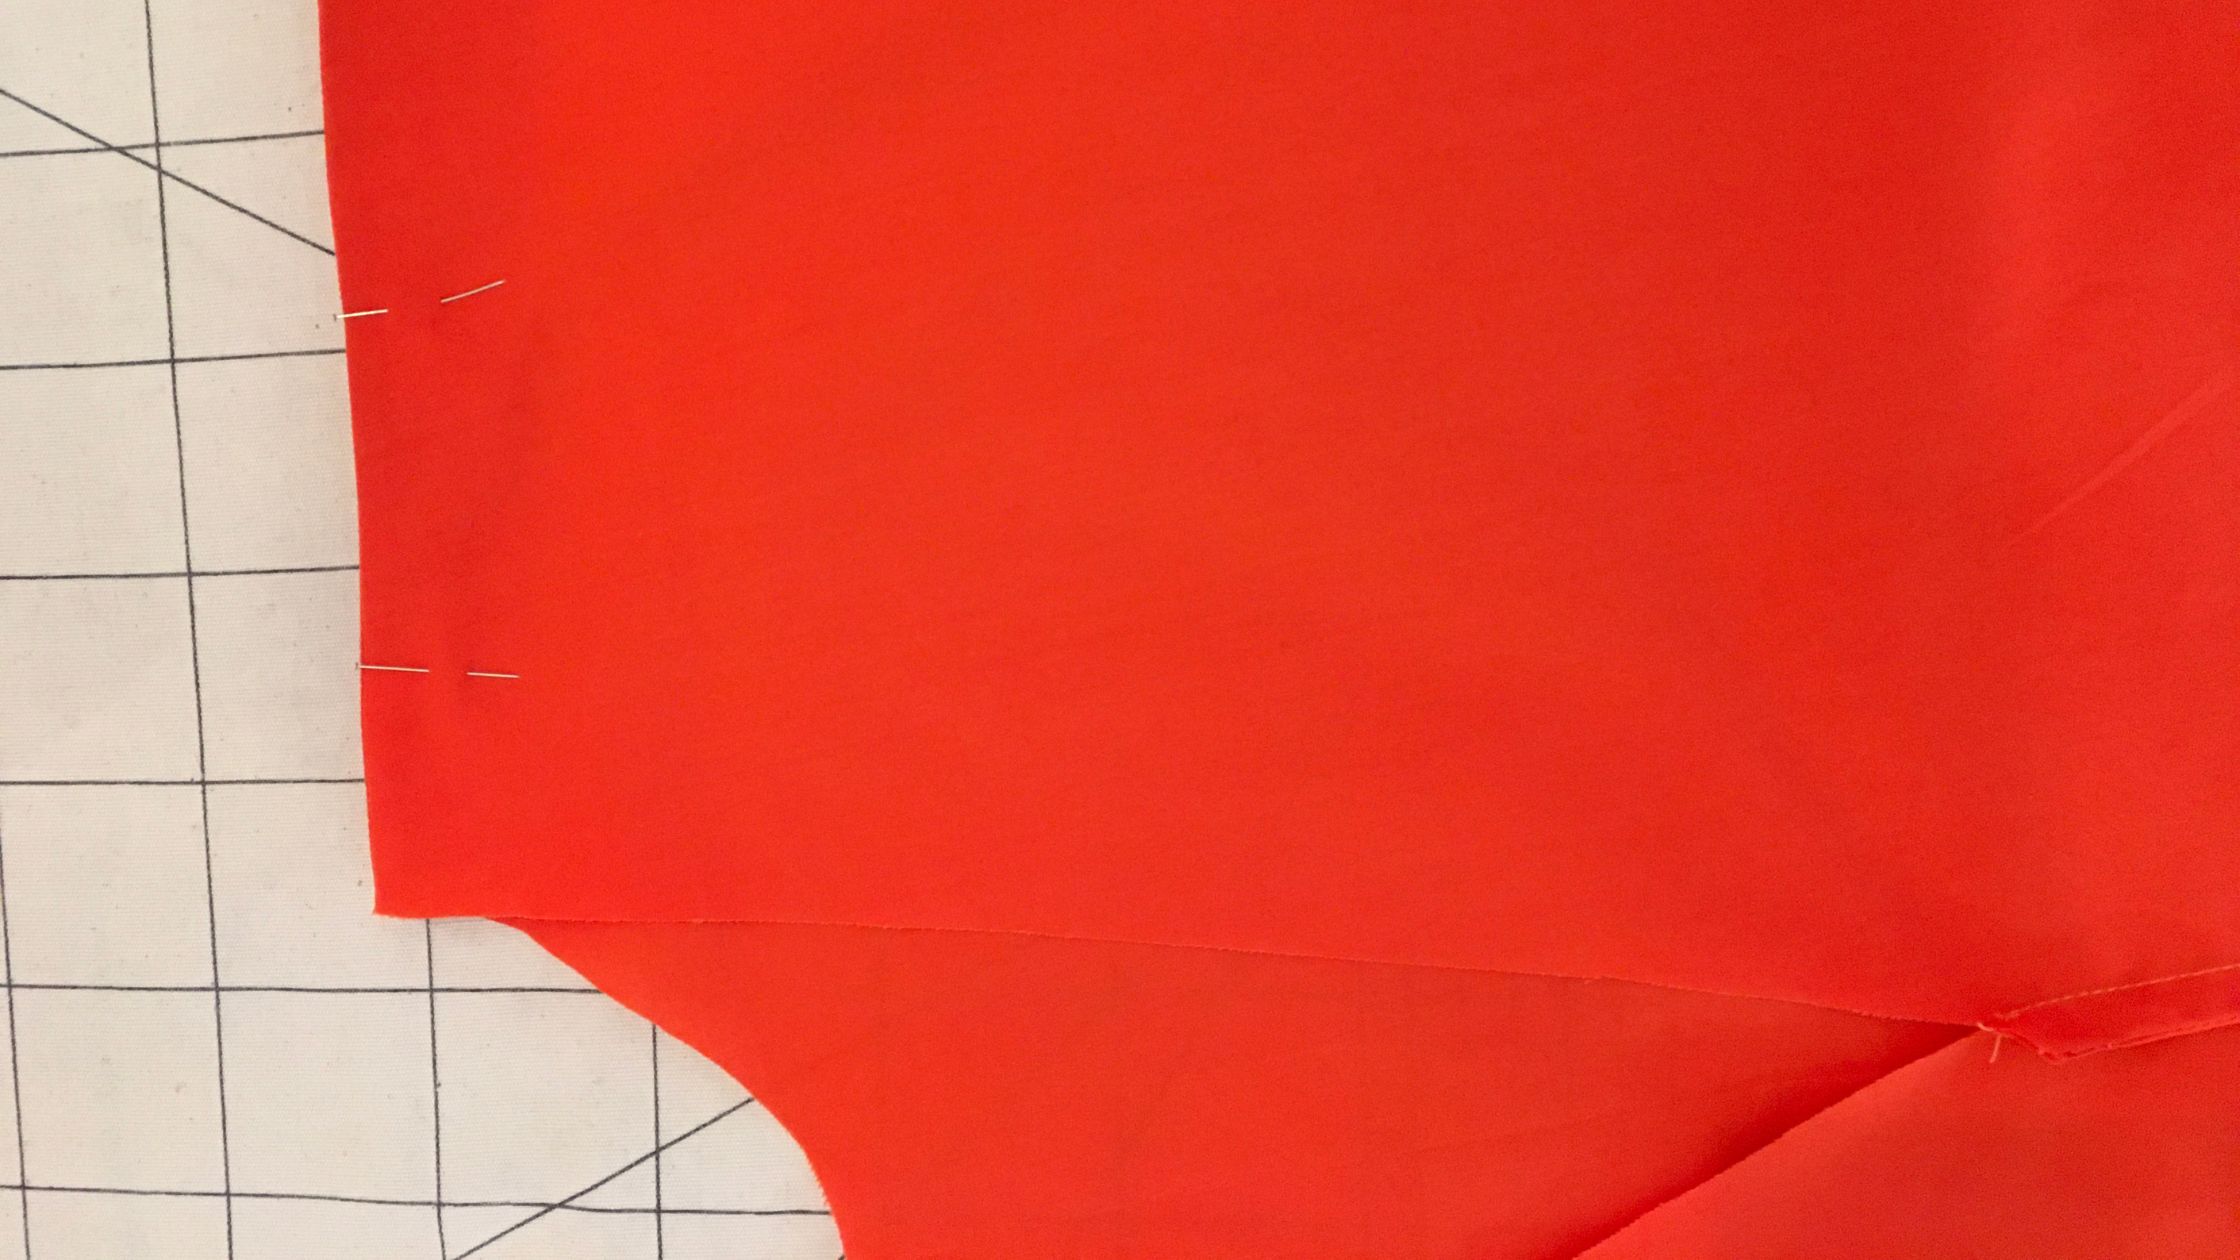
Step 20 - Pin down side seam
Pin the side seams of the front and back pieces right sides together up to the slit mark. Make sure that the pocket bags lie smoothly on top of each other.
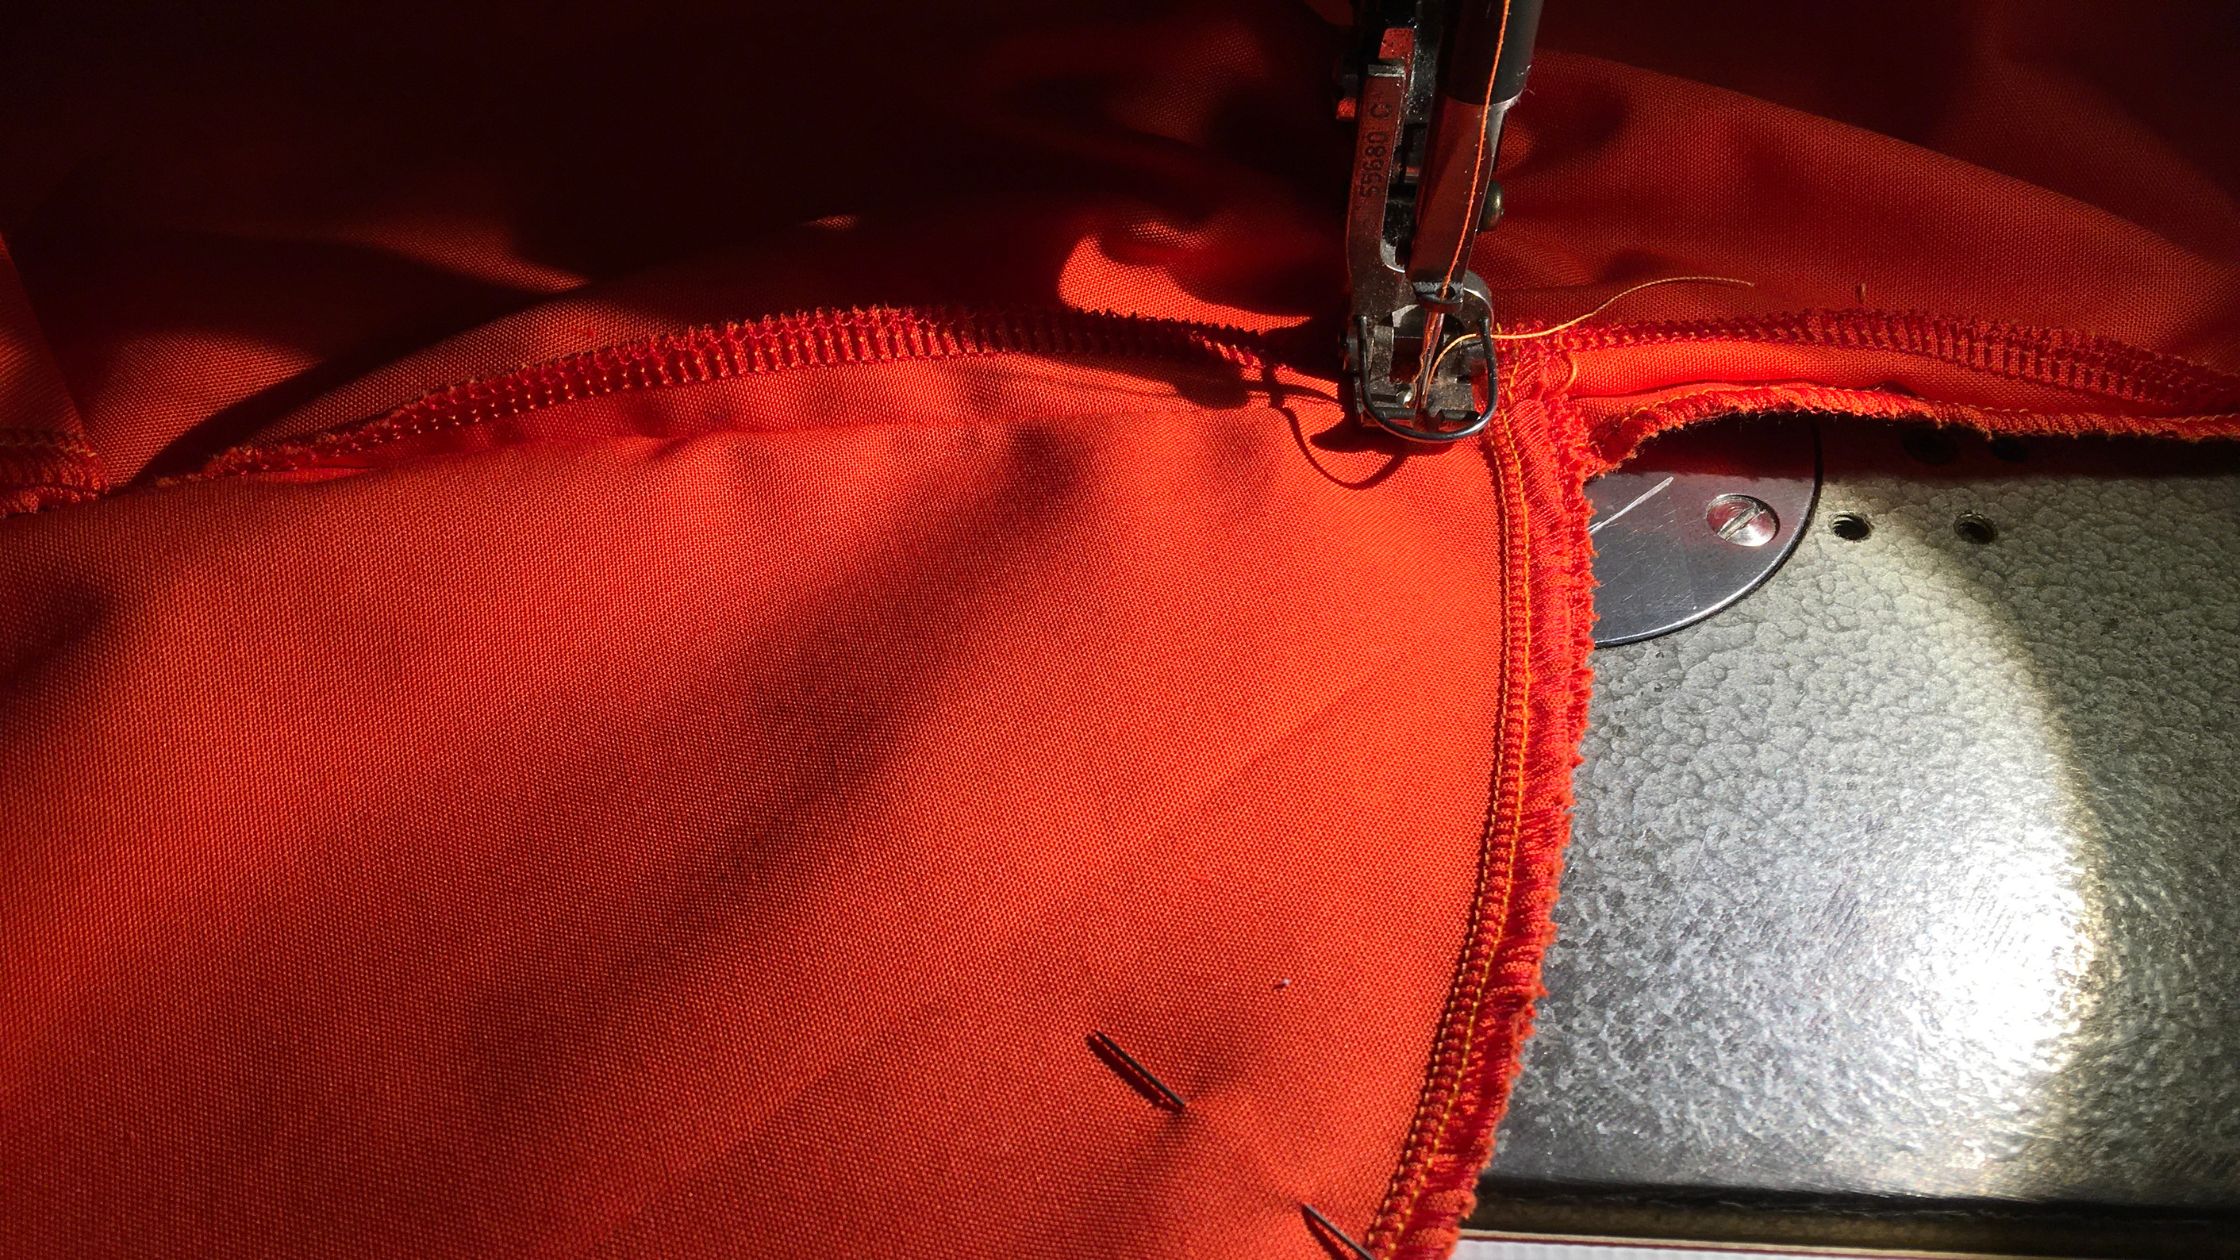
Step 21 - Sew side pieces
Topstitch the sides at 1.5 cm from the edge. Start at the top and topstitch to the pocket bag. Bartack the seam. Fold the seam allowance over and topstitch the pocket bag all around at 1.5 cm from the edge and bar-tack the seam. Fold the seam allowance again and topstitch the last piece to the slit opening at 1.5 cm from the edge.
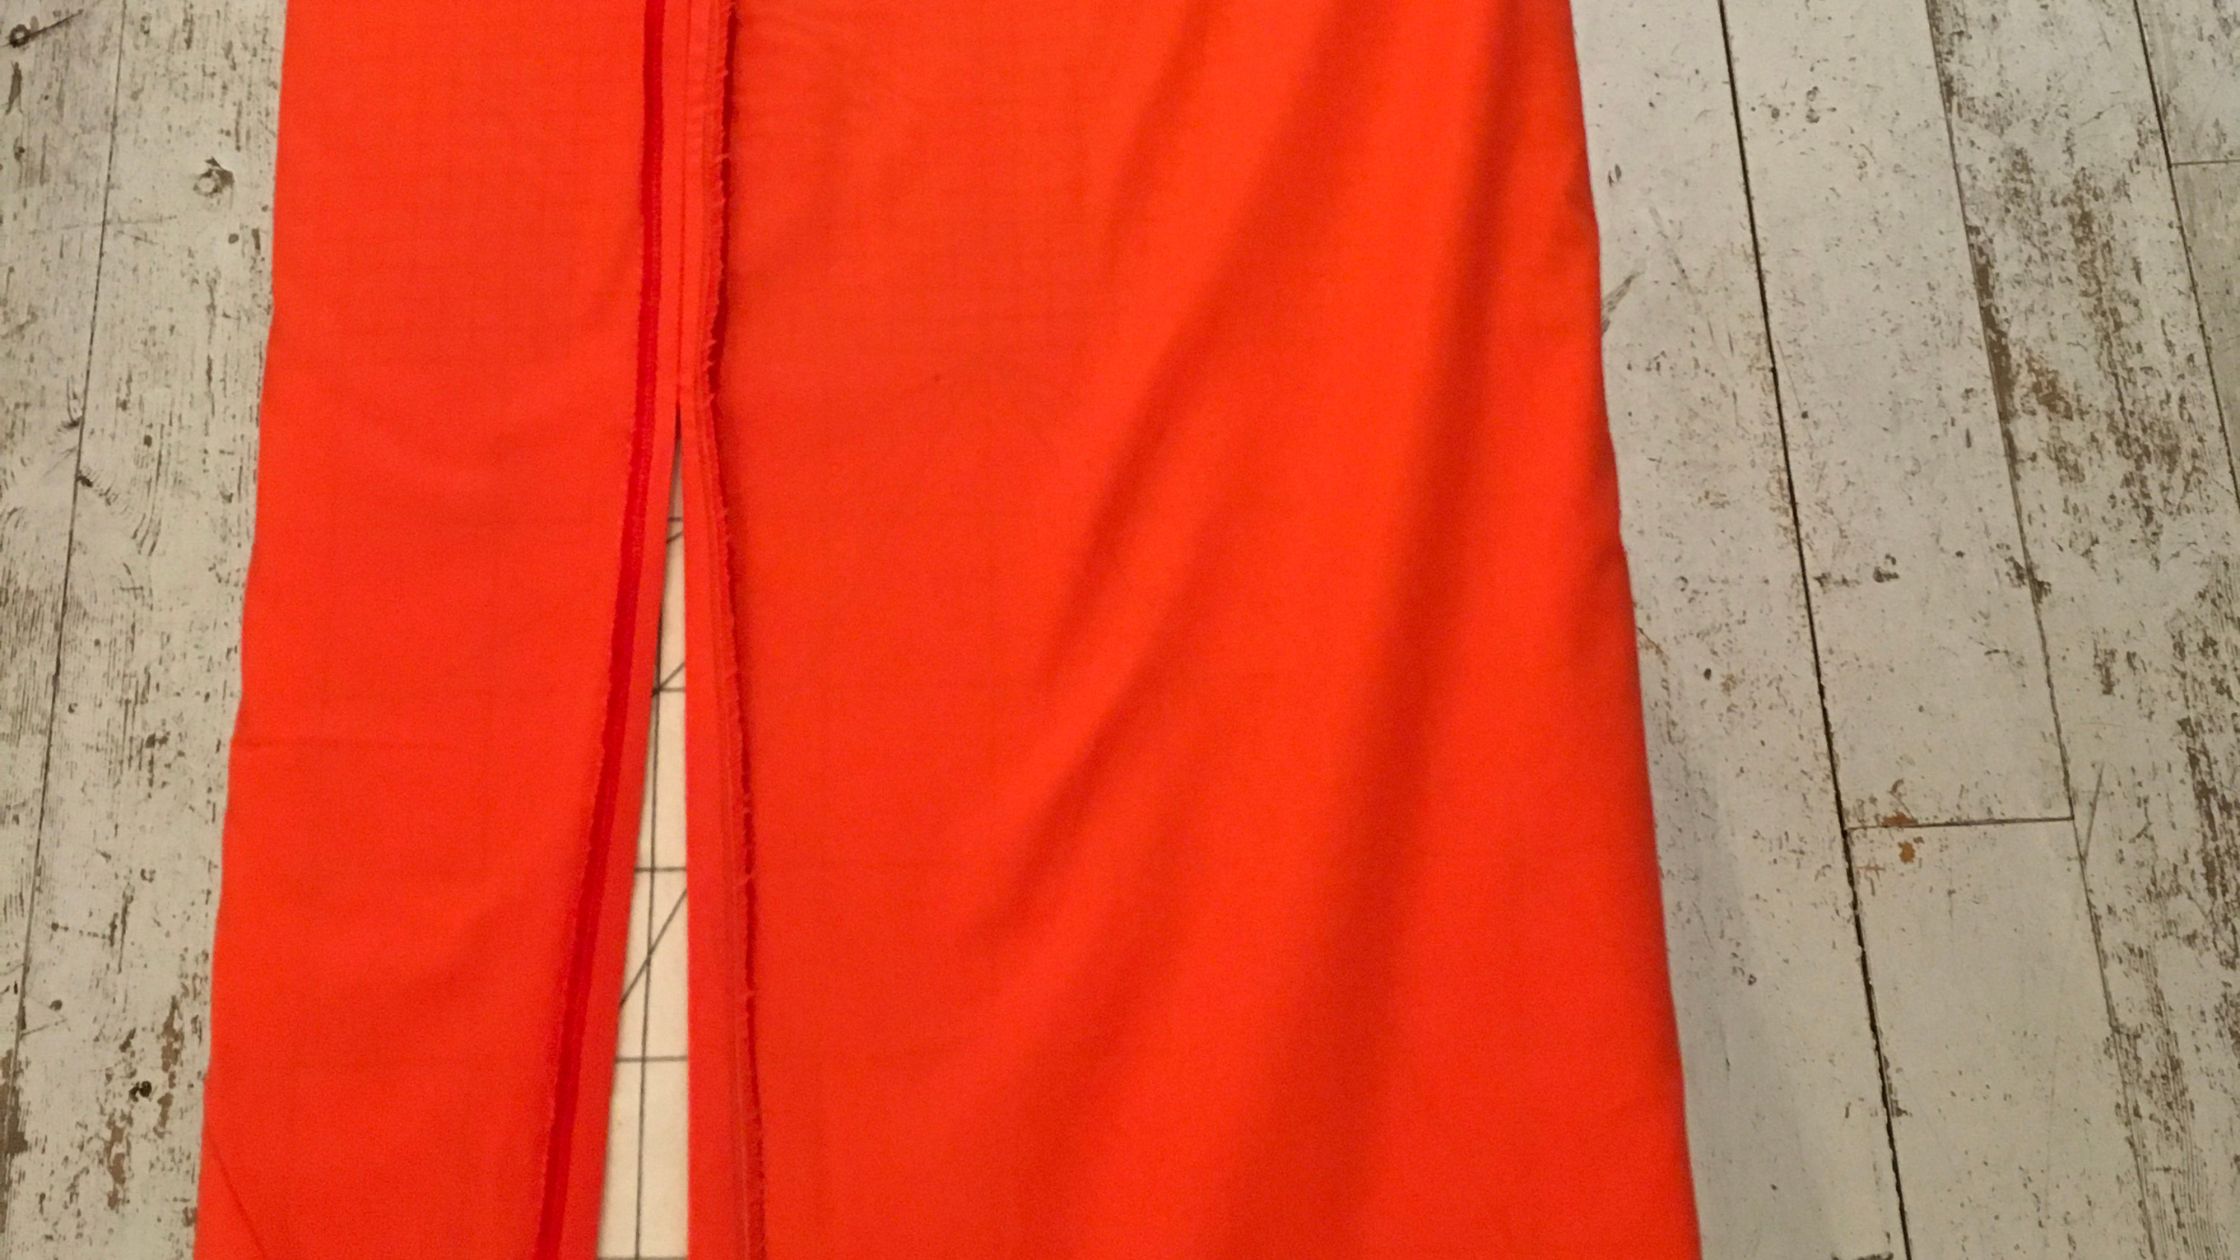
Step 22 - Press seam allowances apart
Press the seam allowances apart.
Step 23 - Press hem edge
Measure a seam allowance of 1 cm at the bottom hem and press it inwards
Step 24 - Pin hem
Measure a seam allowance of 1 cm at the bottom hem again and press it inwards. Pin it in place with pins.
Step 25 - Topstitch hem
Topstitch the bottom hem and the slit at 1 cm from the edge.

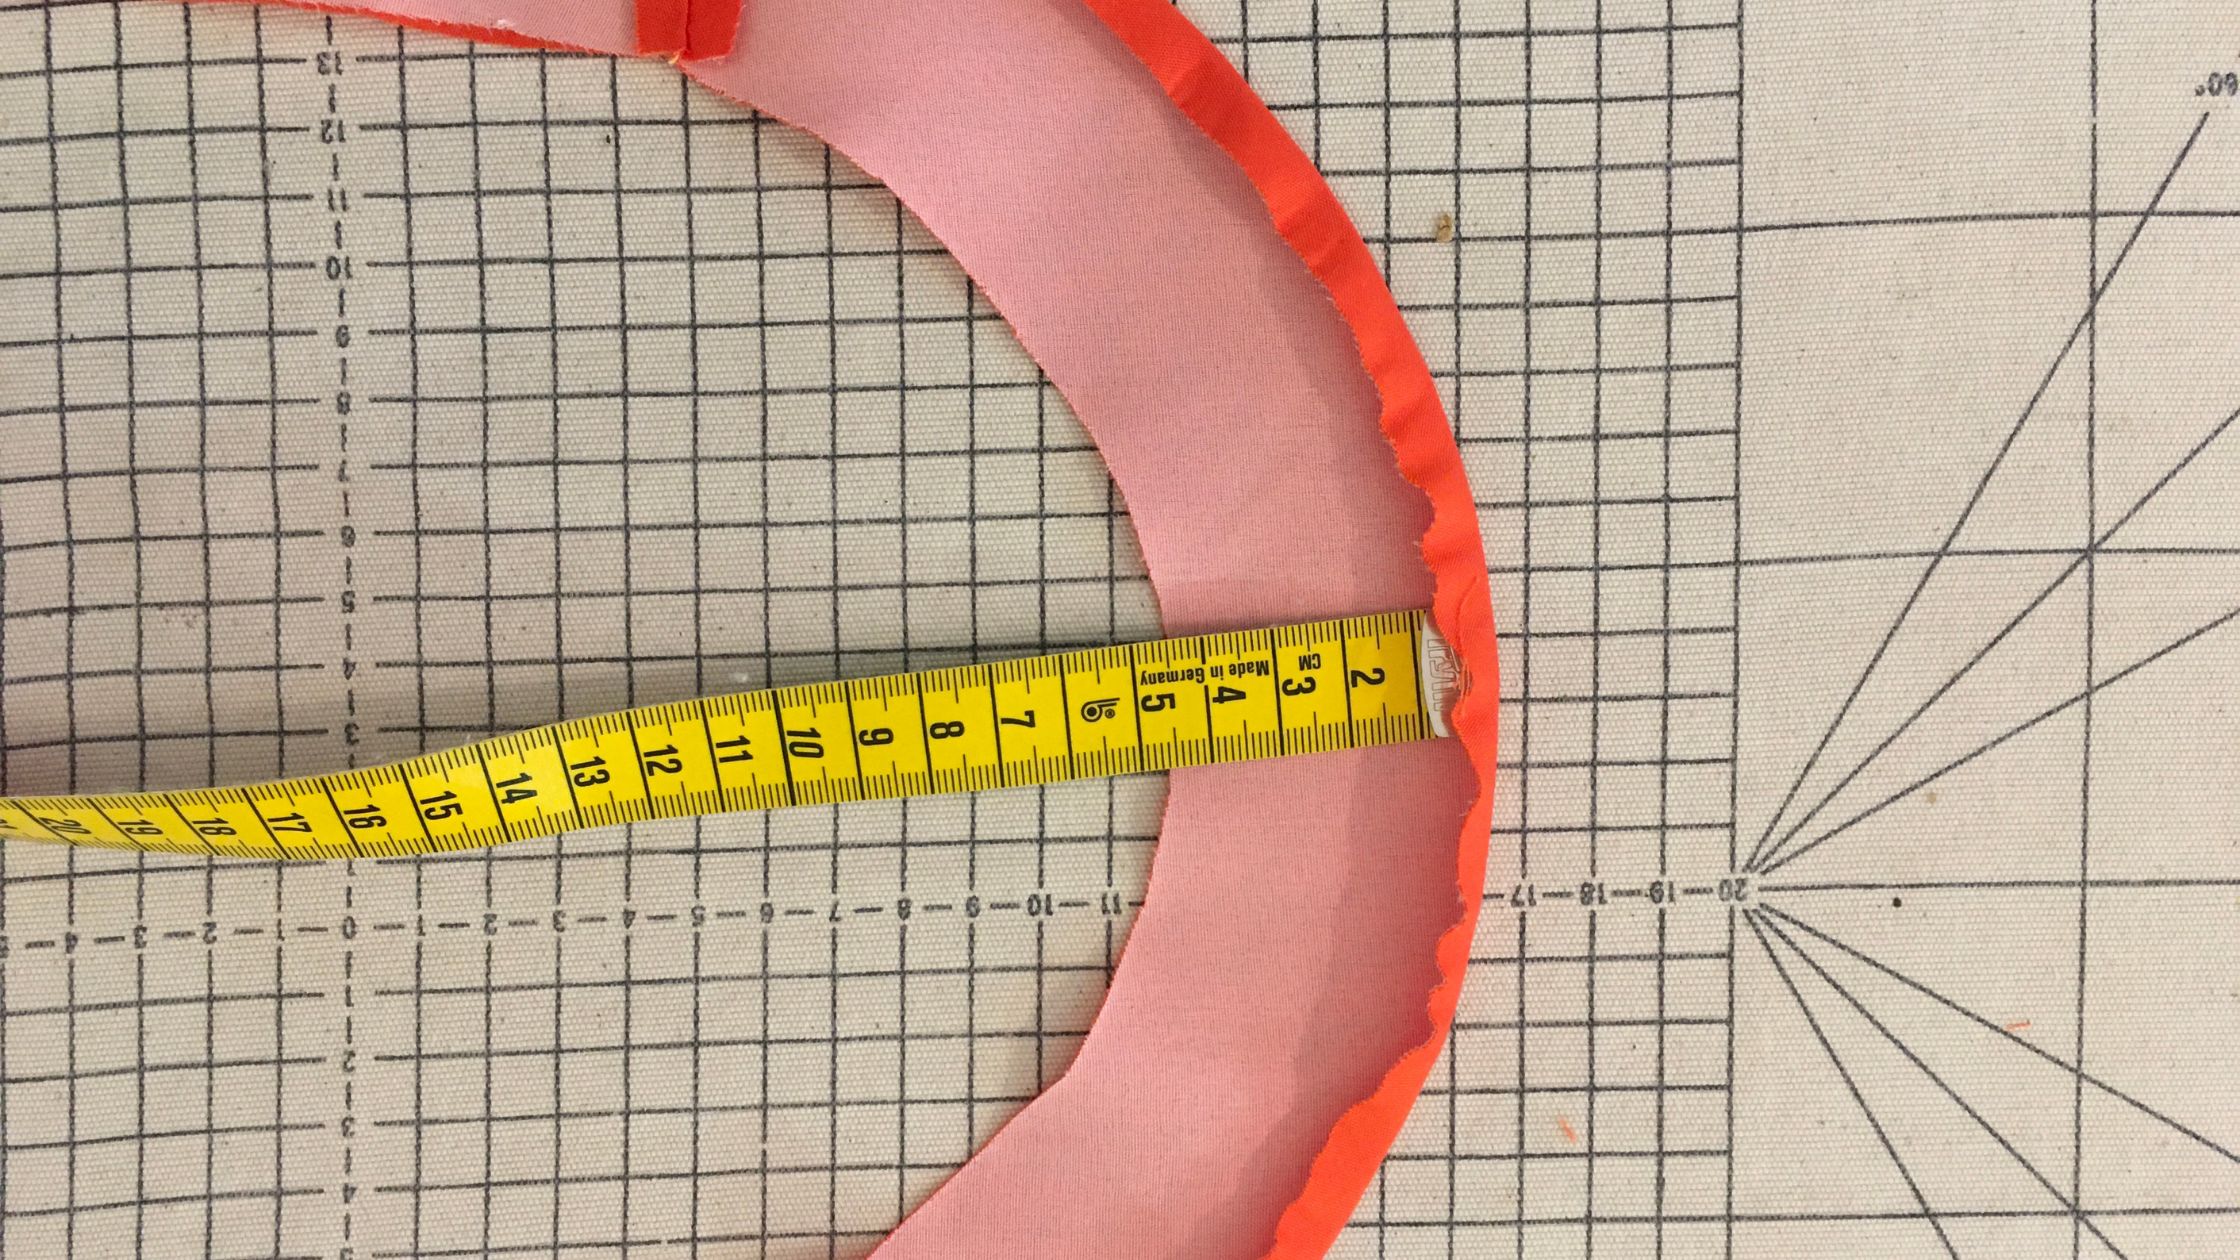
Step 26 - Pin the binding
Now pin the finished binding right sides together onto the neckline of the dress.
Step 27 - Cut the binding
Topstitch the binding at 1 cm from the edge. Trim the seam allowances at the curve about 2 cm apart so that the coverlet lays better. Cut almost to the seam at the tip. Press the coverlet over.
Step 28 - Pin the binding in place
Pin the ironed over cover all around with pins so that nothing slips.
Topstitch the facing close to the edge.
Step 29 - Sew on sleeves
Pin the sleeves to the dress wrong sides together and topstitch both together at 0.5 cm from the edge. Turn everything inside out. Press the resulting seam flat at the seam edge, pin it in place and topstitch 1 cm from the edge. Now you have closed the sleeves with the French seam.